How to Backup your WordPress Website for Free – Easy Steps
Estimated reading time: 5 minutes
Last updated on March 26th, 2024 at 07:00 am
Are you looking to “Backup your WordPress Website for Free”?
Did you know that 58% of small businesses are not prepared for data loss?
UpdraftPlus helps you avoid being part of that statistic by creating backups for your website.
It’s like having a safety net to catch your important files.
Using UpdraftPlus is like setting up a guard dog for your website.
You can configure it to automatically back up your site regularly, ensuring that even if something unexpected happens, you can easily restore your content.
Over 3 million websites trust UpdraftPlus for their backup needs.
Backup your WordPress website with Updraft Plus for free
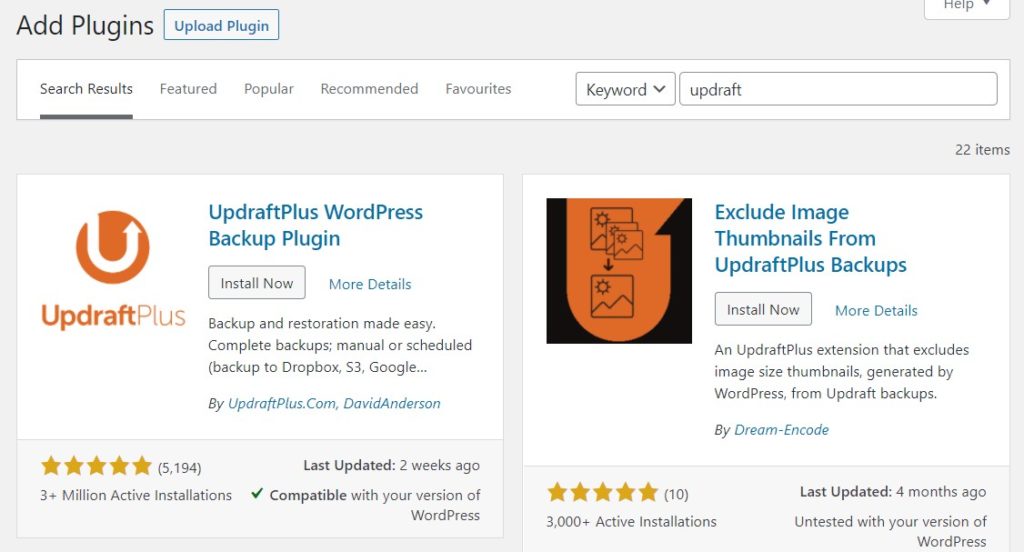
First login to your admin dashboard, click on plugins – add new plugin – Search Updraft Plus – Install – Activate.
After activation, click on settings.
Here you can see some tabs:
- Backup/Restore
- Migrate/Clone
- Settings
- Advanced tools
- Premium/Extensions
First of all, you need to open the settings tab before starting to create a backup,
1. Settings

Files backup schedule: Weekly and retain this many scheduled backups: 2
Database backup schedule: Weekly and retain this many scheduled backups: 2
These settings are used to fix the time at which a backup should take place, (e.g. if your server is busy at day and you want to run overnight).
To take incremental backups, or to configure more complex schedules, use UpdraftPlus Premium.
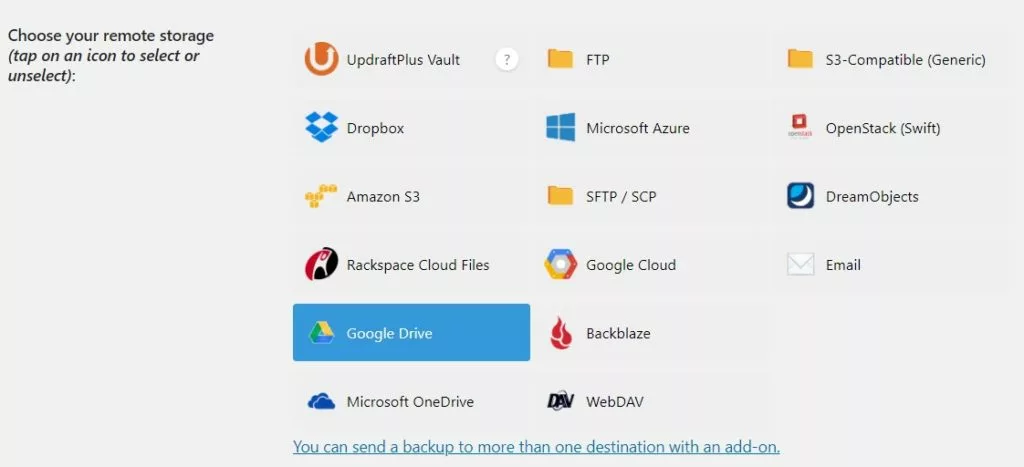
Choose your remote storage:
Here you can select your remote storage where you want your backup to be stored.
I recommend using Google Drive, but you can select whatever you want according to your choice.
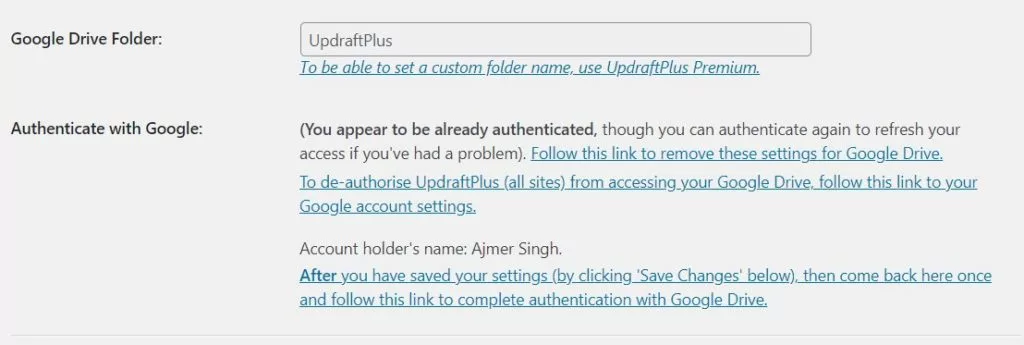
After selecting the remote storage, you are required to verify it, confirm the verification process and authenticate it.
You can also create your custom storage folder name but for that, you need to purchase their premium.
Include in files backup:
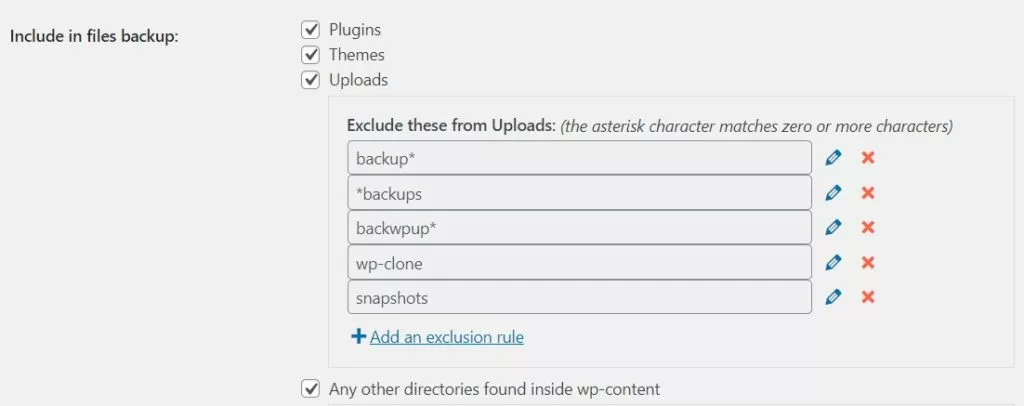
- Plugins: Enable
- Themes: Enable
- Uploads: Enable
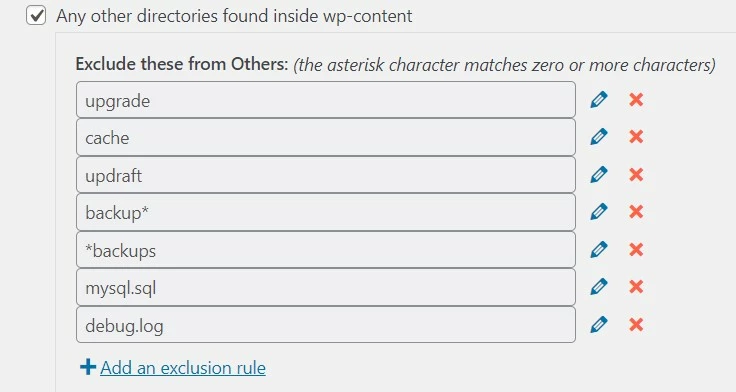
- Any other directories found inside wp-content: Enable
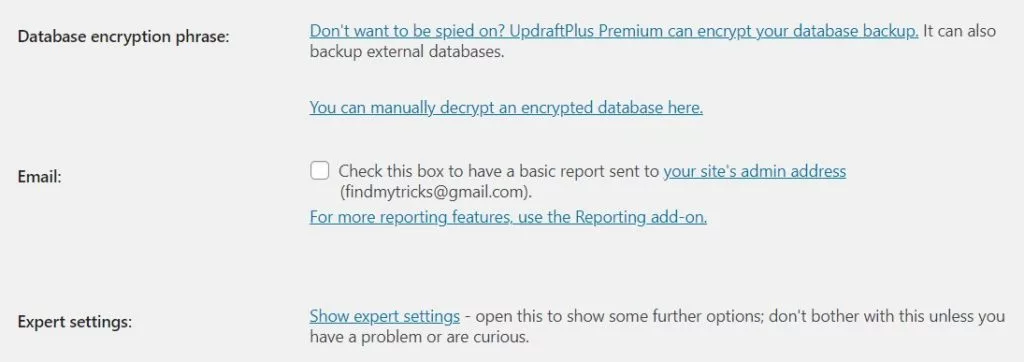
Database encryption phrase: Here you can encrypt your database. (For Premium Users Only)
Email: Enable this box to have a basic report sent to your email address.
Expert settings:
These are basically advanced settings where you can enable debug mode, delete the local backup, automatic updates, etc.
Leave this setting if you don’t know what you are doing.
After done with all the settings here, let’s go to the backup/restore tab,
2. Backup/Restore
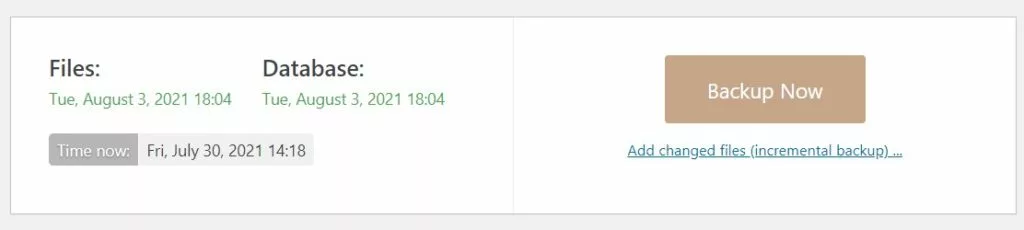
After done with settings, now open this tab and click on BACKUP NOW. It opens a new tab where they ask to create a backup with some checkboxes,
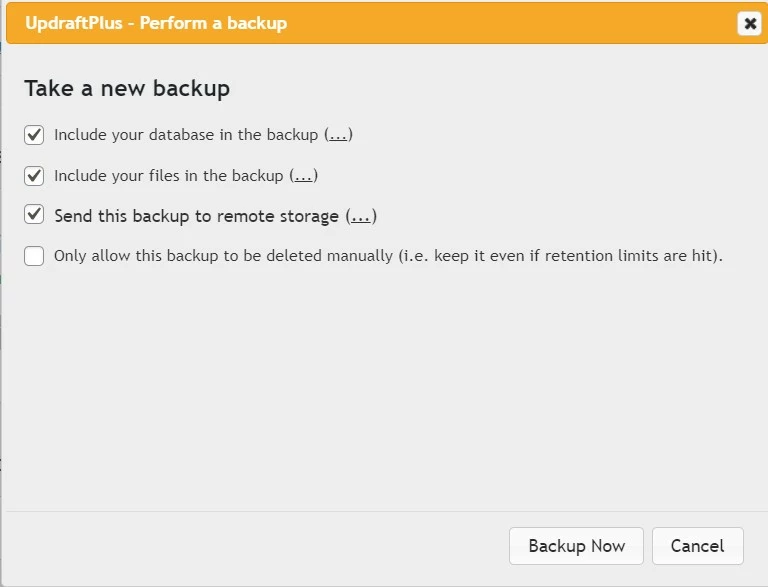
Include your database in the backup: Enable
Here all WordPress tables will be backed up.
(With UpdraftPlus Premium, you can choose to backup non-WordPress tables, backup only specified tables, and backup other databases too.)
Include your files in the backup: Enable –
Here you can backup WordPress files containing plugins, themes, uploads, and any other directories found inside wp-content.
Send this backup to remote storage: Enable
Here you can send the backup copy to your selected remote storage, for example, google drive.
Only allow this backup to be deleted manually: Enable for the first backup.
It will take some time according to your database volume.
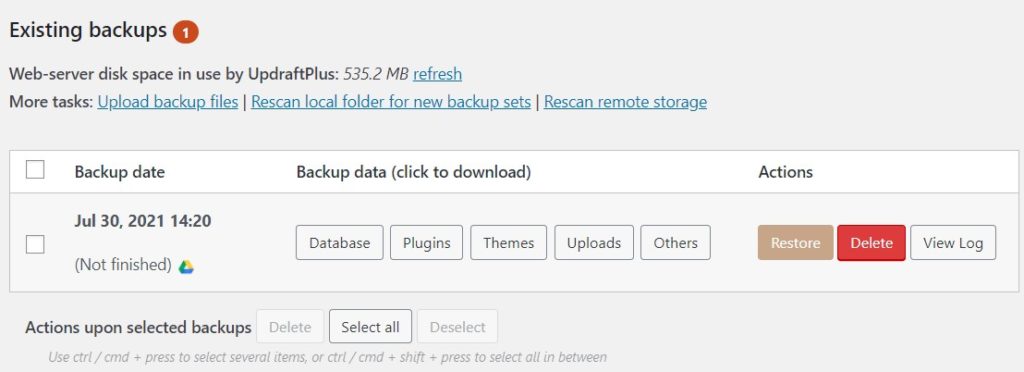
When done, you can see that a backup file is there with options like delete, upload/restore, view log etc.
You can easily restore your backup with just a single click.
You also don’t need to remember the date, or the timing of the backup as every backup file already contains the date and time.
3. Migrate/Clone
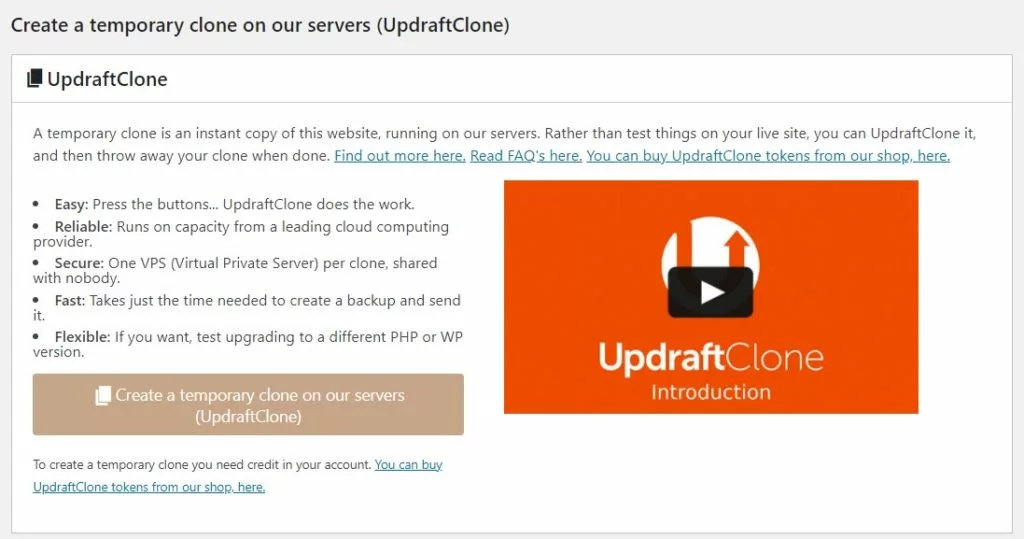
You can create a staging site or in normal words a clone site.
Where you can test new things like upgrading to a newer version of PHP, check the new version of WordPress, cache plugin settings etc.
(some cache plugin conflicts with your WordPress version, minification settings breaks your website)
But you need to buy updraft clone tokens to use this service.
Actually, you don’t need to buy this, you will get a lot of other plugins that will do this work for free.
Even some hosting providers like Cloudways have options in their CPanel to create a staging site for testing.
4. Premium/Extensions
You can check the features here including the difference between free and premium updraft plus.
You can also check the full features list, pre-sales FAQs, ask a pre-sales question, support and their other developed plugins.
They also developed a great plugin for database optimization: WP-Optimize(free). Recommended by us to optimize your database.
5. Advanced tools
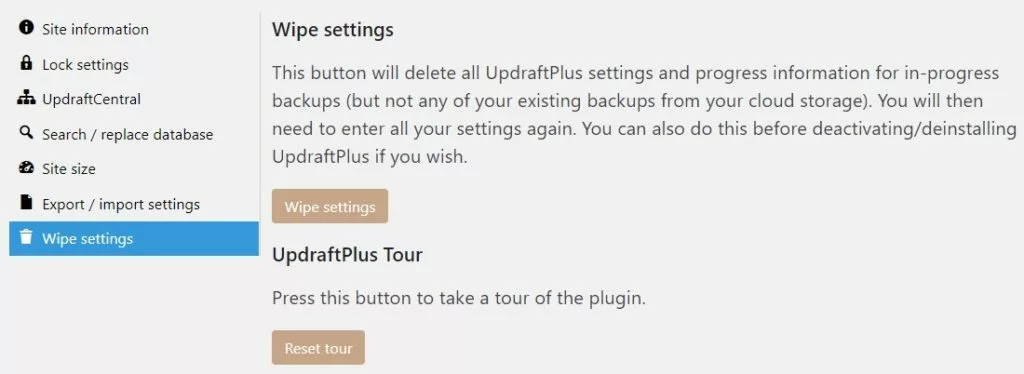
You don’t need to touch these settings until and unless the plugin conflicts or breaks your website.
Wrapping Up – Backup WordPress Site For Free
Updraft Plus is a great plugin to backup your WordPress website.
It can take only a few minutes to create your backup or restore your backup. Just a few settings and you are done.
With their automatic backup option, you can also schedule your backups daily or weekly.
However, I am using Cloudways hosting that automatically backups everyday.
Even you can get your backup for the last 15 days with one click option to restore fully or only the database, files etc.