Breeze Plugin Best Settings – Full Setup and Configuration
Estimated reading time: 6 minutes
Last updated on March 26th, 2024 at 07:00 am
Are you looking for the “Cloudways Breeze Plugin Best Settings”?
Did you know,
- Cloudways hosting uses cloud technology, making your site 100% faster than traditional hosting.
- With a 99.99% uptime, it’s like having a house that never closes its doors to visitors.
- Security is a top priority, with regular patches and firewalls. It’s like having a superhero guarding your house 24/7.
So, choosing Cloudways hosting is like giving your website a superpower boost, making it reliable, fast, and secure!
I am also using Cloudways Hosting but I recommend using Super Page cache Plugin with Cloudways for Better Performance.
I will share my Setup at the end with my Performance Scores.
Cloudways Breeze Plugin Best Settings
1. Basic Options
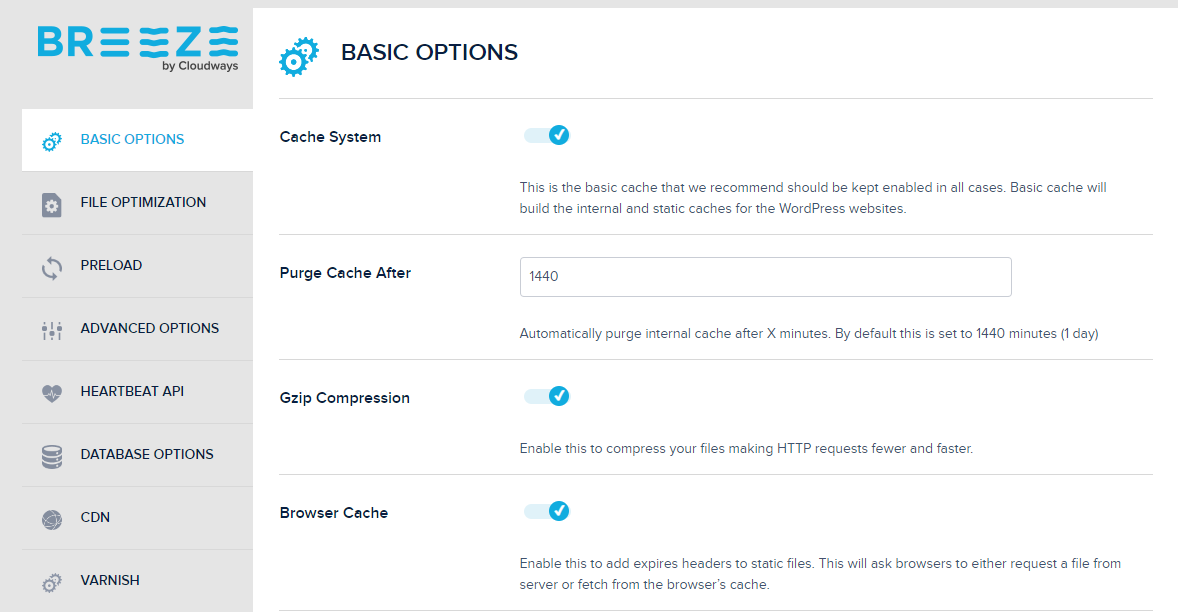
Cache system: Enable
This is the basic cache that cloudways recommend keeping enabled in all cases.
This setting will build the internal and static caches for the WordPress websites.
Purge cache after: Enable
Automatically purge the internal cache after X minutes.
By default, this is set to 1440 minutes (1 day).
You can change it to your needs (if you know what you are doing) but I think the default is recommended for beginners.
Gzip compression: Enable
Gzip compression is used to compress your files, making HTTP requests fewer and faster. You can check this by visiting GTmetrix.
Browser cache: Enable
Browser cache adds expired headers to static files. This will ask browsers to either request a file from the server or fetch it from the browser’s cache.
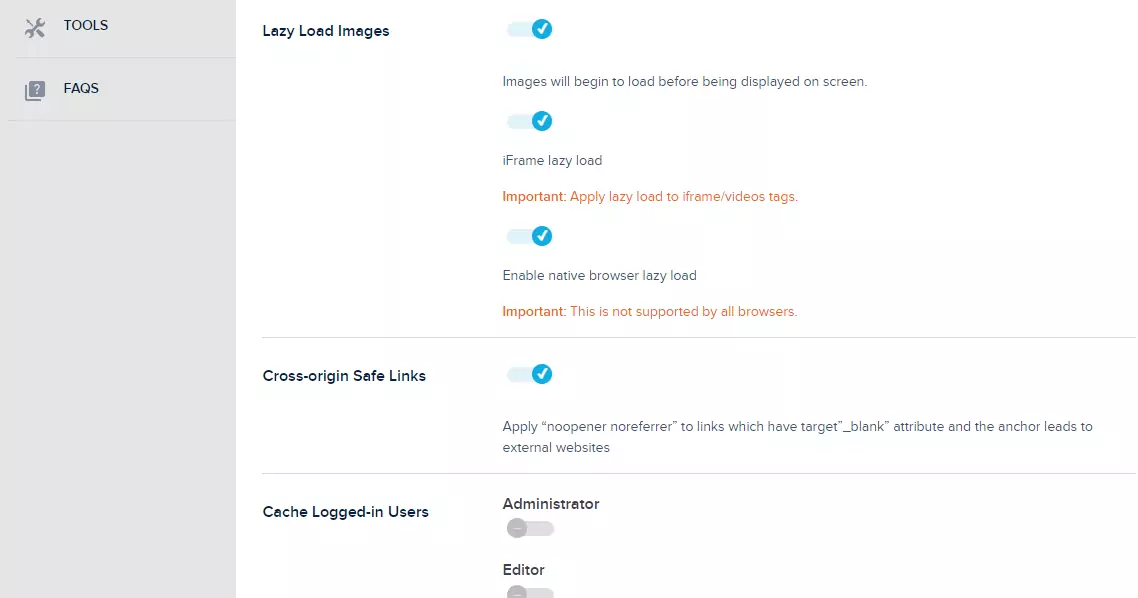
Lazy load images: Enable
Lazy load is a very important feature if you are working on your website speed.
It loads images only when people scroll.
You can also enable native browser lazy load if you want but this is not supported by every browser.
Cross-origin safe links: Enable
Apply “no opener no-referrer” to links that have a target”_blank” attribute and the anchor leads to external websites.
Cache for logged-in users: Disable
If enabled you need to clear the cache every time you make changes to your site.
2. File Optimization
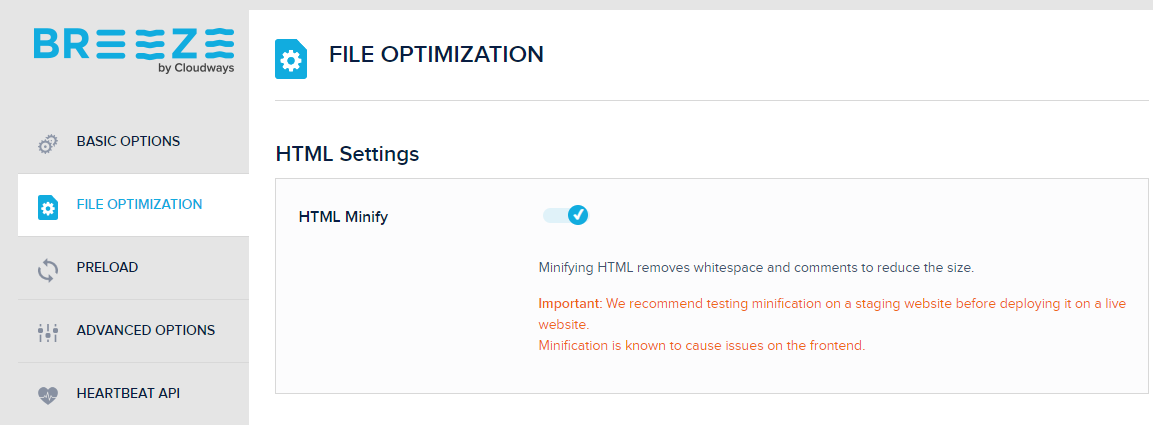
HTML minify: Enable
Minifying HTML removes whitespace and comments to reduce the size.
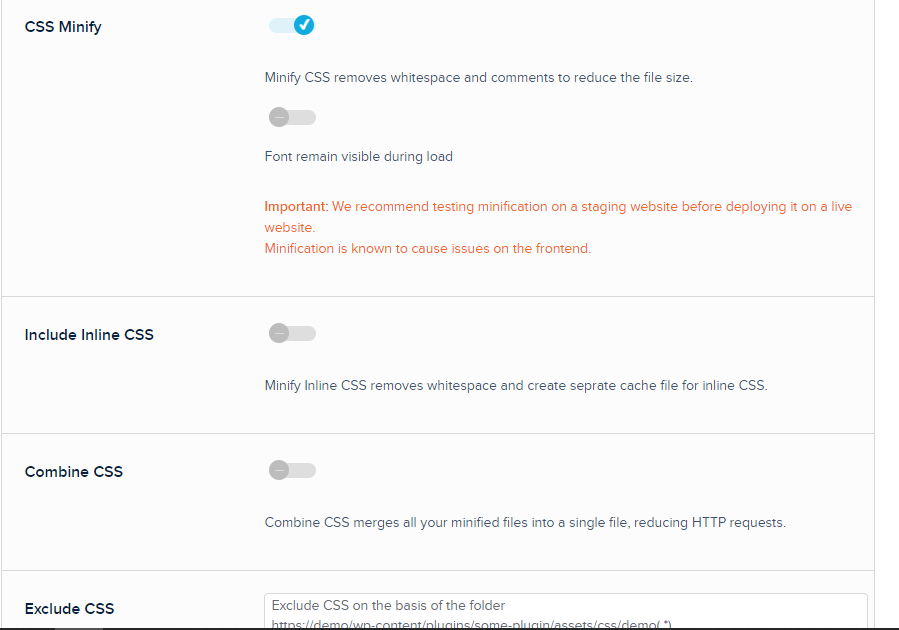
CSS Minify: Enable
Fonts remain visible during load: Enable
Minify CSS removes whitespace and comments to reduce the file size.
Note: Disable this if your site breaks. This option will mainly break websites.
Include inline CSS: Disable
Minify Inline CSS removes whitespace and creates a separate cache file for inline CSS.
Combine CSS: Disable
Combine CSS merges all your minified files into a single file, reducing HTTP requests.
Exclude CSS:
Use this option to exclude CSS files from Minification and Grouping. Enter the URLs of CSS files on each line.
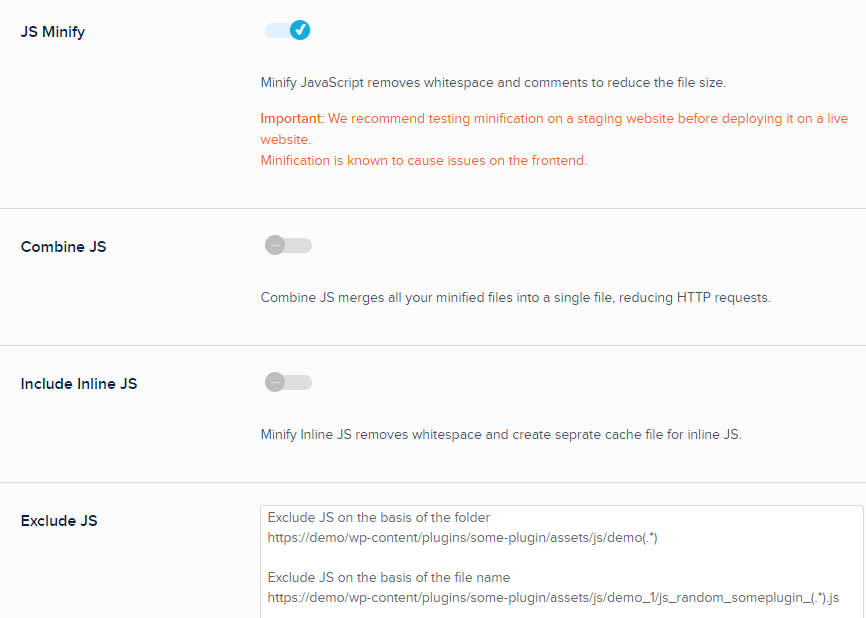
JS Minify: Enable
Minify JavaScript removes whitespace and comments to reduce the file size.
Combine JS: Disable
Combine JS merges all your minified files into a single file, reducing HTTP requests.
Include Inline JS: Disable
Minify Inline JS removes whitespace and create seprate cache file for inline JS.
Exclude JS:
Use this option to exclude JS files from Minification and Grouping. Enter the URLs of JS files on each line.
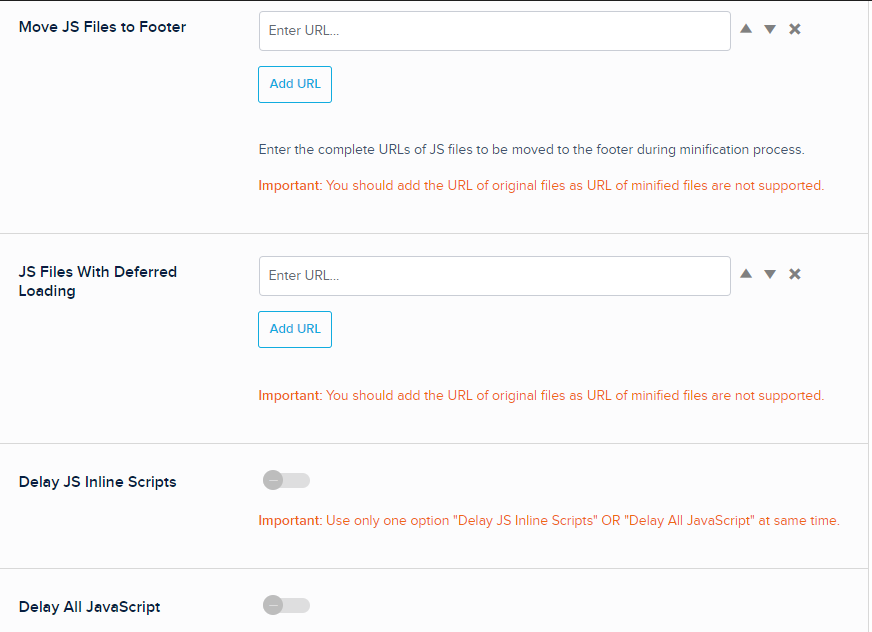
Move JS files to the footer:
Enter the complete URLs of JS files to be moved to the footer during the minification process.
You should add the URL of the original files as URLs of minified files are not supported.
JS files with deferred loading:
You should add the URL of the original files as URLs of minified files are not supported.
Delay JS inline scripts: Enable
Delay all Javascript: Enable or Disable (You can’t enable both)
Improve the page load by delaying JavaScript execution.
Clear the cache and check if your site is okay. If the site breaks then disable the above options.
3. Preload
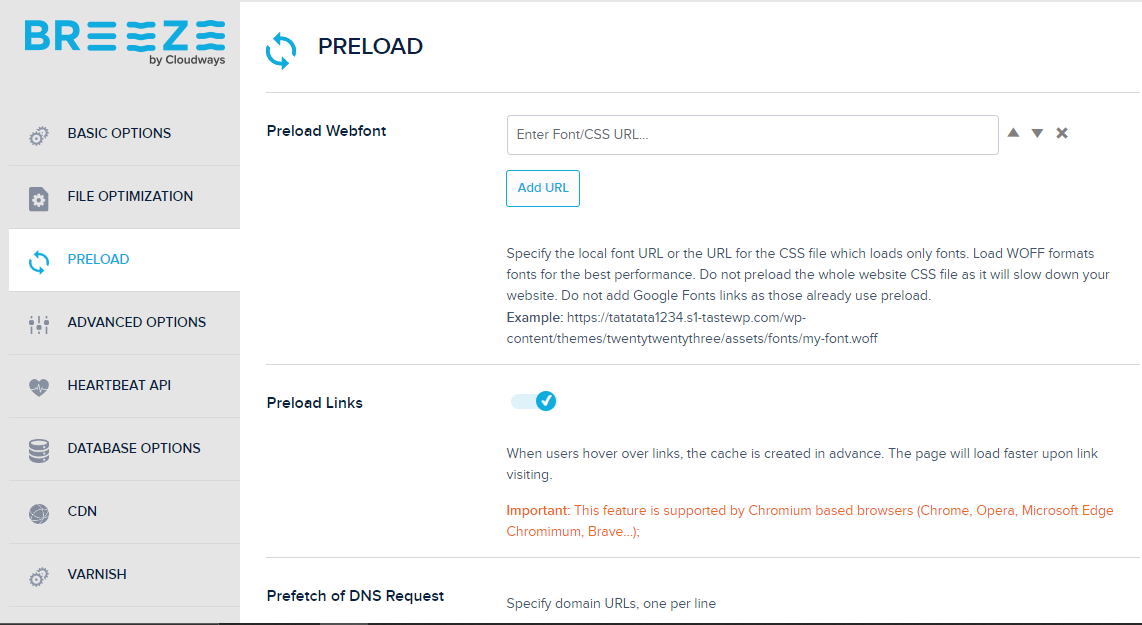
Preload links: Enable
Enabling this will activate preload links feature. When users hover over links, the cache is created in advance.
The page will load faster upon link visiting.
Preload your web fonts:
Specify the local font URL or the URL for the CSS file which loads only fonts. Load WOFF format fonts for the best performance.
Do not preload the whole website CSS file as it will slow down your website. Do not add Google Fonts links as those already use preload.
Prefetch of DNS request:
The third-party content load will be optimized if you prefetch the domains.
4. Advanced options
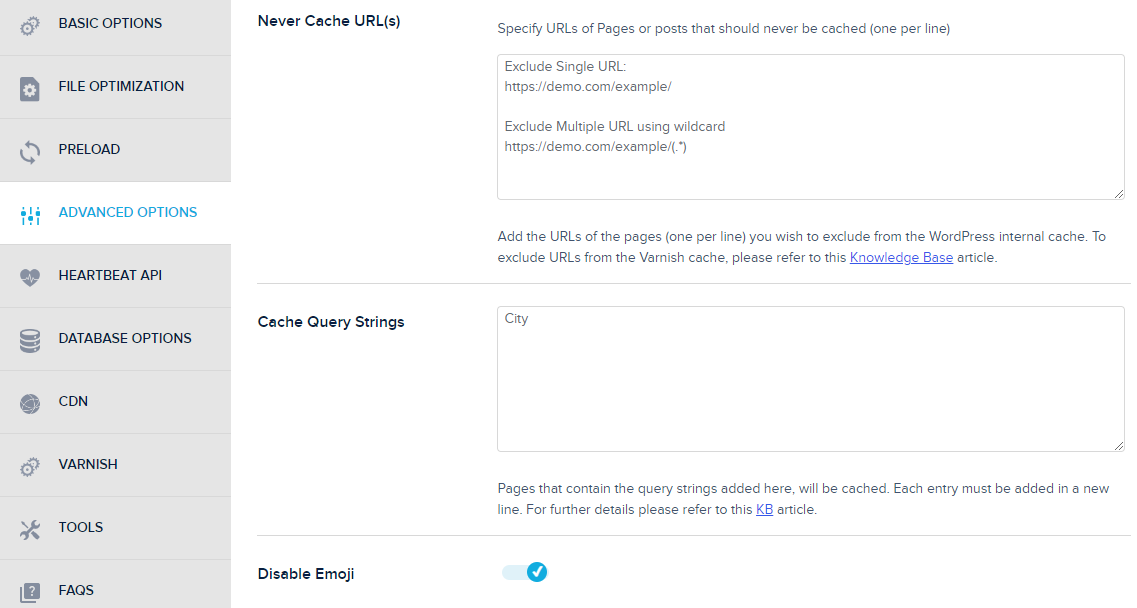
Never cache these URLs:
Here you can add the page URLs that you don’t want to include in the WordPress internal cache. Add only one URL per line.
Cache query strings:
Pages that contain the query strings added here, will be cached. Each entry must be added in a new line.
Disable emoji: Enable
Disable the loading of emoji libraries and CSS
5. Heartbeat API
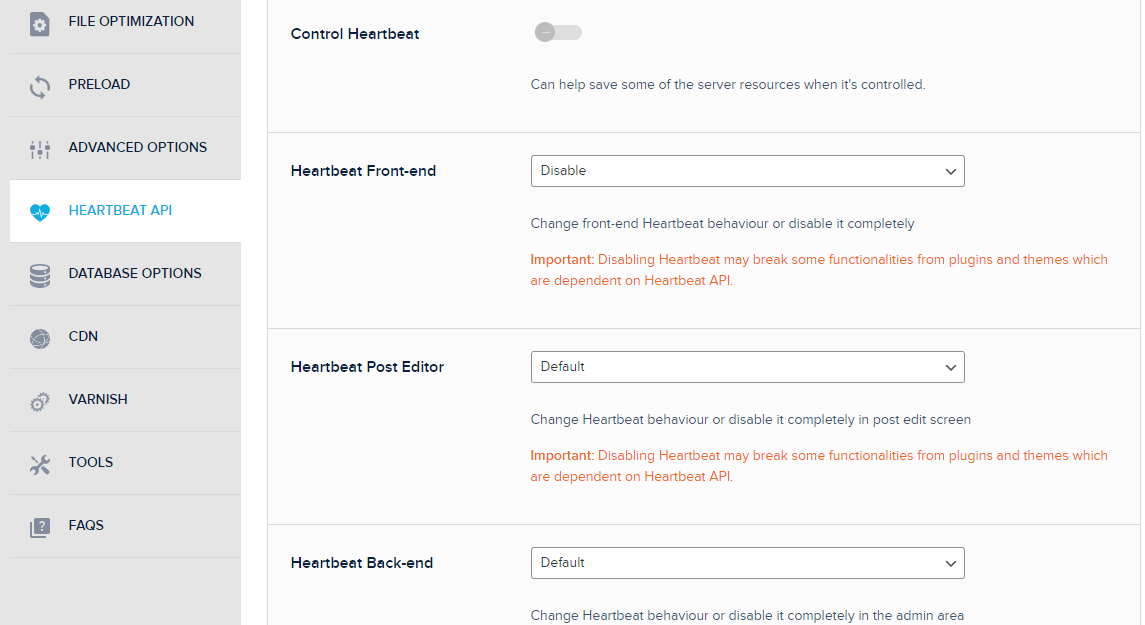
Control Heartbeat: Disable
Enabling this can help save some of the server resources when it’s controlled.
However, I disable this as this can consume a lot of server resources. If you want then you can enable Heartbeat backend.
6. Database
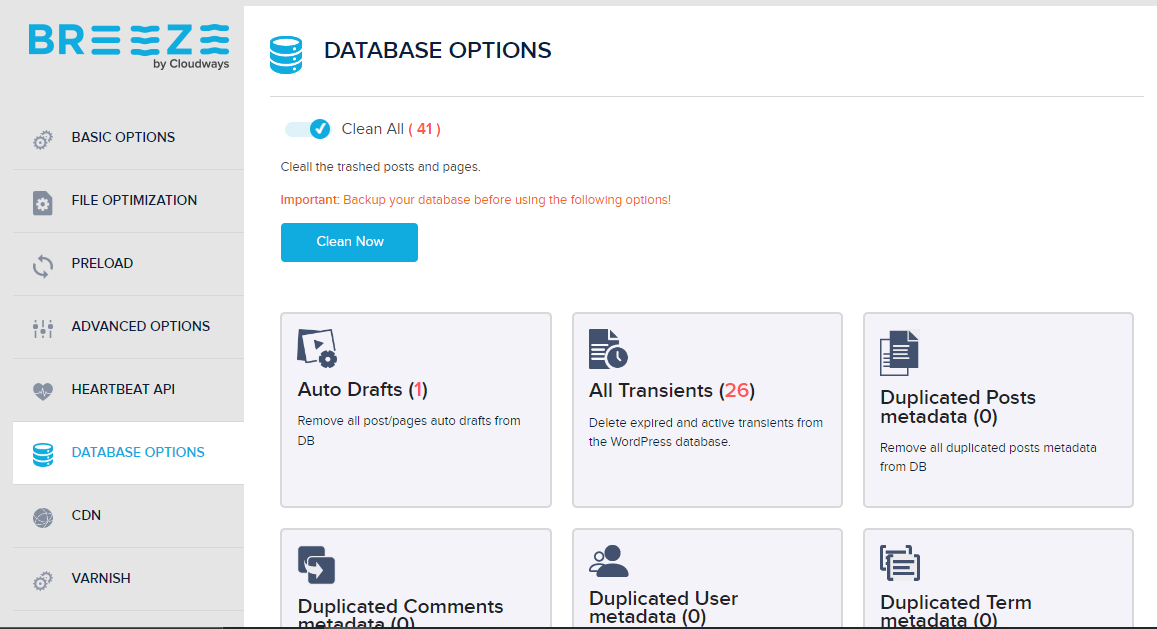
It’s always recommended to create a backup before optimizing the database.
Select all, then click on optimize or clean now.
But one thing is missing here (Removing tables option), which may be added in the future update.
Some plugins create tables that need to be removed from the database after uninstalling the plugin.
Like, SEO plugins, security plugins etc.
After deleting these plugins the tables they create in the database during installation will remain in the database.
You need to remove them manually.
Removing them not only clears your space but also improves your page speed and performance.
Till then you can use the WP-Optimize plugin (free) for database optimization.
7. CDN
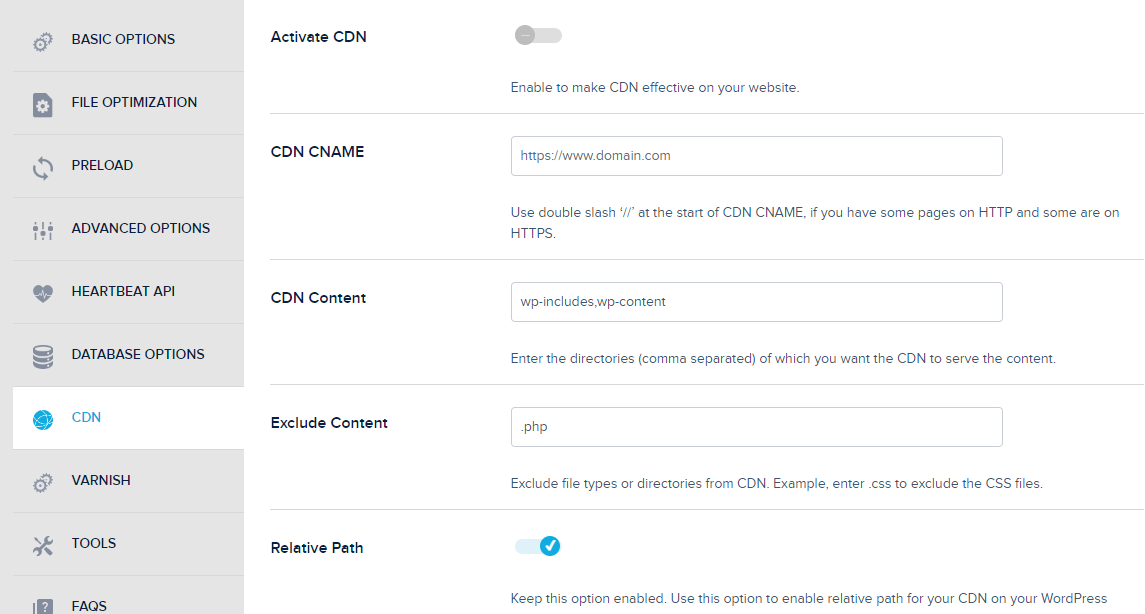
If you using a different CDN other than Cloudflare then you can connect here by adding some common fields like CDN name.
After adding these details, activate the CDN.
And keep relative path enabled: Use this option to enable a relative path for your CDN on your WordPress site.
8. Varnish
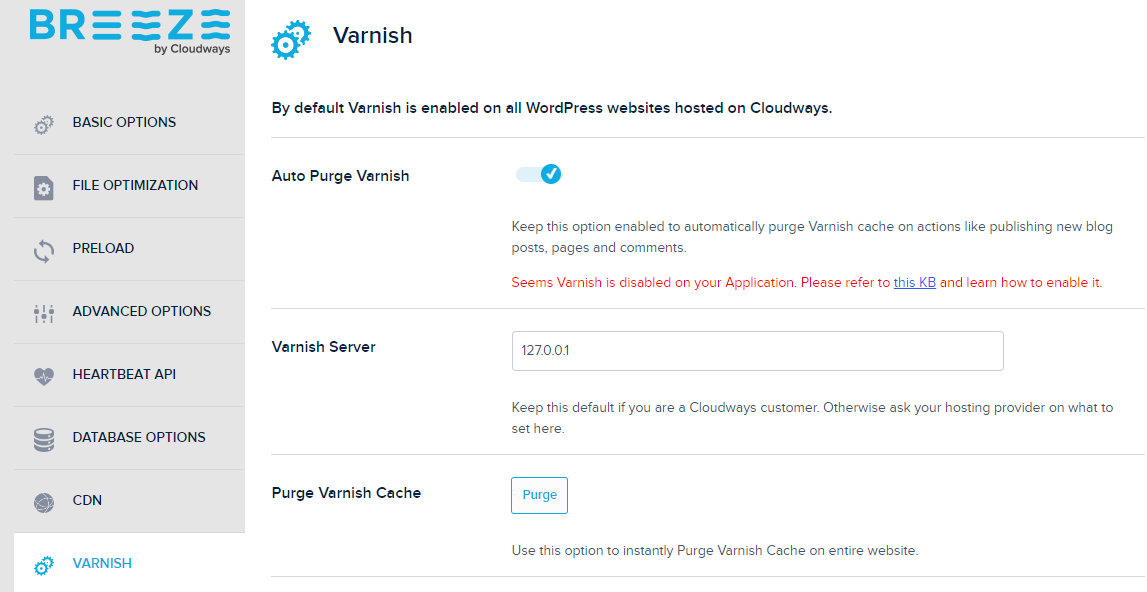
Auto purge varnish: Enable
Keep this option enabled to automatically purge Varnish cache on actions like publishing new blog posts, pages and comments.
Varnish server:
Keep this default. (no changes)
Purge varnish cache:
You can use this option to instantly Purge Varnish Cache manually on the entire website.
9. Tools
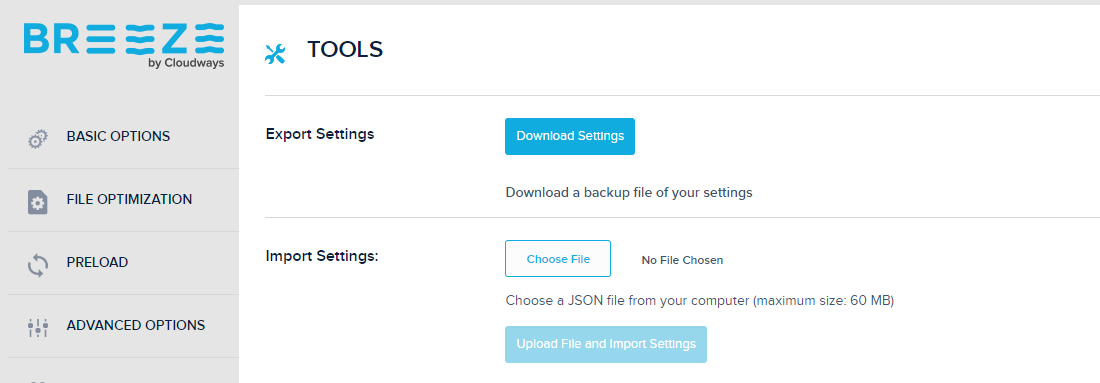
Here you can import and export your settings.
So, what I recommend is, after done with settings, export them and save them in your browser for future use.
10. FAQS
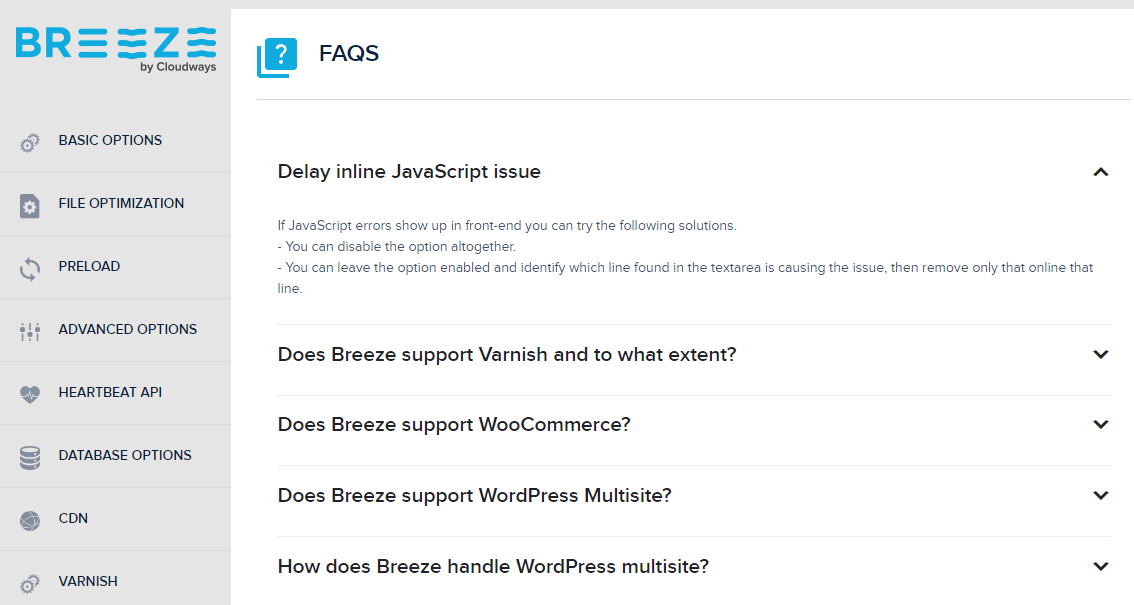
Here you will find some common questions and answers asked by people. It’s very helpful for beginners who want to setup Breeze plugin.
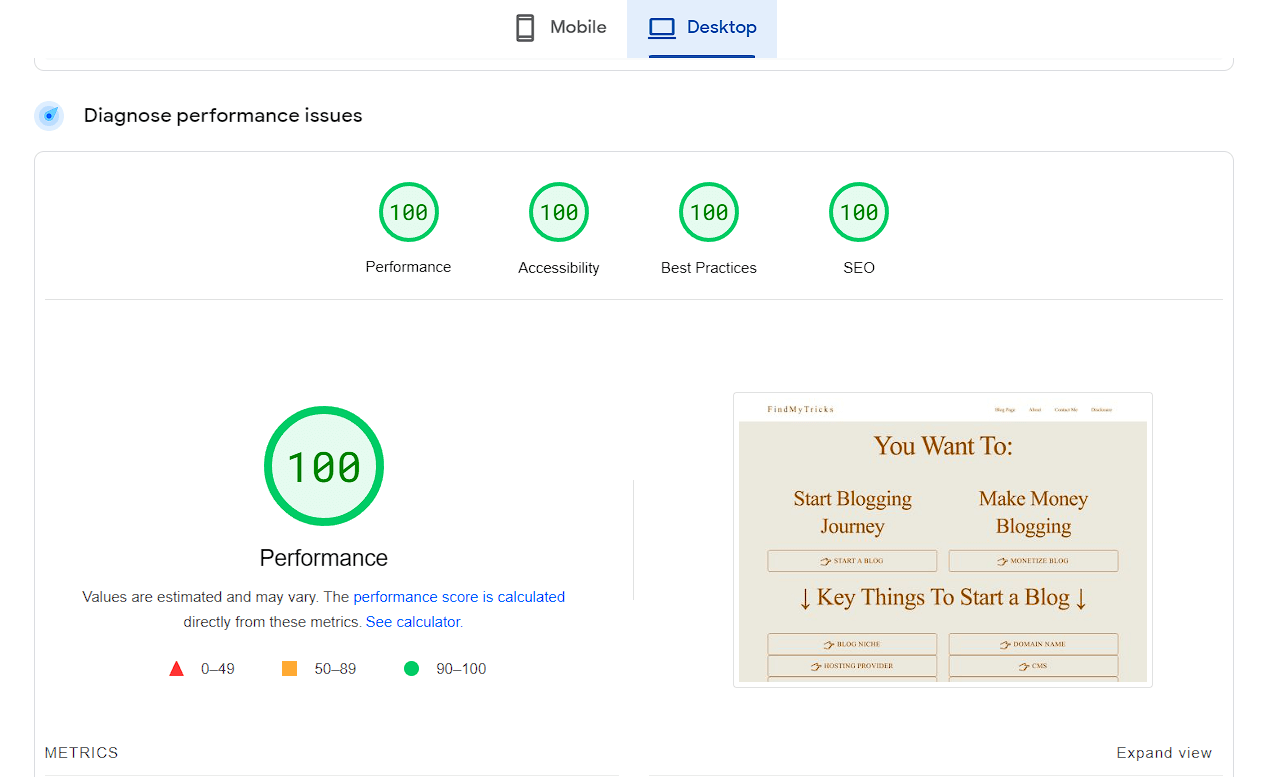
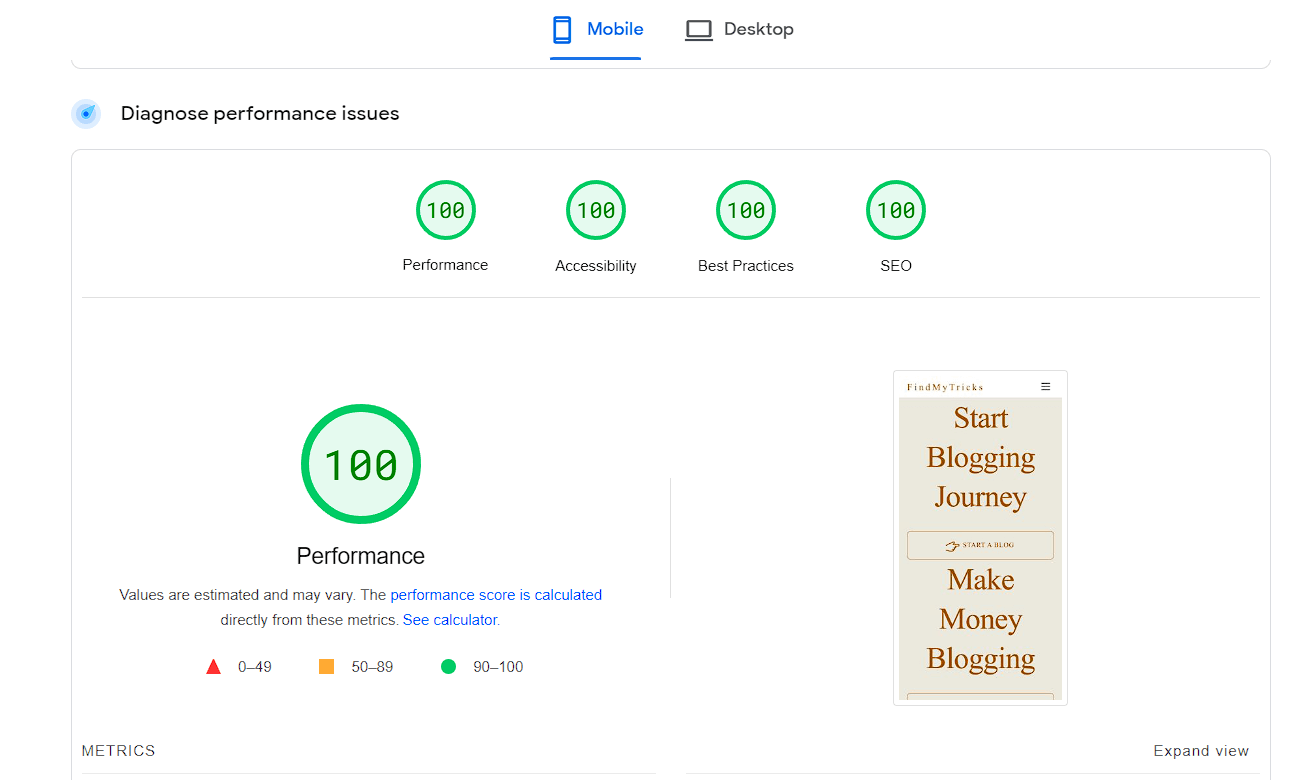
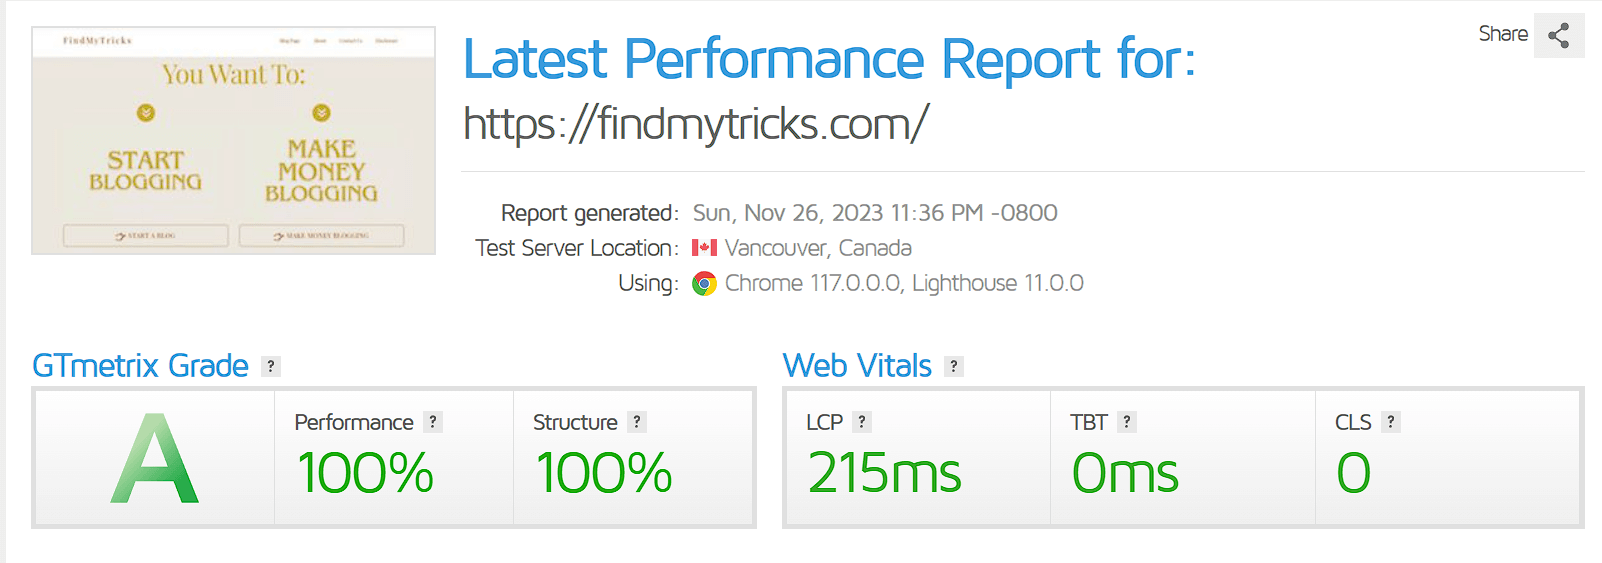
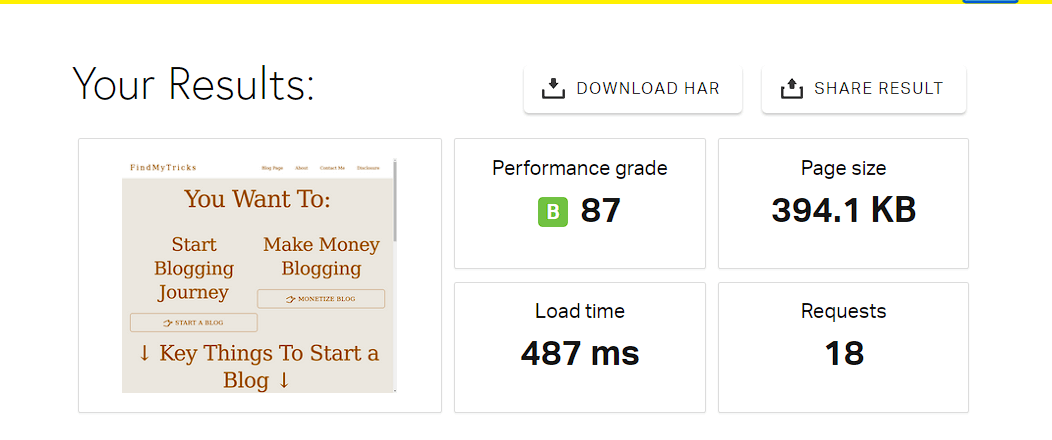
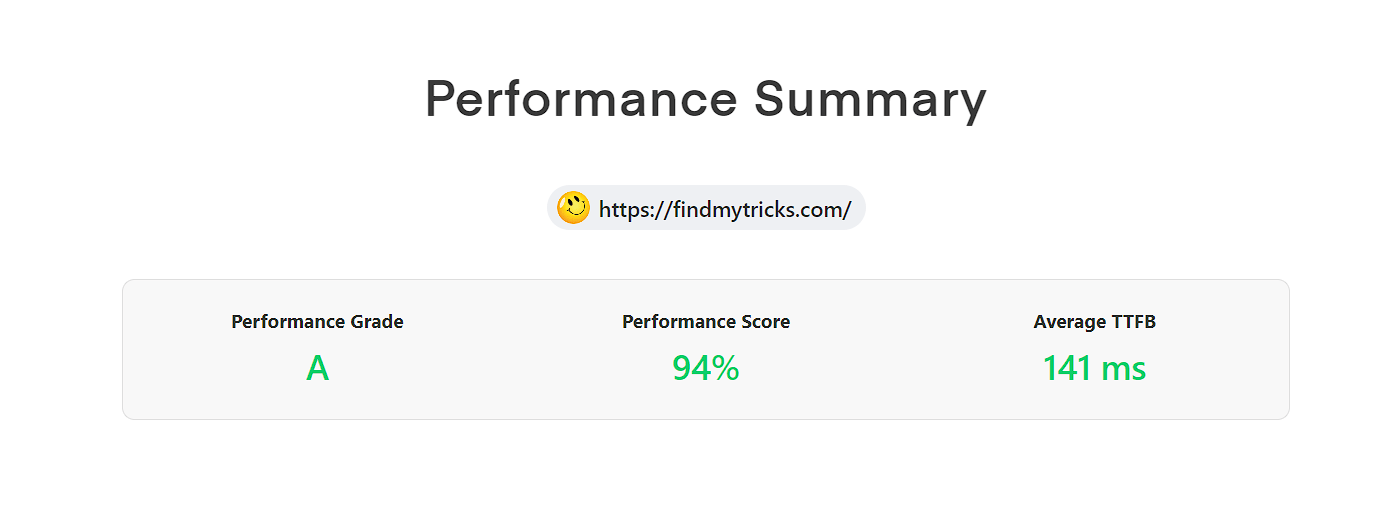
My Performance Scores
My Setup = Cloudways Hosting + Themify Ultra Theme + Super Page Cache Plugin + CloudFlare CDN
Wrapping Up – Breeze Plugin Best Settings
So these are the Cloudways Breeze best settings for your website performance and page speed.
Always check your site after implementing any setting.
However, the above-mentioned settings are used on my site without any issues.
Have any questions, comment below.
Arjun
March 20, 2023 @ 9:50 pm
Does delaying JS or anything that comes under File optimization effects Adsense ads ? If any of these options impact Adsense earnings?
Ajmer Singh
March 21, 2023 @ 2:50 pm
No, these settings does not affect your adsense performance. Infact, fast loading will improve your adsense earnings.