SEO Framework Plugin – Best Settings, Full Setup and Configuration
Estimated reading time: 13 minutes
Last updated on March 26th, 2024 at 07:11 am
Are you looking for “SEO Framework Plugin Settings”?
Imagine you’re building a road map for your blog or website to be easily found on the internet.
Now, think of an SEO framework plugin as your helpful guide, making this journey smoother.
So, why is this plugin important?
Well, around 93% of all online experiences start with a search engine.
When people look for something on Google or other search engines, you want your content to be at the top of the results, right?
Now, let’s talk about facts and figures.
Websites optimized for search engines receive 75% more traffic.
That’s a huge number of potential visitors!
Plus, did you know that 70-80% of users ignore paid ads and focus on organic results?
Picture this: You have a fantastic blog post, but if the search engines don’t understand it well, it might not reach your audience.
SEO framework plugin helps your content communicate better with search engines, boosting your chances of appearing on the first page of search results.
SEO Framework Plugin Settings
SEO Framework is the fastest SEO plugin available in the WordPress directory.
Some plugins like Yoast, RankMath etc. are taking a lot of resources in the background to run – resulting in slowing down your WordPress dashboard.
It is also named Auto Description because it generates meta descriptions automatically.
To start with the SEO framework, you have to install and activate this plugin from the WordPress directory.
Also, you have to install the extension manager plugin from their official website.
I will explain later in the post why you need their extension manager plugin.
1. Install & Activate
Go to plugins – add new – search SEO Framework – install – activate.
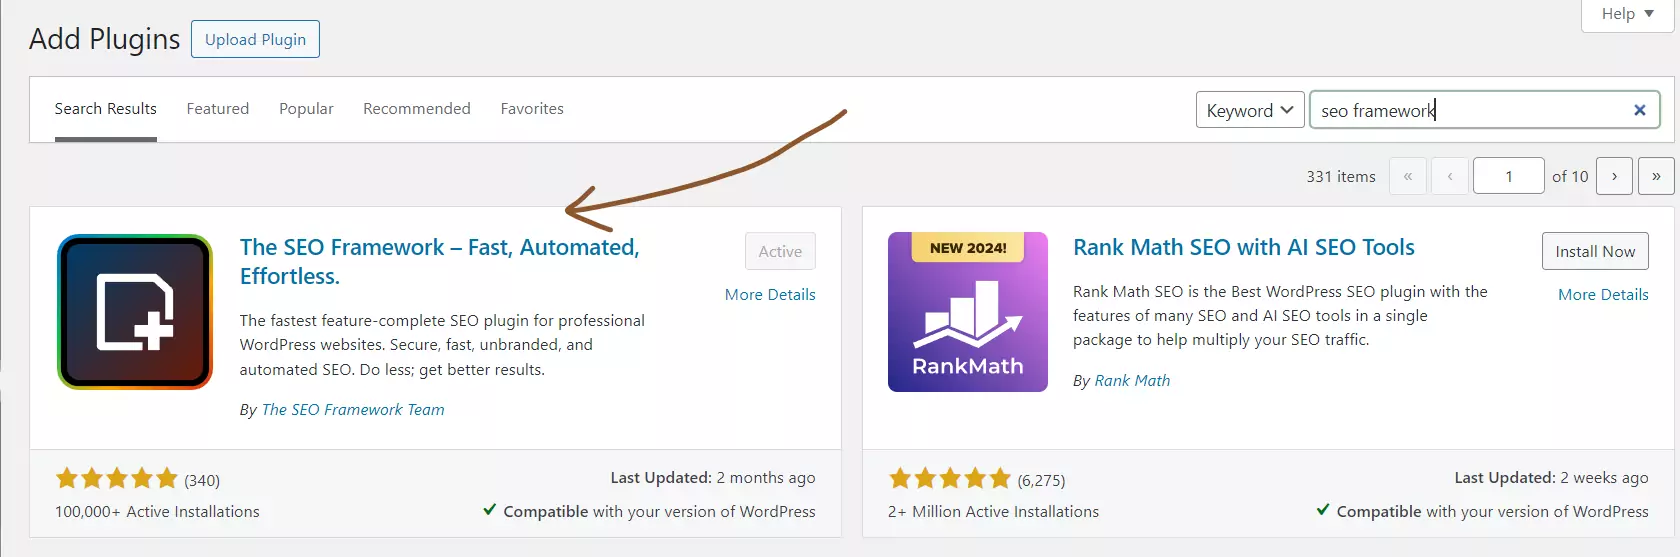
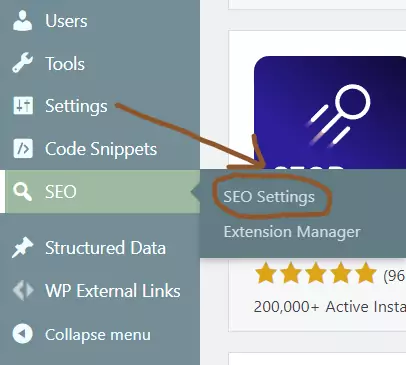
After installation, click on the SEO button – SEO settings.
These are the total number of settings available that we need to configure.
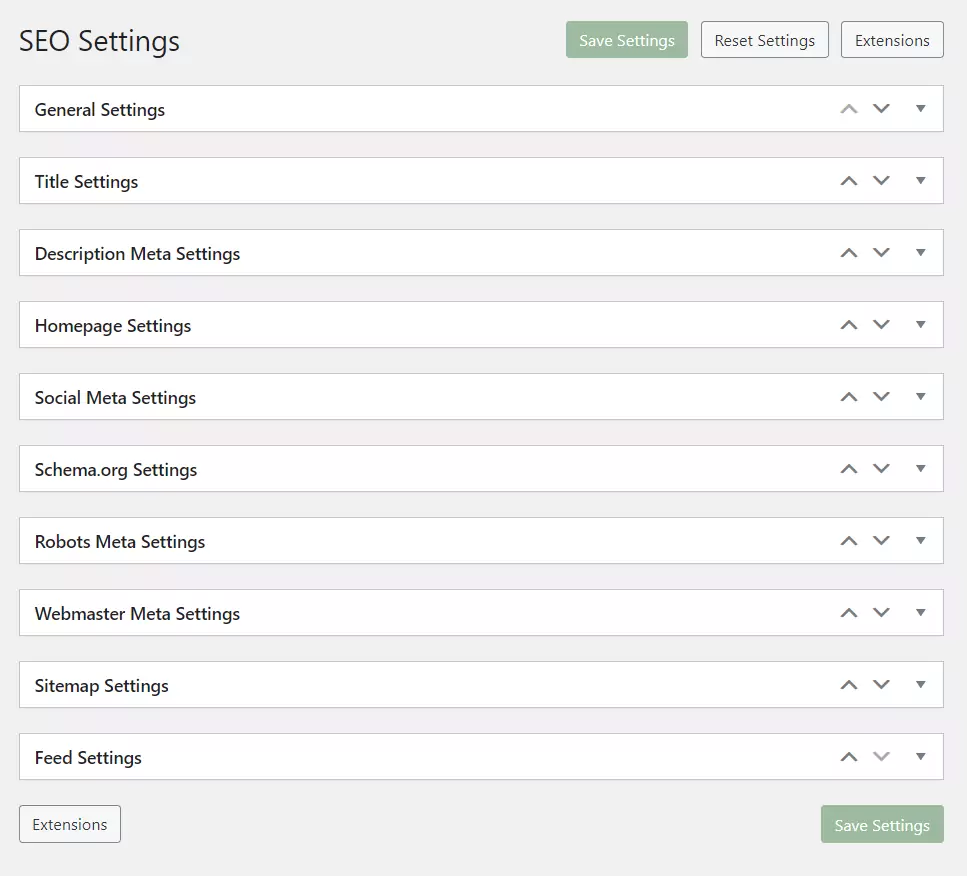
2. General Settings
Layout
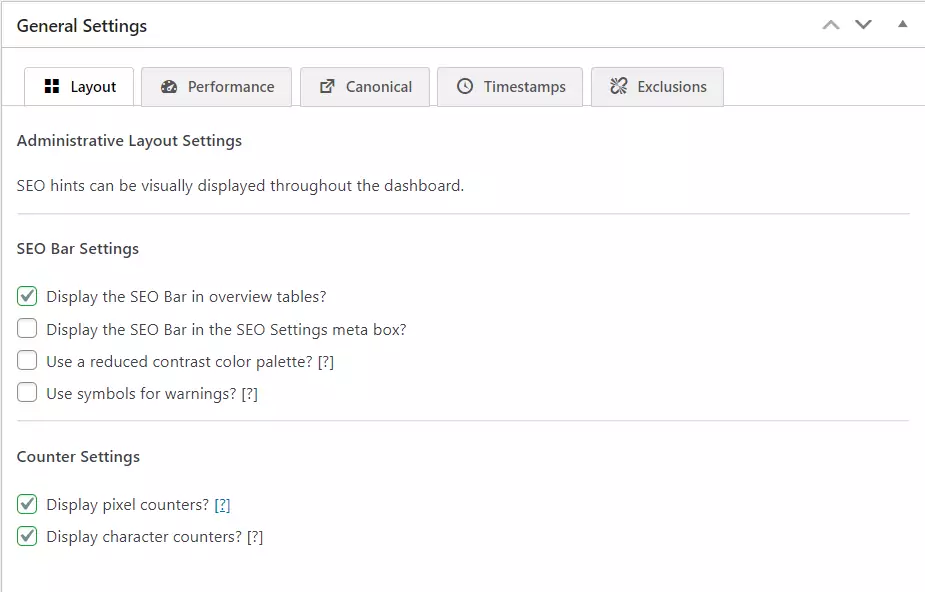
SEO Bar Settings
Display the SEO bar in overview tables: Enable
Display the SEO Bar in the SEO Settings meta box: Disable
Use a Reduced Contrast Colour Pallete: Disable
Use symbols for warnings: They show colours for issues but if you have difficulty seeing colours then you can enable this box for showing symbols instead of colours.
Counter Settings
Display pixel counters: Enable
Display character counters: Enable
Performance
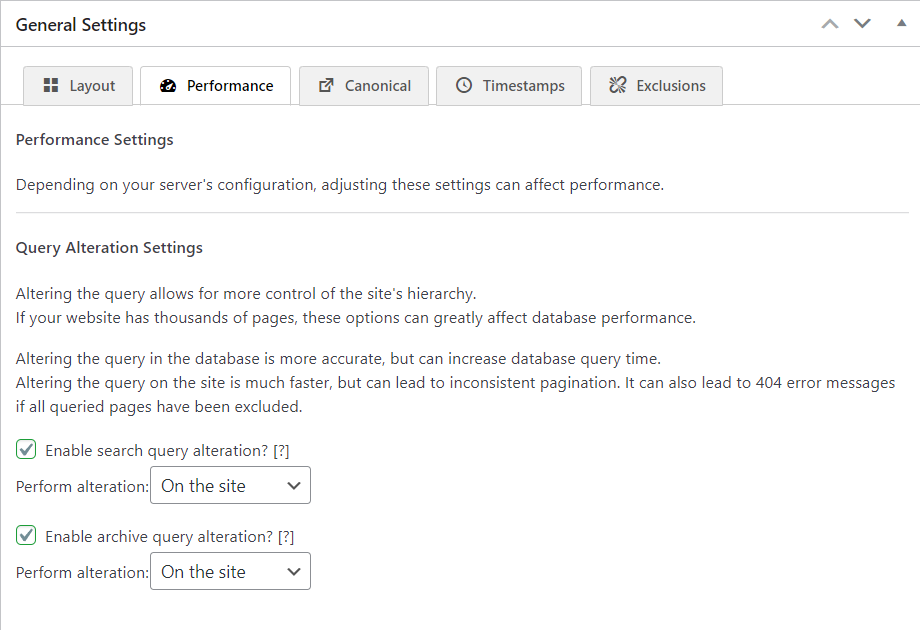
Enable search query alteration: On the site
Enable archive query alteration: On the site
Altering the query in the database is more accurate, but can increase database query time.
Altering the query on the site is much faster, but can lead to inconsistent pagination.
It can also lead to 404 error messages if all queried pages have been excluded.
Canonical
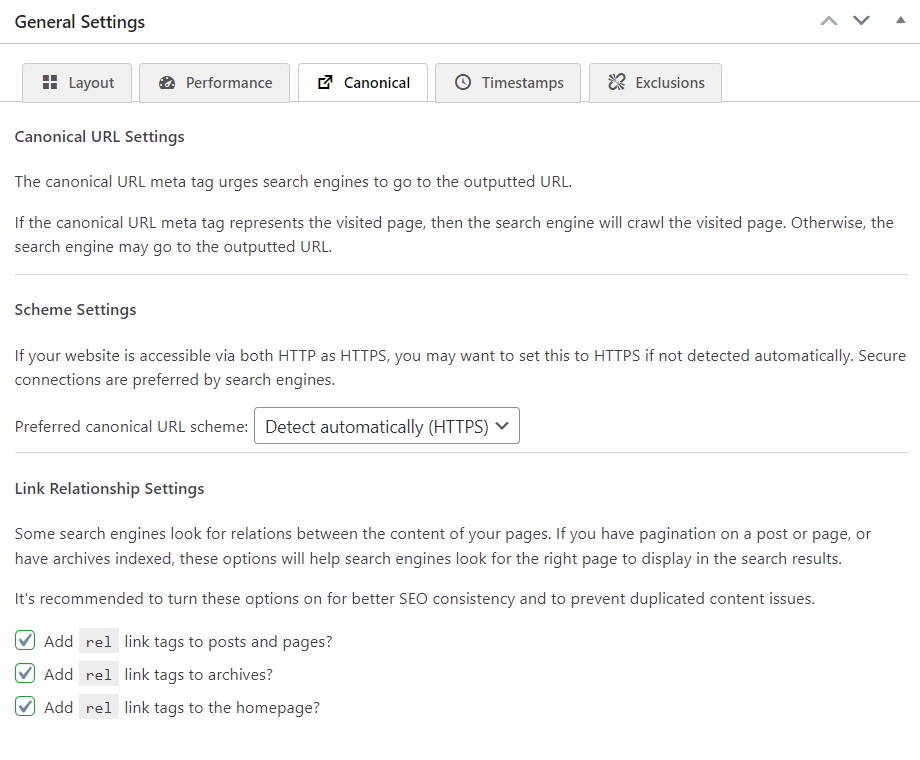
Scheme Settings
If your website is accessible via both HTTP and HTTPS, you may want to set this to HTTPS if not detected automatically.
Secure connections are preferred by search engines.
If it is not selected automatically then select https.
Link Relationship Settings
Some search engines look for relations between the content of your pages.
If you have pagination on a post or page or have archives indexed, these options will help search engines look for the right page to display in the search results.
It’s recommended to turn these options on for better SEO consistency and to prevent duplicated content issues.
Add ‘rel’ link tags to posts and pages: Enable
Add ‘rel’ link tags to archives: Enable
Add ‘rel’ link tags to the homepage: Enable
Time stamps
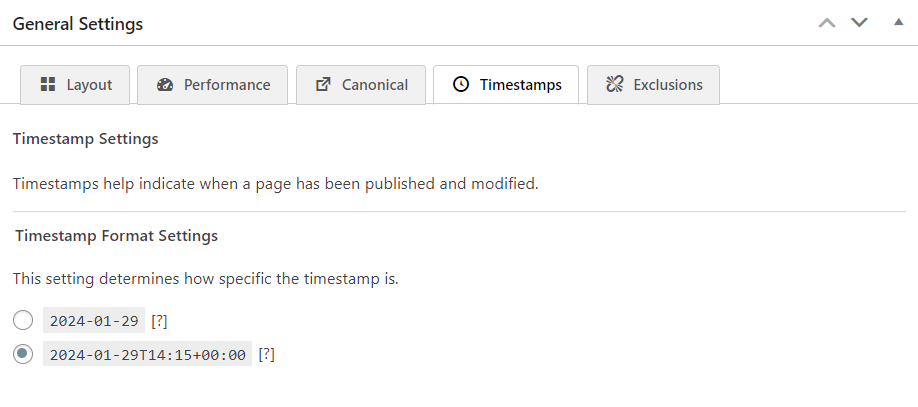
Timestamps help indicate when a page has been published and modified.
I am using the second format.
Exclusions
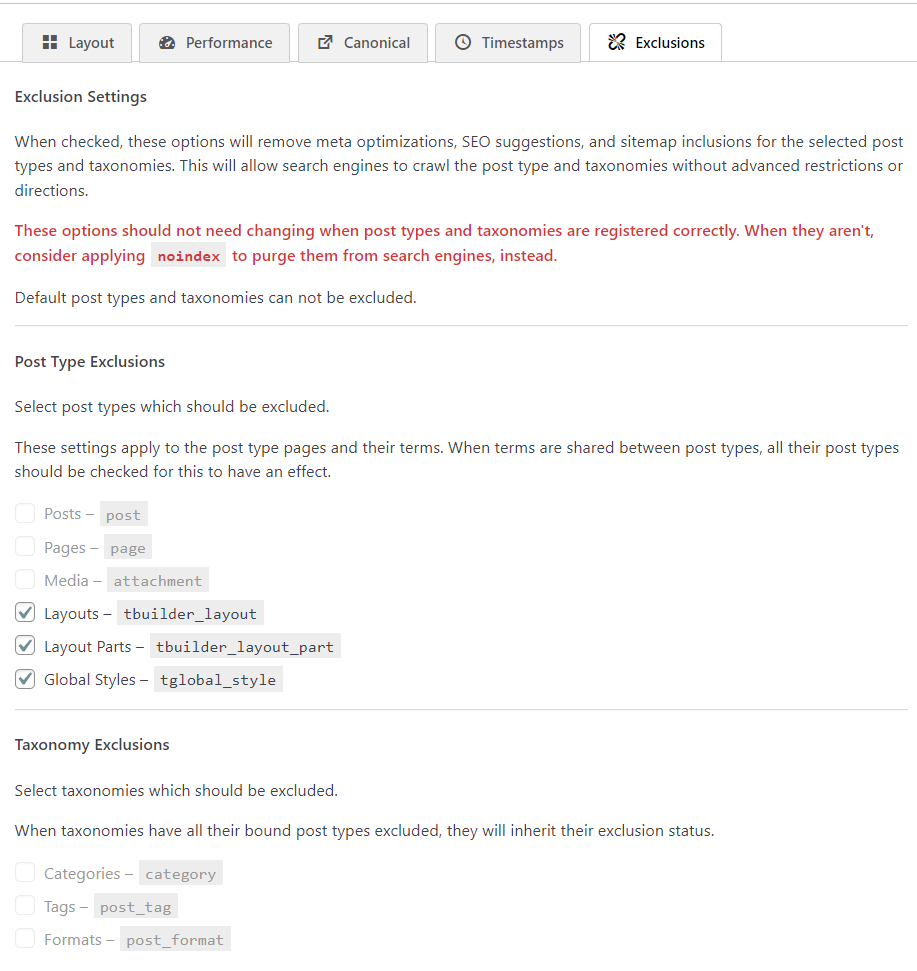
Nothing to change here. If you can enable this setting for posts or taxonomies then they are removed from search engines like Google.
3. Title Settings
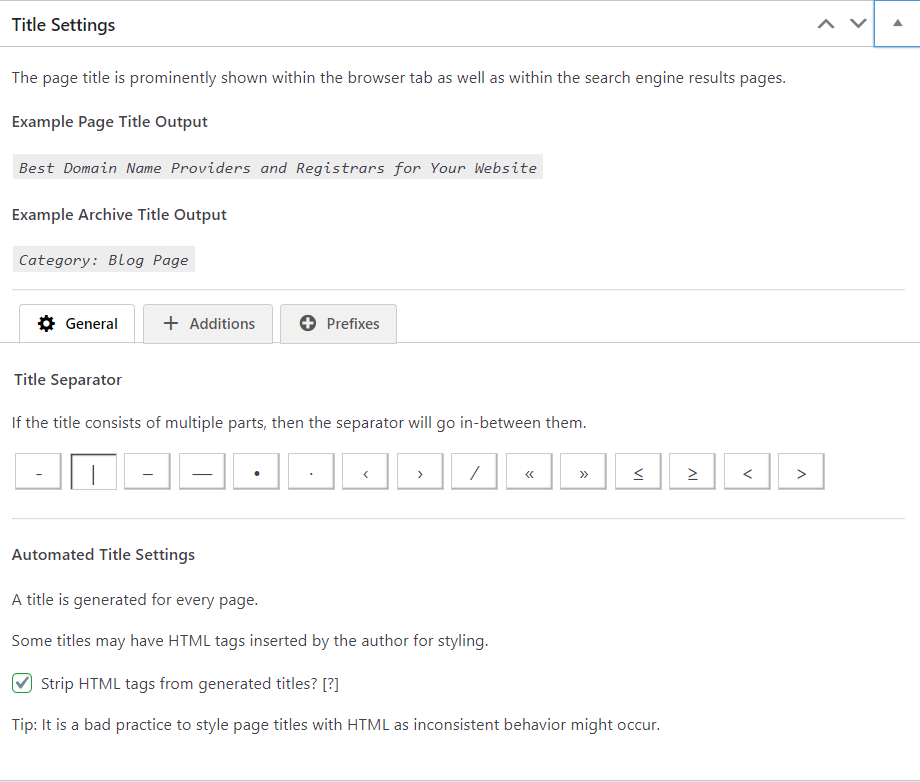
Title Separator: select your style of the separator.
Strip HTML tags from generated titles: Enable
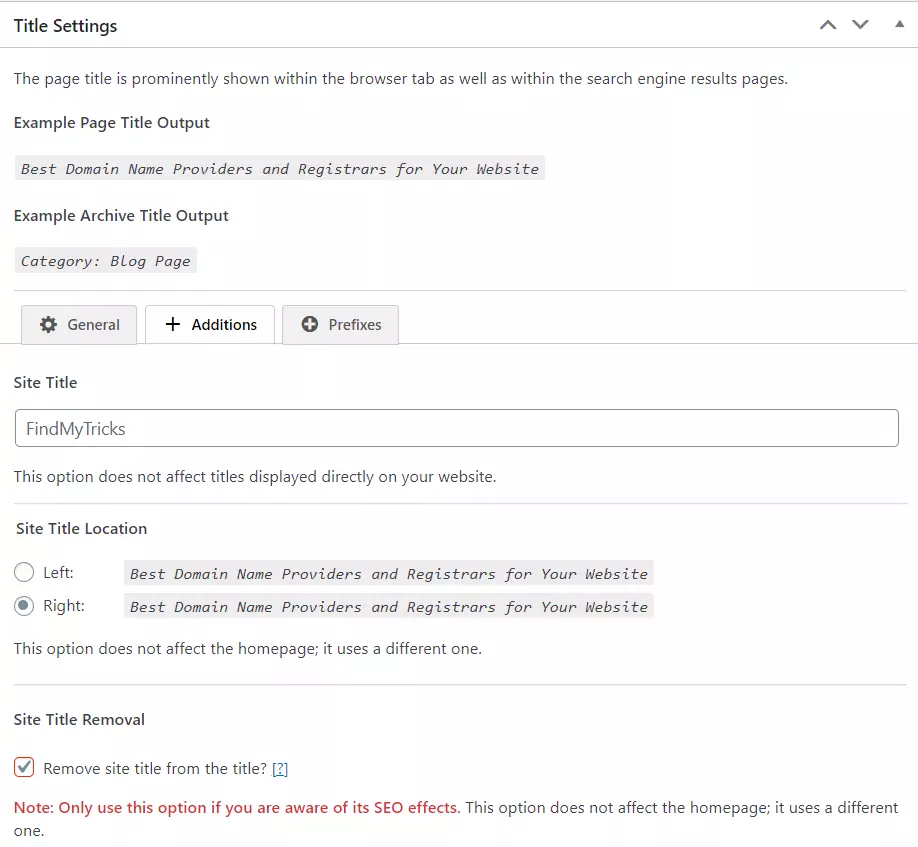
Here you can Write your Site Title as well as the location like left or right.
For ex – I choose “FindMyTricks” as my Site Title and Location as Right. So my blog appears as “SEO Framework Plugin Settings | FindMyTricks”.
But I prefer to remove the site title from the title.
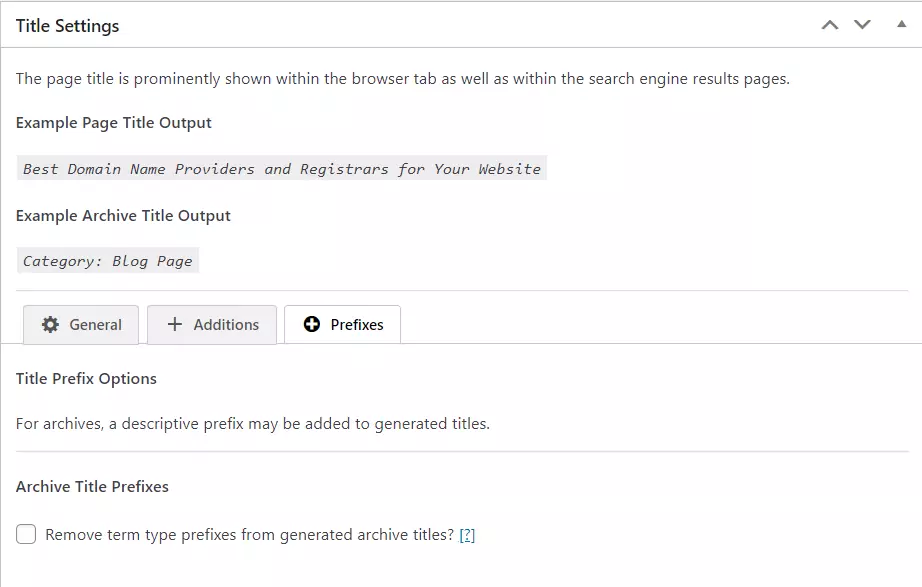
If you check the box then the category will be removed from “Category : Blog Page” and appear only Blog Page.
4. Description Meta Settings
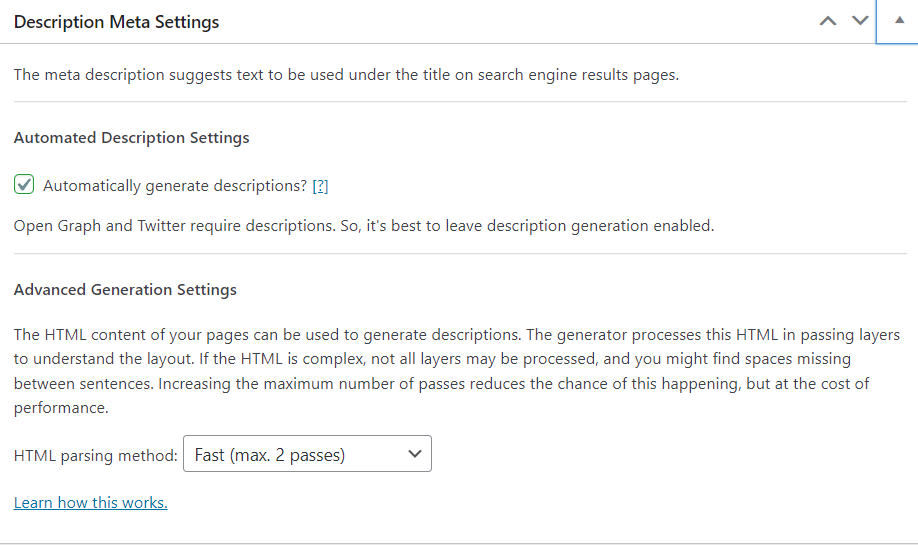
Automatically generate descriptions: Enable
By enabling this option a description can be automatically generated for every page.
HTML Parsing Method: Fast (Max. 2 Passes)
5. Social Meta Settings
General
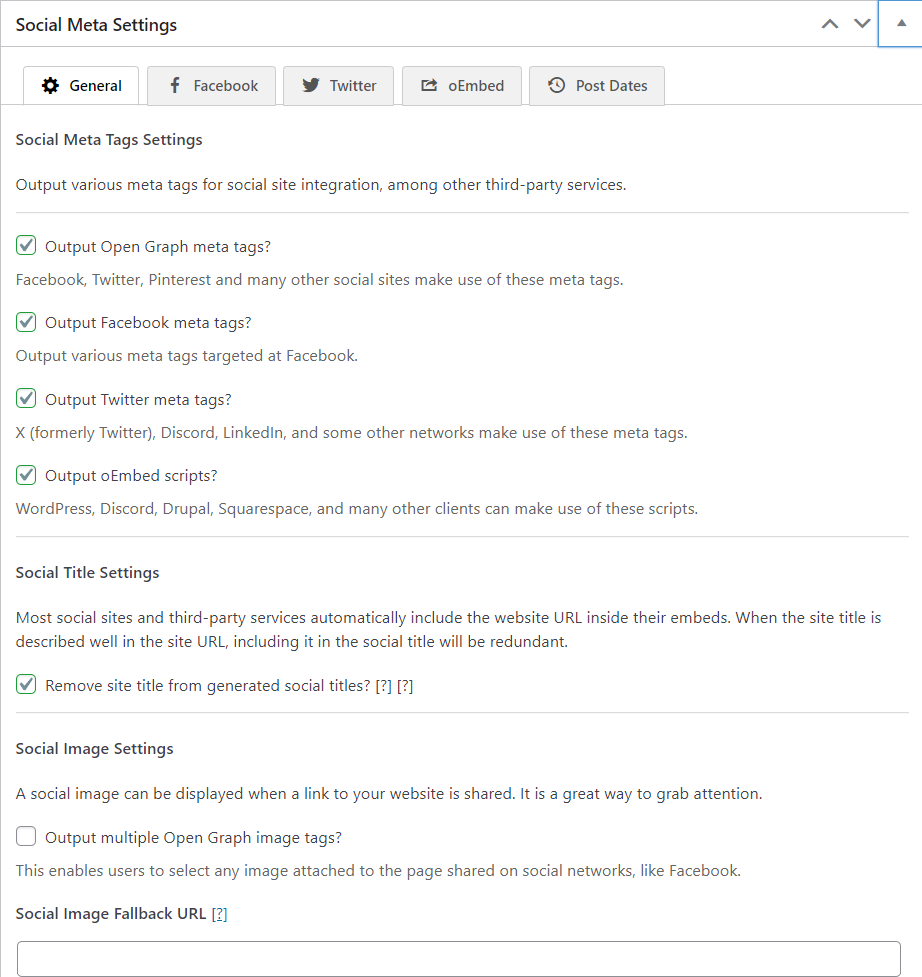
Social Meta Tags Settings
Output Open Graph meta tags: Enable
Output Facebook meta tags: Enable
Output Twitter meta tags: Enable
Output oEmbed scripts: Enable
Social Title Settings
Remove site title from generated social titles: Enable
It’s your choice to have the site title enable or disable when shared on any social media.
Social Image Settings
Output multiple Open Graph image tags: Disable
This enables users to select any image attached to the page shared on social networks.
I have featured images on every post, so I don’t need this option.
Social image fallback URL: Add the image URL that you want to display when shared on social media.
Theme Colour Settings
Theme colour: Leave as default.
Site Shortlink Settings
Output shortlink tag: Disable
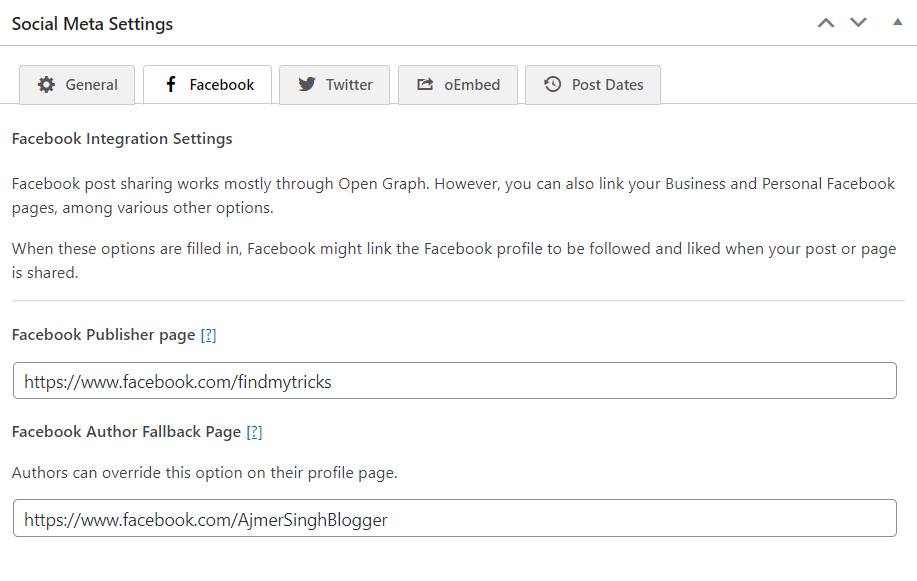
Facebook Integration Settings
Facebook App ID: Enter if you have any.
Facebook Publisher Page: Enter your Facebook page URL.
Facebook Author Fallback Page: Enter your Facebook profile URL.
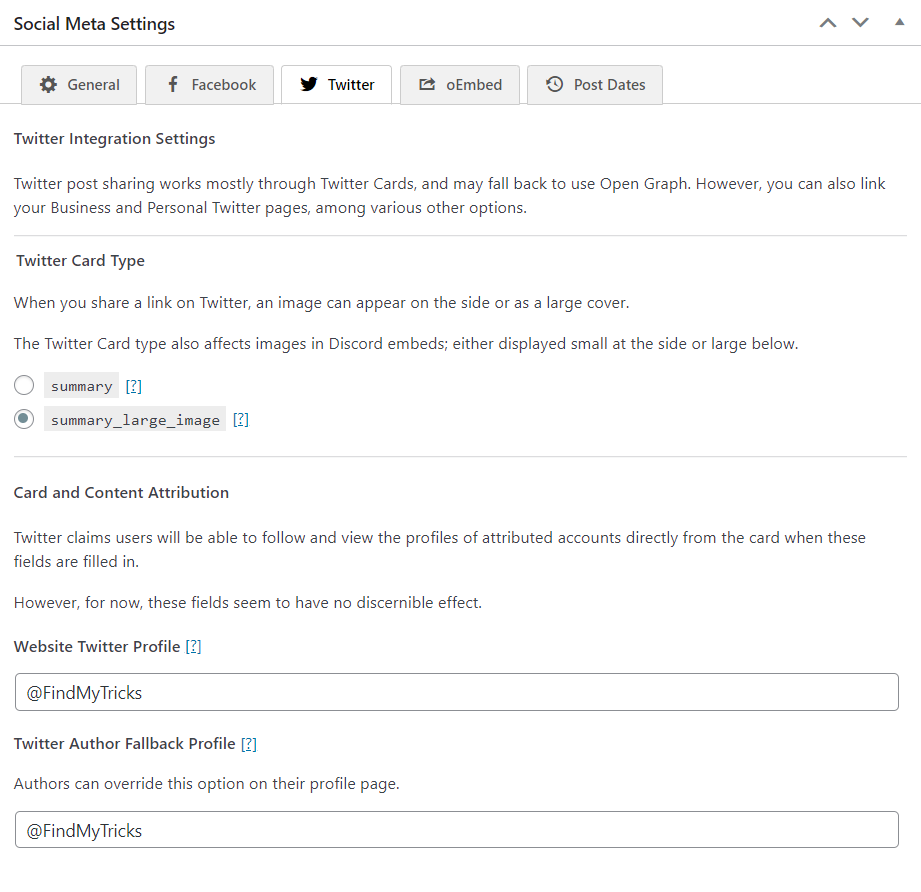
Twitter Integration Settings
Twitter Card Type: Select summary or summary with a large image. I personally prefer a summary with a large image.
Tweets with images are grabbing attention.
Card and Content Attribution
Website Twitter Profile: Enter your Twitter username
Twitter Author Fallback Profile: Enter your Twitter username
oEmbed

oEembed Settings
Use Open Graph title: Disable
Enable this option if you want to replace page titles with Open Graph titles in embeds.
Use social image: Enable
LinkedIn displays the post’s featured image in embeds. Enable this option if you want to replace it with a social image.
Remove author name: Disable
Discord shows the page author’s name above the sharing embed. Enable this option if you find this undesirable.
Post dates
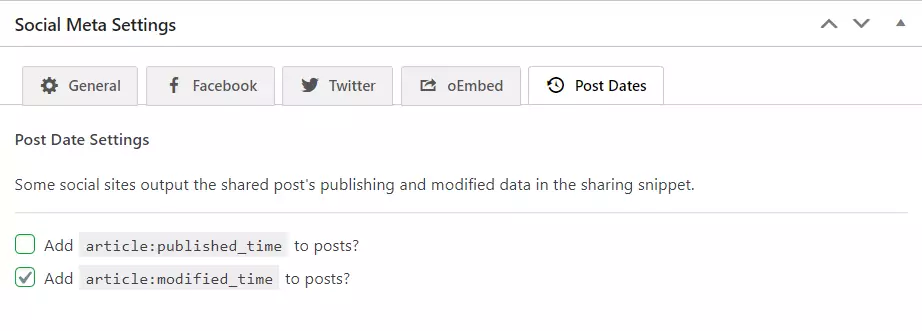
Some social sites output the shared post’s publishing and modified data in the sharing snippet.
Select the option you want to display i.e. published time or modified time.
6. Home Page Settings
General
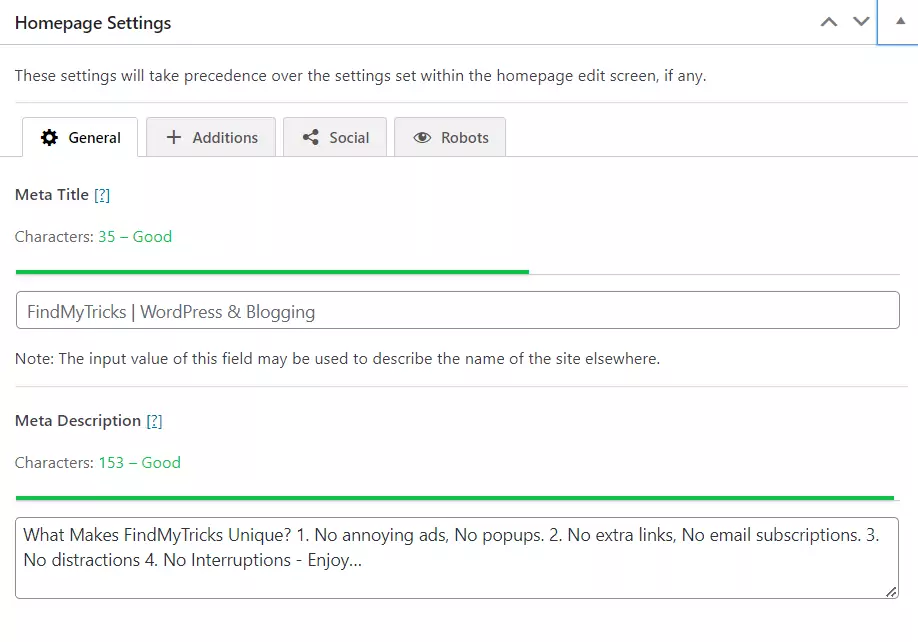
Meta Title: Enter your Homepage title.
Meta Description: Enter your Homepage description.
Additions

Meta Title Additions: Enter your site title.
Add Meta Title Additions to the homepage title: Enable
Meta Title Additions Location: I prefer right but it’s your choice.
Social

Open Graph Title: Homepage title
Open Graph Description: Homepage description
I prefer the same title and description on every social site.
Twitter Title: Homepage title
Twitter Description: Homepage description
As I said, I prefer the same title and description on every social site.
Robots
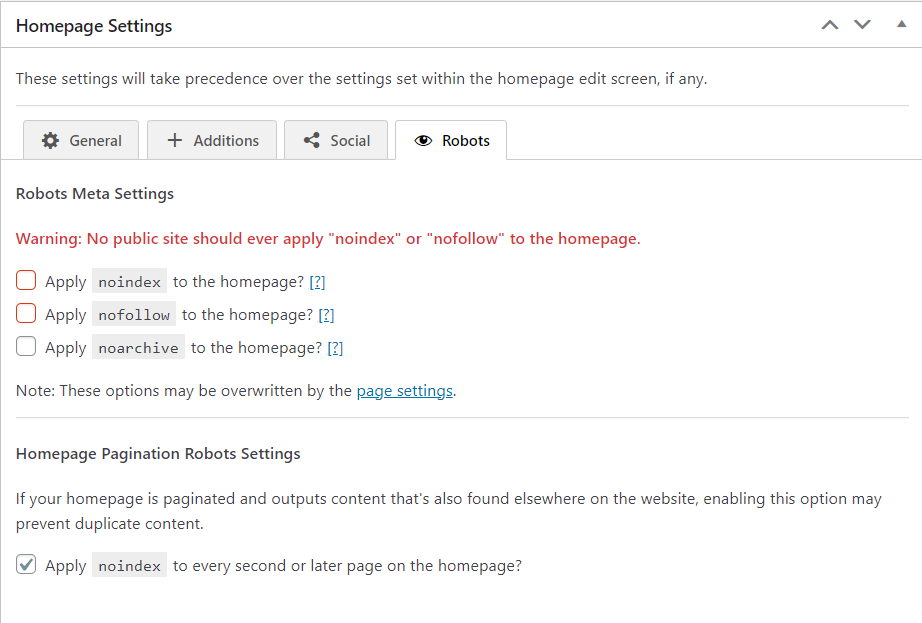
Robots Meta Settings
Apply ‘noindex’ to the homepage: Disable
Apply ‘nofollow’ to the homepage: Disable
Apply ‘noarchive’ to the homepage: Disable
Noindex your homepage simply means removing your site from search engines like Google.
Homepage Pagination Robots Settings
Apply ‘noindex’ to every second or later page on the homepage: Enable
If your homepage is paginated and outputs content that’s also found elsewhere on the website, enabling this option may prevent duplicate content.
7. Schema.org Settings
Structure
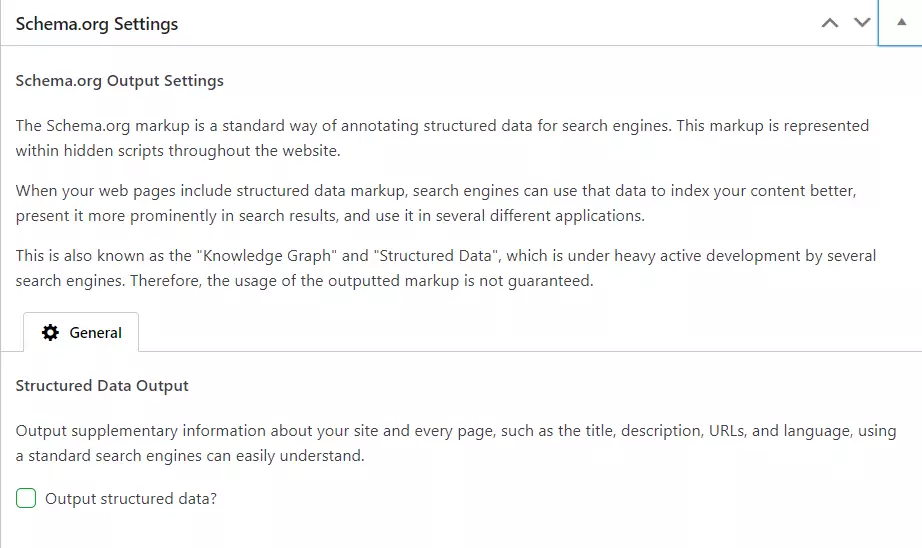
I am not using SEO Framework Schema as it contains limited schema options.
Follow these options if you want to use them.
Breadcrumbs: Enable
Breadcrumb trails indicate page positions in the site’s hierarchy.
Using the following option will show the hierarchy within the search results when available.
Sitelinks Searchbox: Enable
When Search users search for your brand name, the following option allows them to search through this website directly from the search results.
Presence
Authorised Presence Options
Output Authorised Presence: Enable
The authorised presence Schema.org output helps search engine users find ways to interact with this website.
About this website
The website represents: A person or Organisation
In my case, I am the only one that manages this site. But if you are representing an organisation then select that option.
The organisation or personal name: Enter your name or Organisation name.
Website Logo
Website logo: Enable
Logo URL: Submit the logo URL that represents your website.
8. Robots Meta Settings
General
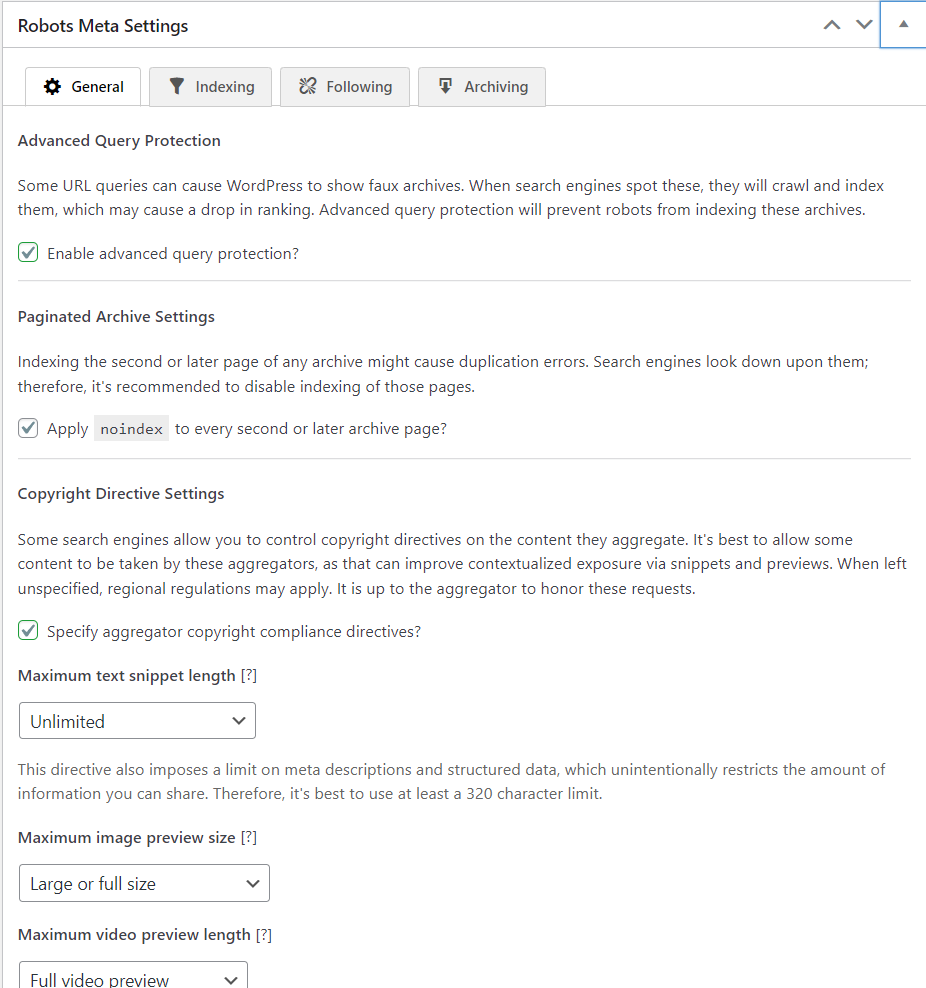
Advanced Query Protection: Enable
Some URL queries can cause WordPress to show faux archives.
When search engines spot these, they will crawl and index them, which may cause a drop in ranking.
Advanced query protection will prevent robots from indexing these archives.
Apply noindex to every second or later archive page: Enable
Indexing the second or later page of any archive might cause duplication errors.
Search engines look down upon them; therefore, it’s recommended to disable indexing of those pages.
Specify aggregator copyright compliance directives: Enable
Some search engines allow you to control copyright directives on the content they aggregate.
It’s best to allow some content to be taken by these aggregators, as that can improve contextualised exposure via snippets and previews.
When left unspecified, regional regulations may apply. It is up to the aggregator to honour these requests.
Maximum text snippet length: Unlimited
Maximum image preview size: Large or Full Size
Maximum image preview length: Full video preview
Indexing
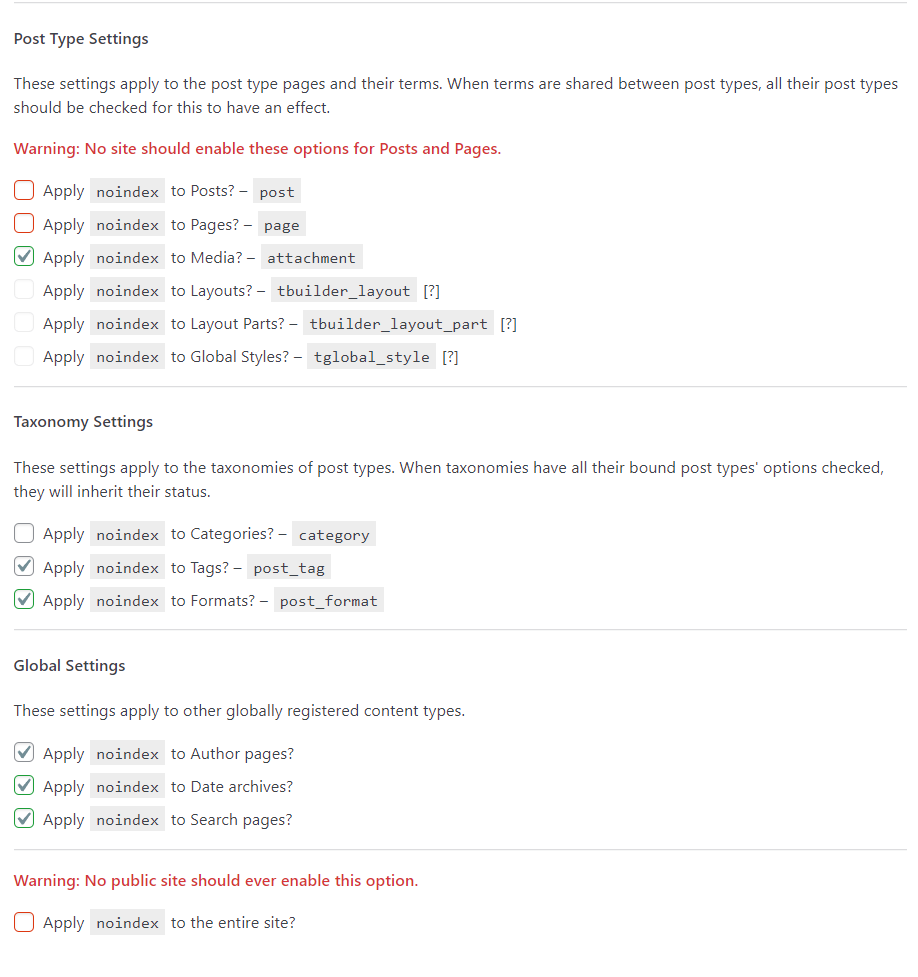
Enable every option except Categories.
Why, Because these can create duplicate content issues.
Following
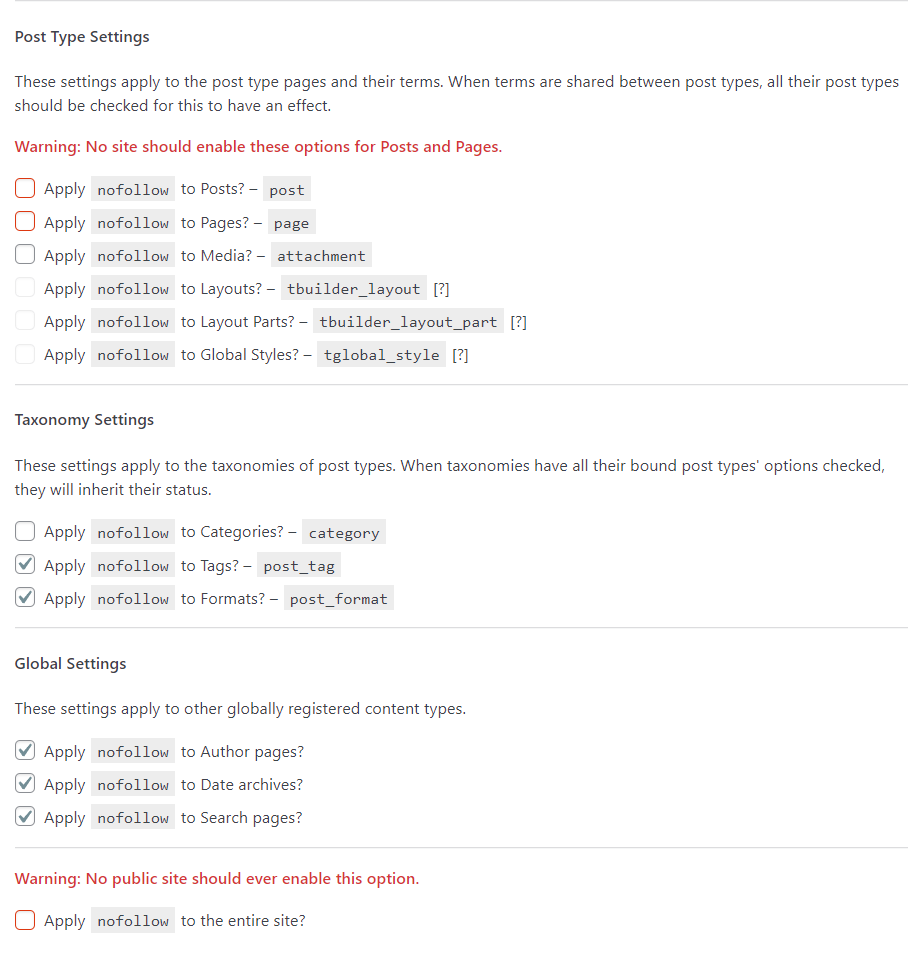
Enable every option except Categories.
Archiving
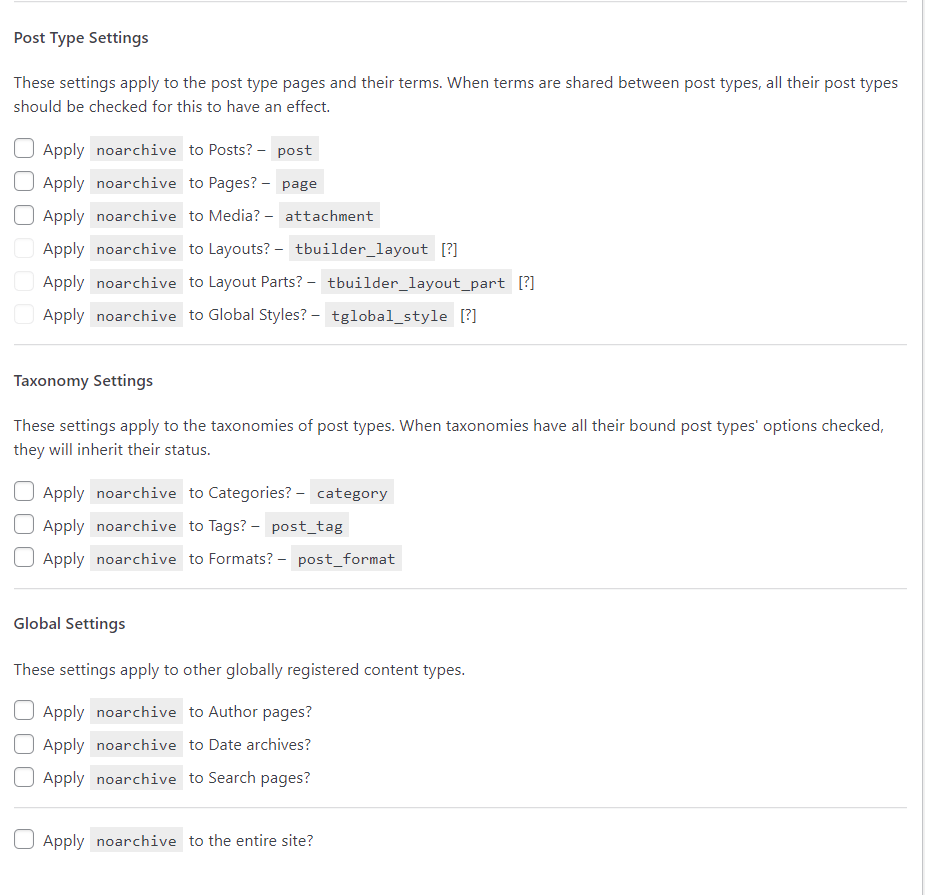
These options most likely prevent caching of the selected archives and pages.
If you enable this, bots are urged not to create a cached copy of the selected archives or pages.
Not recommended to enable any option.
9. Webmaster Meta Settings
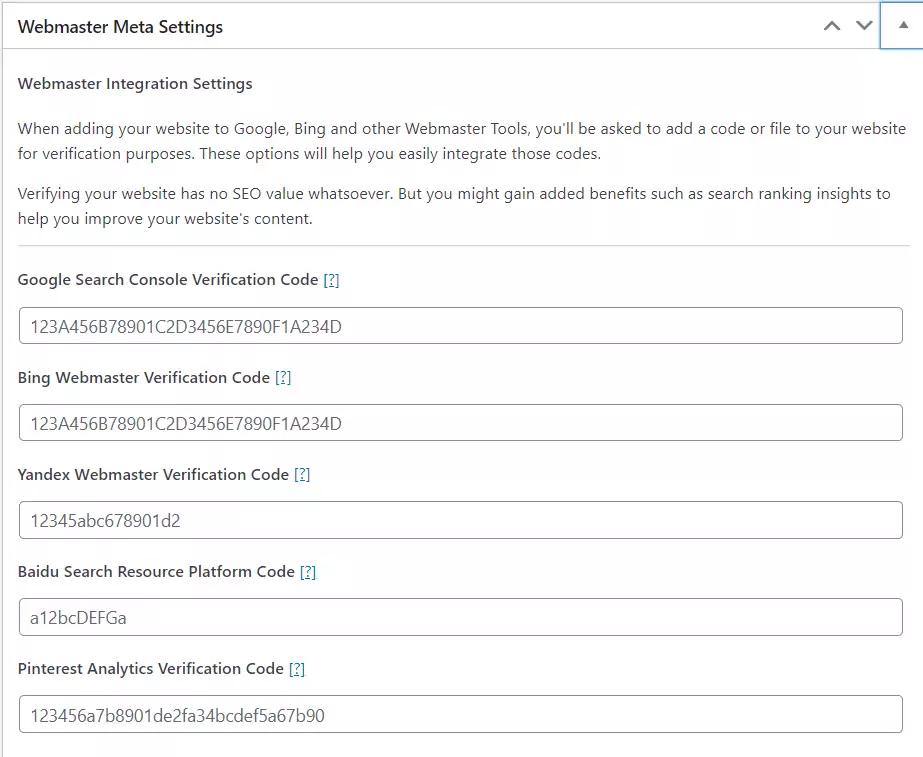
Enter your verification code of different search engines where you want your site to appear properly and control different parts of it.
Just click on the [?] and you will be redirected to the verification page.
10. Sitemap Settings
General
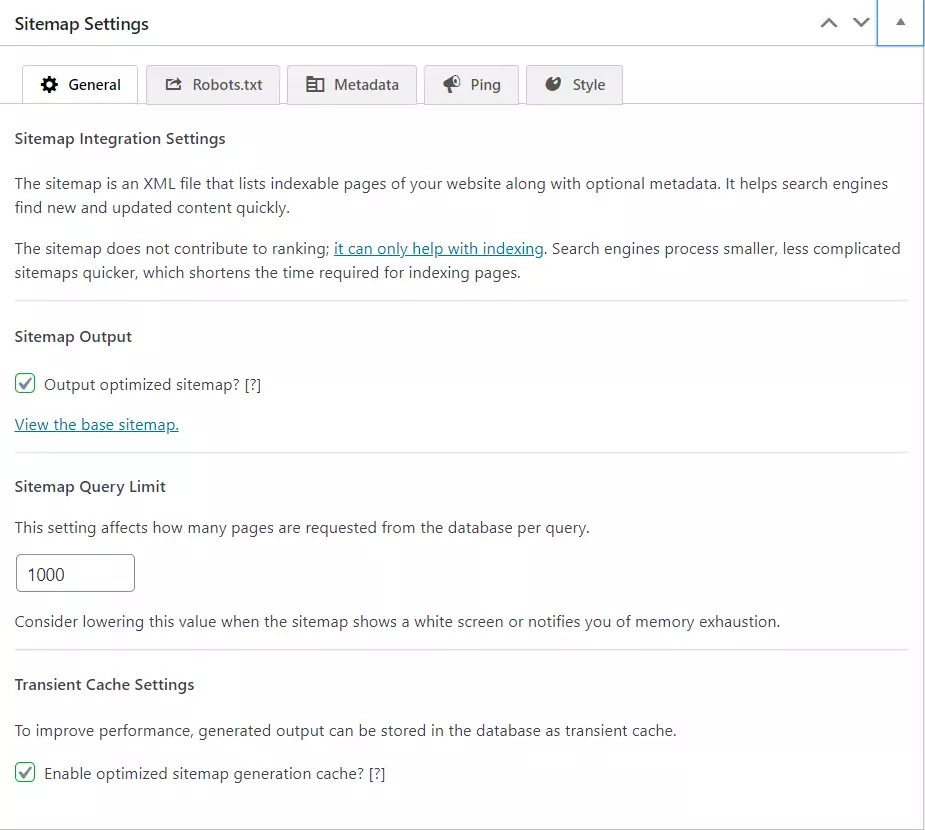
The sitemap is an XML file that lists indexable pages of your website, along with optional metadata.
It helps search engines find new and updated content quickly.
Output Optimized Sitemap: Enable (This type of sitemap is processed quicker by search engines)
Sitemap Query Limit: 1000 (Consider lowering this value when the sitemap shows a white screen or notifies you of memory exhaustion.)
Optimized sitemap generation cache: Enable
Robots.txt
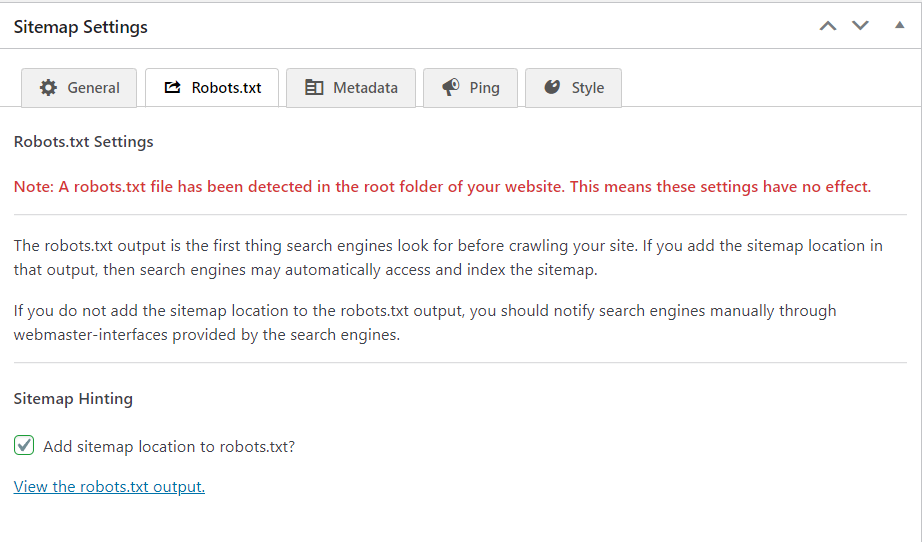
The robots.txt output is the first thing search engines look for before crawling your site.
If you add the sitemap location in that output, then search engines may automatically access and index the sitemap.
Add sitemap location to robots.txt: Enable
Metadata
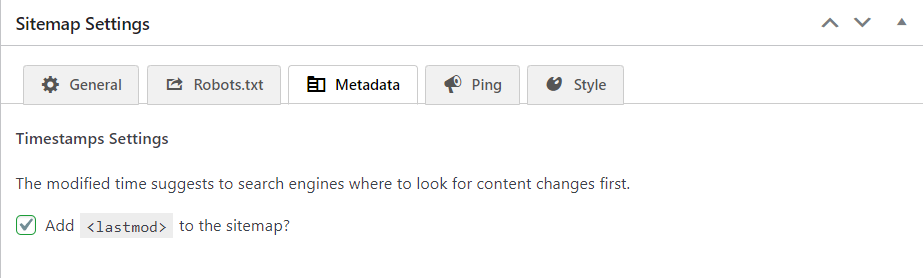
The modified time suggests to search engines where to look for content changes first.
Add ‘<lastmod>’ to the sitemap: Enable
Ping
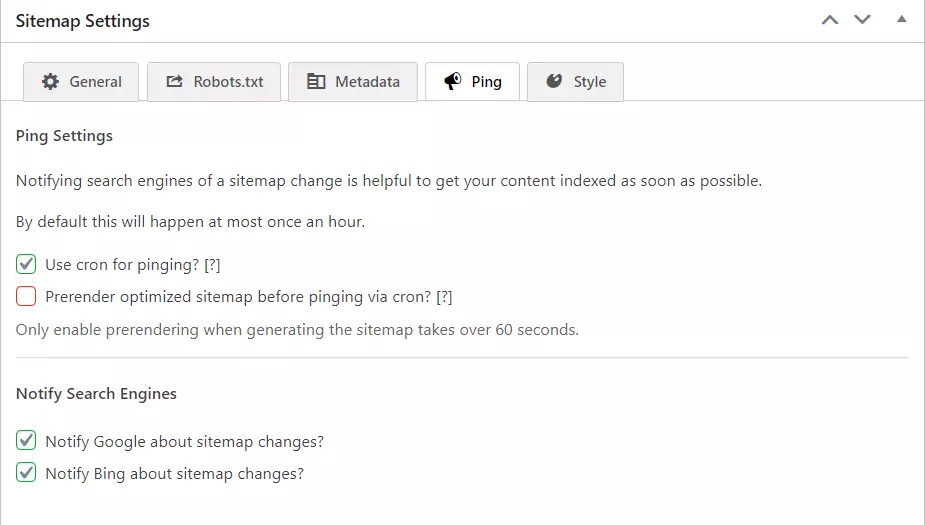
Ping Settings
Pinging or Notifying search engines of a sitemap change is helpful to get your content indexed as soon as possible.
Use cron for pinging: Enable
This speeds up post and term saving processes, by offsetting pinging to a later time.
Prerender optimised sitemap before pinging via cron: Disable
Only enable prerendering when generating the sitemap takes over 60 seconds.
Notify Google about sitemap changes: Enable
Notify Bing about sitemap changes: Enable
Style
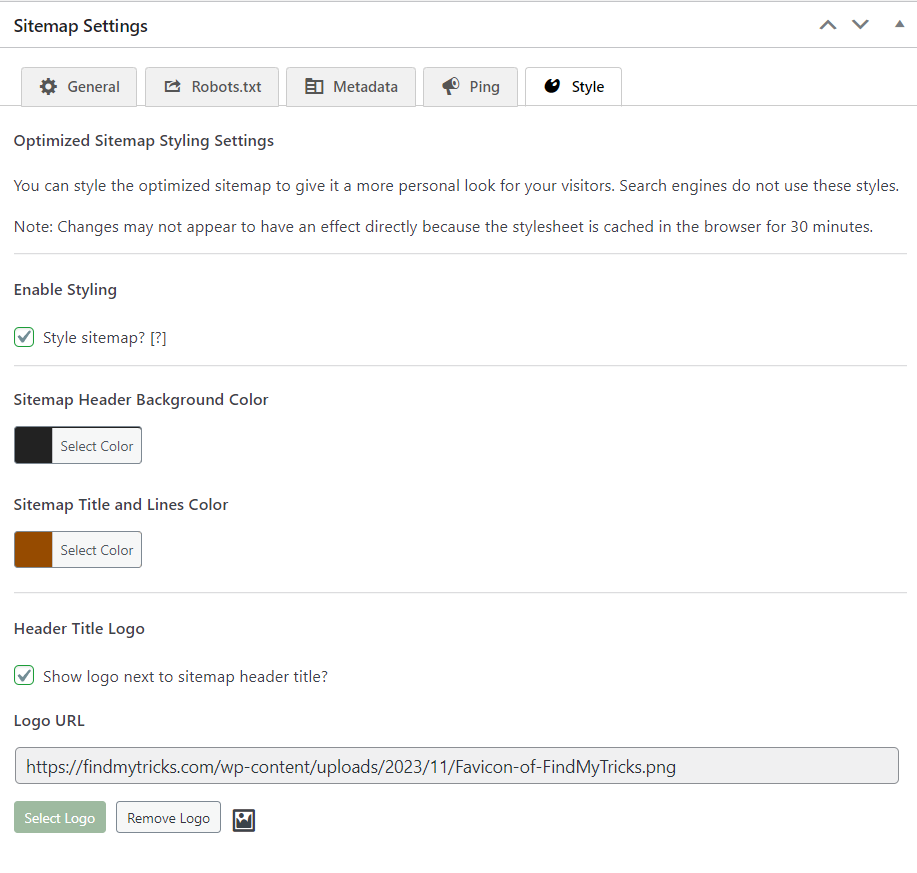
You can style the optimised sitemap to give it a more personal look for your visitors. Search engines do not use these styles.
Note: changes may not appear to have an effect directly because the style sheet is cached in the browser for 30 minutes.
Select the options according to your preferred choice.
11. Feed Settings
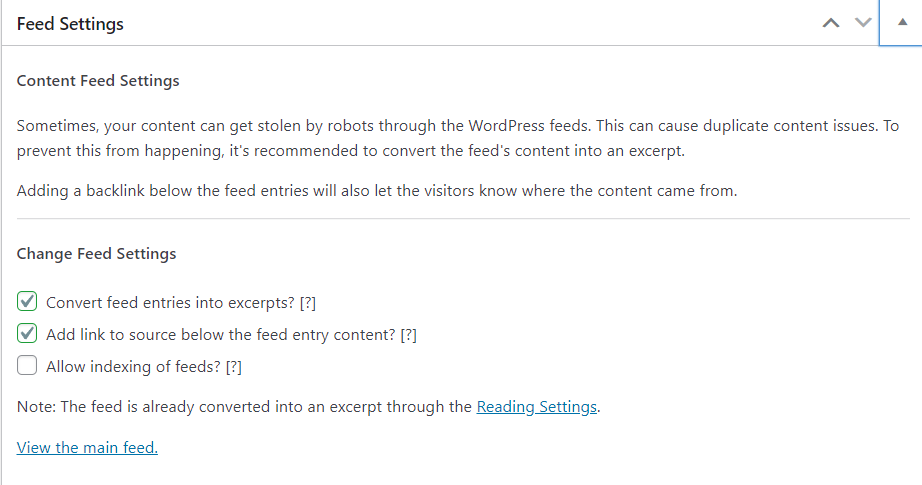
Content Feed Settings
Sometimes, your content can get stolen by robots through the WordPress feeds. This can cause duplicate content issues.
To prevent this from happening, it’s recommended to convert the feed’s content into an excerpt.
Adding a backlink below the feed entries will also let the visitors know where the content came from.
Convert feed entries into excerpts: Enable
Add a link to the source below the feed entry content: Enable
Allow indexing of feeds: Disable
SEO Framework Extension Manager
The extension manager provides some extra features that enhance the performance of this plugin.
1. Focus (Premium)
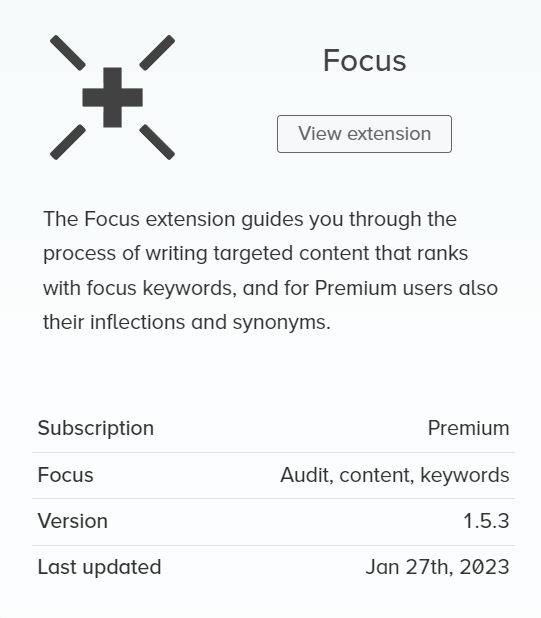
The Focus extension helps you write content that gets noticed on the internet.
It guides you on using specific keywords to make your content stand out.
If you’re a Premium user, it even suggests related words and variations to make your writing even better.
2. Articles (Premium)
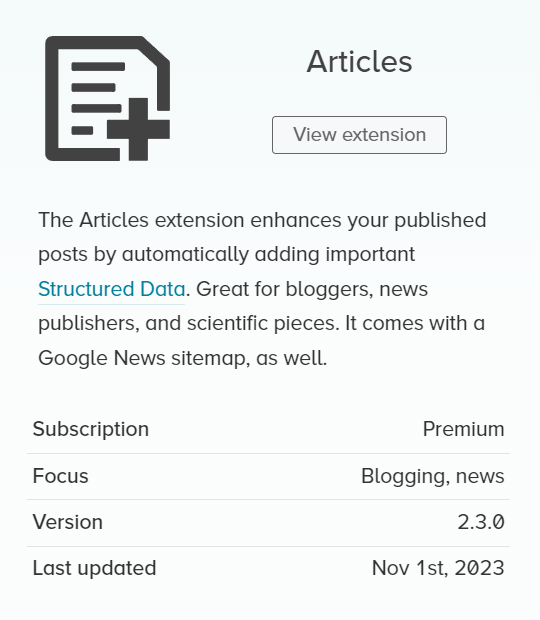
The Articles extension boosts your blog posts by adding important Structured Data automatically.
It’s excellent for bloggers, news writers, and scientific articles. Plus, it includes a Google News sitemap.
3. Honeypot (Premium)
The Honeypot extension is like a super-effective guard for your website against comment spammers.
It catches them 99.99% of the time!
It does this using five smart methods that are strong but won’t accidentally reveal any of your site’s information.
It’s like having a reliable shield for your website comments.
4. Cord (Premium)
The Cord extension is like a bridge for your website.
It helps link your site to other services, such as Google Analytics and Meta Pixel.
5. Local (Premium)
The Local extension helps you share important details about your local business with search engines.
6. AMP (Free)
The AMP extension connects The SEO Framework to the AMP plugin, making sure that SEO improvements apply to articles and pages that support AMP.
7. Monitor (Premium)
The Monitor extension watches over your website’s SEO improvements and numbers.
8. Incognito (Free)
The Incognito extension makes sure that any comments related to development are hidden when using The SEO Framework.
9. Origin (Free)
The Origin extension makes sure that when people visit an attachment page, they get sent back to the main post.
10. Title Fix (Free)
The Title Fix extension ensures that your article’s title appears the way you want it to, even if your website’s theme is not getting it right.
That’s why I recommend selecting an SEO-optimized theme like Themify Ultra.
Is this extension for you?
If you notice your page titles aren’t what you set them to be, then yes.
Otherwise, this extension won’t have any effect.
When the extension is active, it automatically looks for the title in your page’s source and overwrites it when found.
11. Transport
The Transport extension helps move SEO information from one plugin to The SEO Framework.
Wrapping Up – SEO Framework Plugin Settings
Using the right settings in an SEO framework plugin is like giving your website a superpower for being found on the internet.
It’s like setting up signposts that guide search engines to your site.
Imagine it as the perfect recipe to make your website show up higher in search results.
SEO Framework is one of the recommended SEO plugin for WordPress users looking for speed as well as performance.
I switched to SEO Framework and found it helpful. What are your thoughts?
Let me know in the comments section.