A Step-by-Step Guide to Adding Google Analytics to Your WordPress Site
Estimated reading time: 5 minutes
Last updated on May 24th, 2024 at 07:31 am
Imagine you open a shop, and you want to know how many people come in and what they like.
That’s what Google Analytics does for your website.
It helps you understand who’s visiting, what they’re doing, and what they like the most.
Did you know that over 30 million websites use Google Analytics?
It’s like a must-have tool for understanding your online visitors.
Websites using Google Analytics see an average increase of 20% in user engagement.
It’s like learning what your customers love and giving them more of it.
How to install and add Google Analytics to WordPress?
Google Analytics is a powerful tool that provides valuable insights into your website’s performance, visitor behaviour, and marketing effectiveness.
Integrating it with your WordPress site allows you to track important metrics and make data-driven decisions to enhance your online presence.
Let’s explore the different options to add Google Analytics to WordPress.
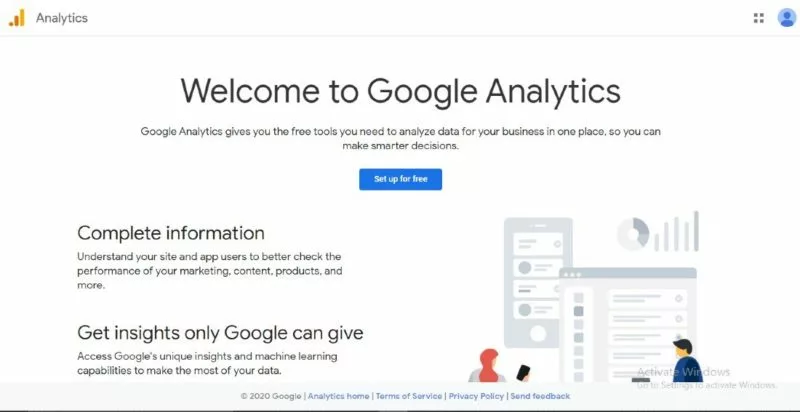
1. Create an account with Google Analytics
First of all, you need to visit Google Analytics and sign up with your Google account.
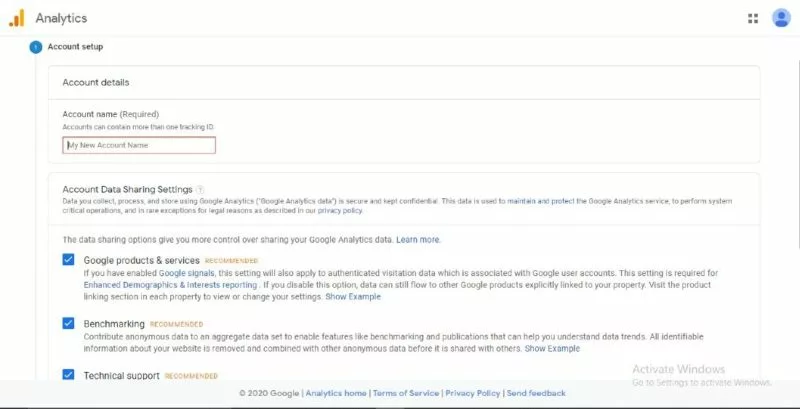
Fill up your account name (anything you want) then click all the checkboxes and be done.
Let’s move on to the second step.
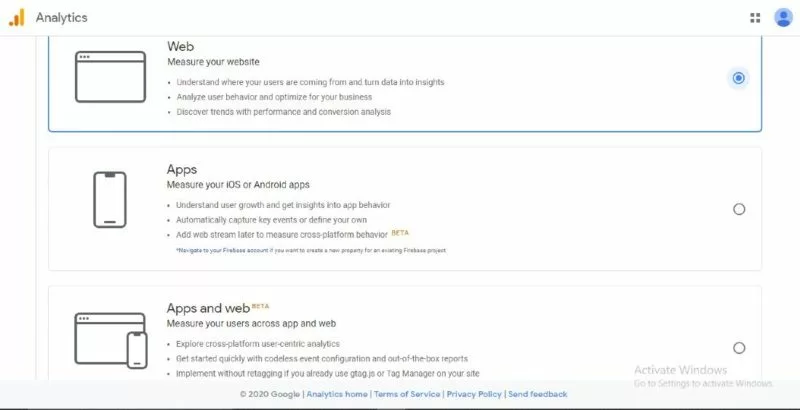
Now in the next step, you can see 3 things:
- WEB – If you want to check stats for your website then click here.
- APPS – This option is for app owners who want to check the statistics of their apps.
- APPS & WEB – This option is for both website and app owners.
For now, we are here to check website stats, so click on the WEB and come to the next step.
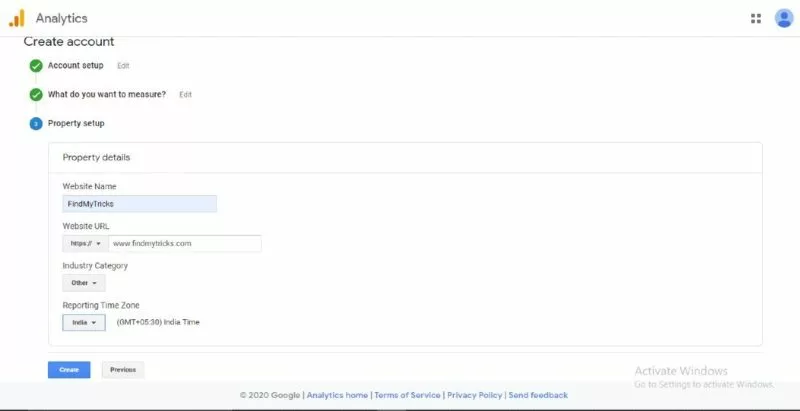
In this last step, you have to enter your website details.
Website name – You can fill up anything you want.
Website URL – Enter your URL with Http/Https.
Industry category – Choose your website category.
Reporting Time Zone – Your country’s time zone or whatever you want.
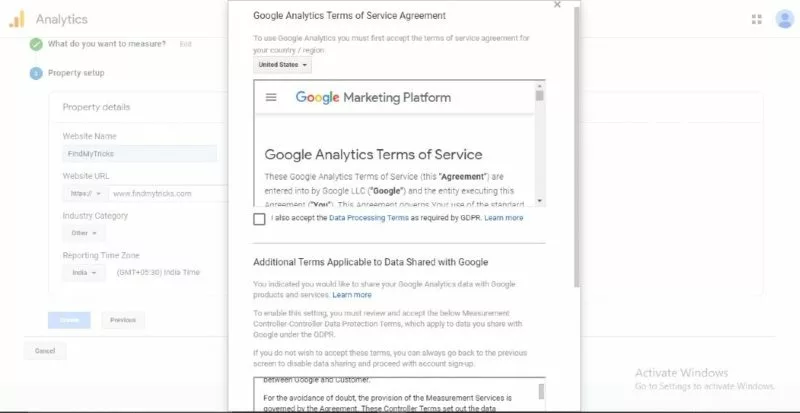
Read their terms and conditions, click them and continue.
![]()
On the next page, you will get your tracking ID and code.
Copy the tracking ID for later.
You can use the code to enter manually in the header or footer, but I prefer to use the tracking ID with the help of these two plugins or a theme for better results:
- MonsterInsights
- CAOS
- Themify Ultra Theme
2. Connect with MonsterInsights
First, you need to activate and install the plugin.
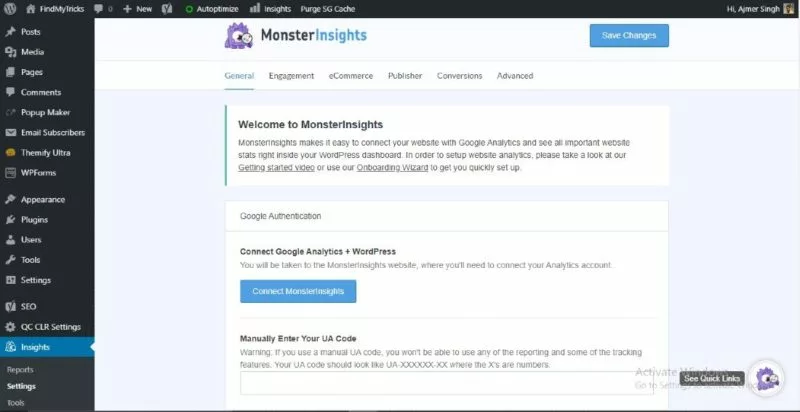
Settings – General
You can connect Google Analytics with MonsterInsights or manually enter your tracking ID.
I prefer manually entering the tracking ID otherwise you can check both.
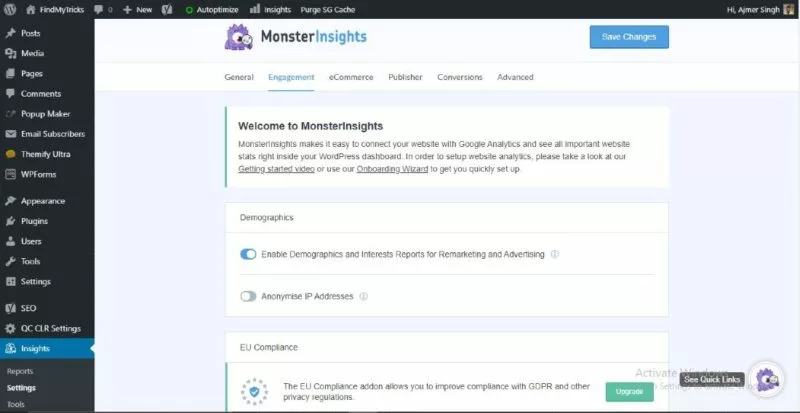
Engagement
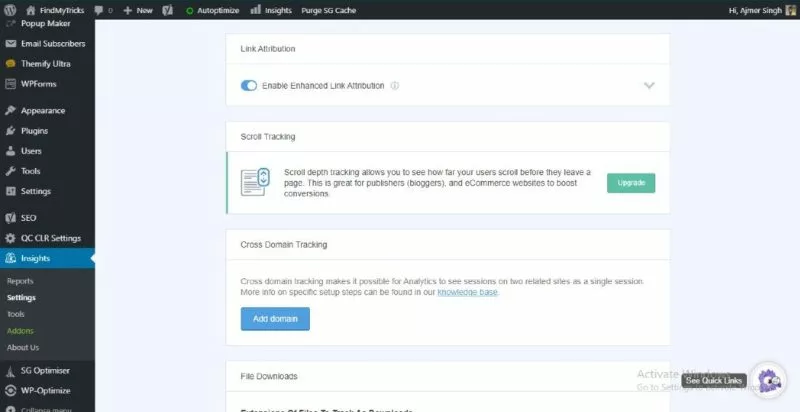
Here you can enable or disable demographics or link attribution settings.
You can also add a URL for cross-domain tracking.
Do these settings as per your need.
Leave blank or default if you don’t know about these options.
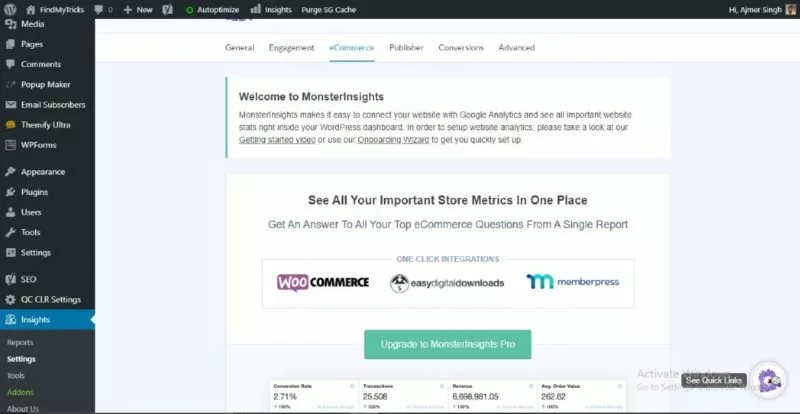
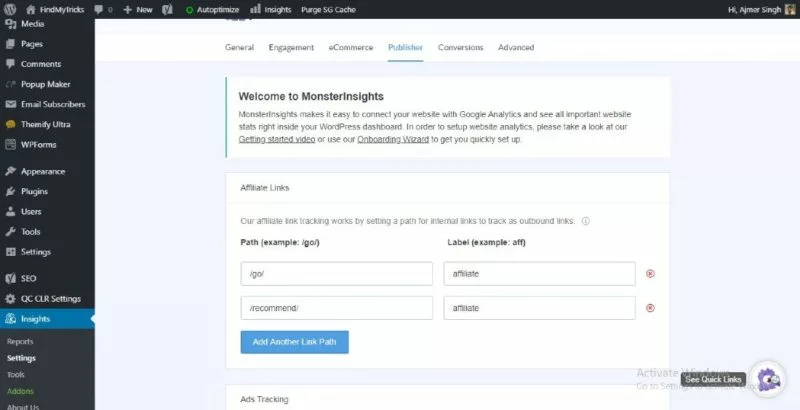
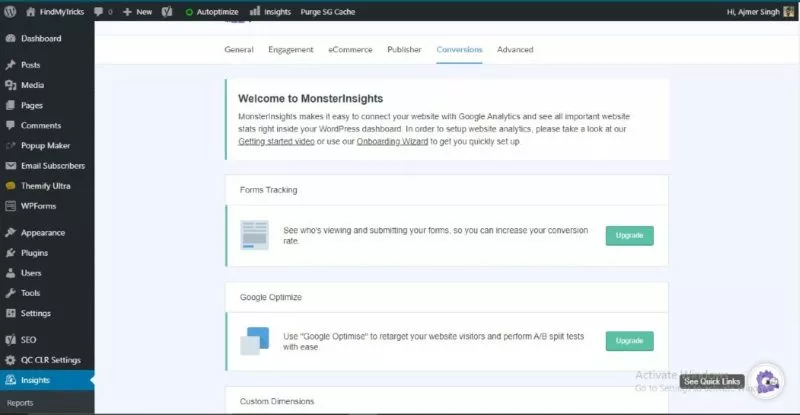
eCommerce, Publisher & Conversions are premium options for which you have to pay. So leave this for now.
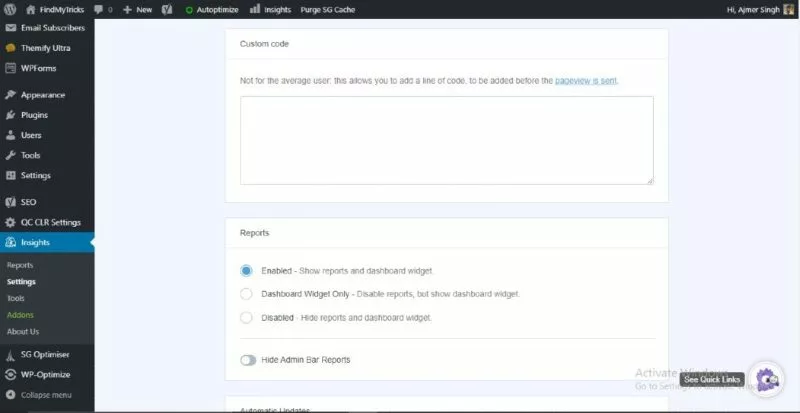
Here you can give user role permissions to see reports, save settings, and exclude them from tracking.
Enable or disable the dashboard widget and reports.
Show or hide admin bar reports.
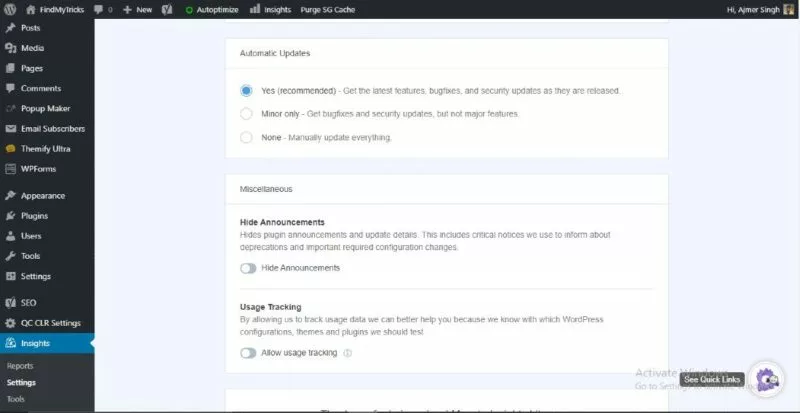
Enable or disable automatic updates.
Show or hide announcements.
Allow or disallow usage tracking.

3. Connect with CAOS (Host Google Analytics locally)
This plugin hosts google analytics locally which means your page speed/performance is not affected by external requests.
This plugin can create a folder anallytics.js which you can cache and optimize.
Activate and install the plugin.

Enter your Google Analytics tracking ID.
Allow tracking – always
Snippet type – default
Enable compatibility mode – Leave blank or choose MonsterInsights if you want both plugins.
Stealth mode – disable
Which file to download – analytics.js
Save analytics.js to – leave this as it is
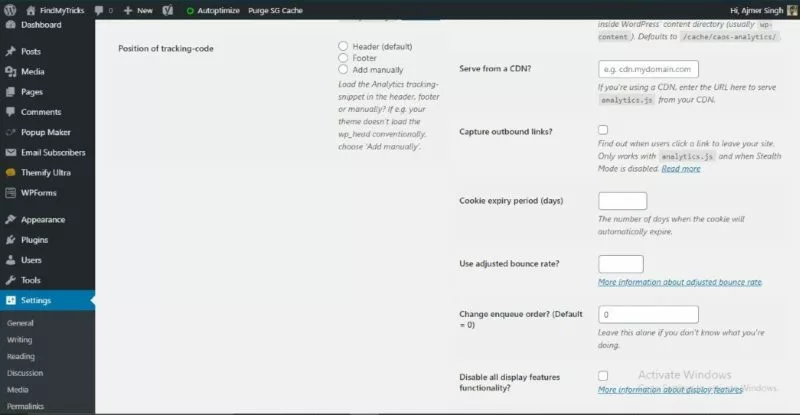
Position of tracking code – Header
Serve from a CDN – if you are using CDN then enter the URL here otherwise leave blank. (not for Cloudflare users)
Capture outbound links – this is used to track “when users leave your site or click on outbound links on your site”.
This only works if you choose the analytics.js file for download and disable stealth mode.
Cookie expiry period – you can set a cookie (in days)
use adjusted bounce rate – for now, leave this blank
Change enqueue order – 0
Disable all display features functionality – leave
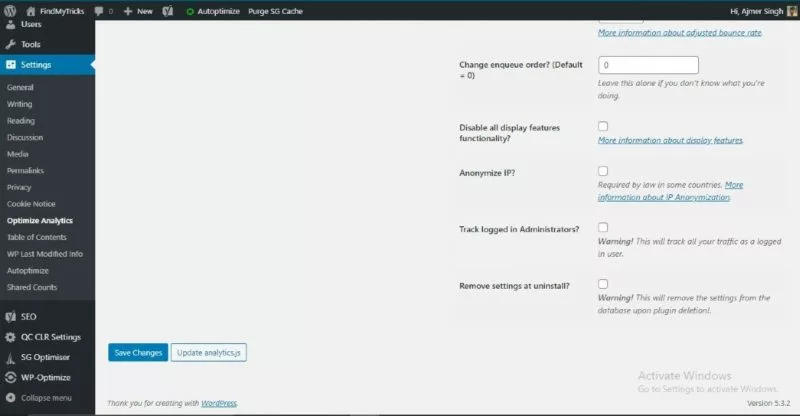
Anonymise IP – disable
Track logged-in administrators – disable
Remove settings at uninstall – Enable if you want all the settings to be removed after the uninstallation.
Save changes and done.
4. Themify Ultra
If you are using the Themify Ultra theme (recommended), then you can directly add the Google Analytics code to the theme settings.
No need to install an extra plugin and load your server.
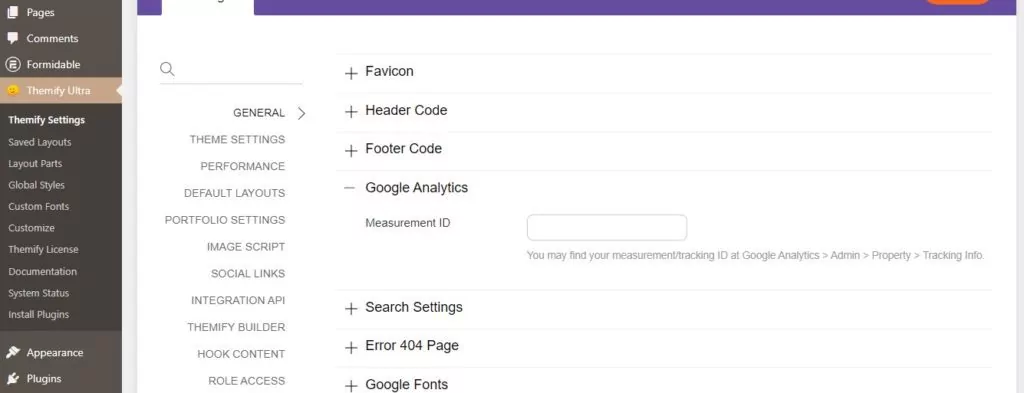
Click on Themify Ultra – Themify settings – General – Google Analytics.
Add the code and save – done.
Easy and Simple, right?
5. How to Check Stats?
After all the steps are done, wait for a few hours for Google Analytics to analyze and collect the data.
- You can check your stats in your admin dashboard with MonsterInsights.
- Or visit the Google Analytics site directly.
- Or download the Google Analytics app on your mobile and log in with the same ID to check the stats directly on your mobile.
Wrapping Up
Google Analytics provides a powerful tool for website owners, enabling them to track their progress and adapt their strategies to achieve their online goals.
So, don’t delay – take advantage of this valuable resource and start using Google Analytics for your WordPress site today.