How to Show Blog Post Modified Date – Last Updated Date and Time in Search Engines
Estimated reading time: 5 minutes
Last updated on March 26th, 2024 at 07:11 am
Do you want to know “How to display last updated date of Blog Posts”?
Have you ever faced this situation: “You published an article in 2021 and updated it in 2024 but Google still displays the published date”
Or sometimes no date as well.
Search engines like Google appreciate fresh content, and when your readers see that you’ve recently updated a post, it adds a touch of reliability.
Now, for a quick fact: Blogs that regularly update their content tend to have 434% more indexed pages on search engines.
That’s a solid boost for getting noticed.
Did you know that doing this can improve your SEO?
So, how do you do it?
Don’t worry there is a plugin with simple configurations “WP Last Modified Info Plugin“.
WP Last Modified Info plugin settings and Configuration
1. Install & Activate
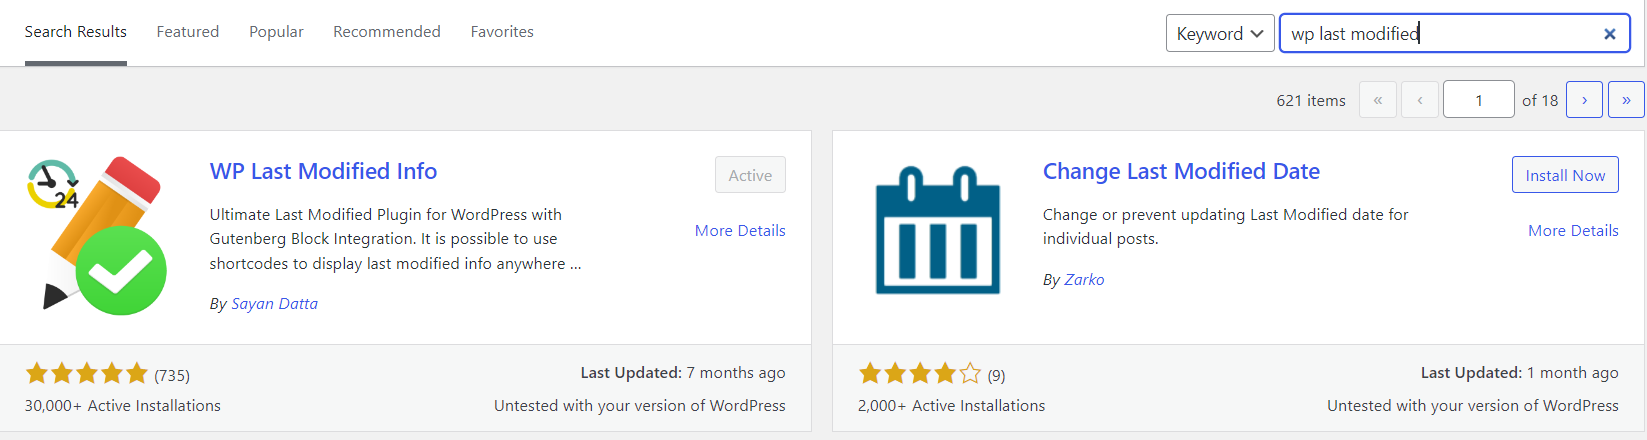
First of all, you have to install and activate this plugin.
Go to plugins – add new – search last modified – install WP Last Modified Info – activate.
Now let’s set up every settings tab one by one.
2. Posts Settings
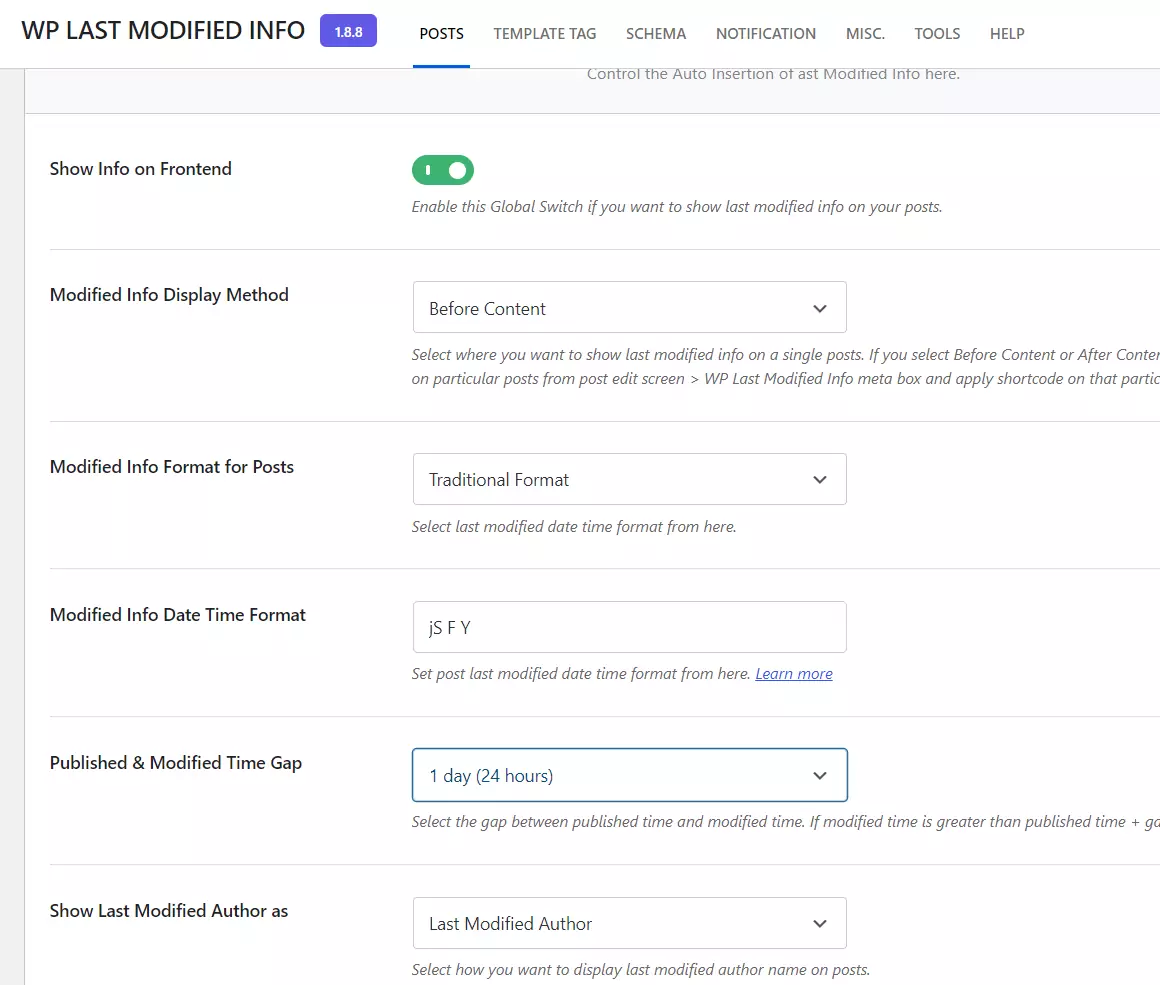
Show info on frontend: Enable
Enable this option if you want to show the last modified info on your posts.
Modified info display method: Before content
You can select after content, replace the published date, or manually insert the info anywhere using the shortcode.
I prefer before content but after all, it’s your choice.
Modified info format for posts: Traditional format
The traditional format is what I use but you can also use a human readable format according to your preference.
Modified info date time format: jS F Y
You can change the format from your WordPress settings – general – date/time format.
Published and modified time gap: 1 day (24 hours)
Select the gap between published time and modified time.
If the modified time is greater than the published time + gap, then it shows the last modified info on the frontend.
Show last modified author as: Last modified author
I am the only author on my website so I select the last modified author. If you have multiple authors then select custom author.
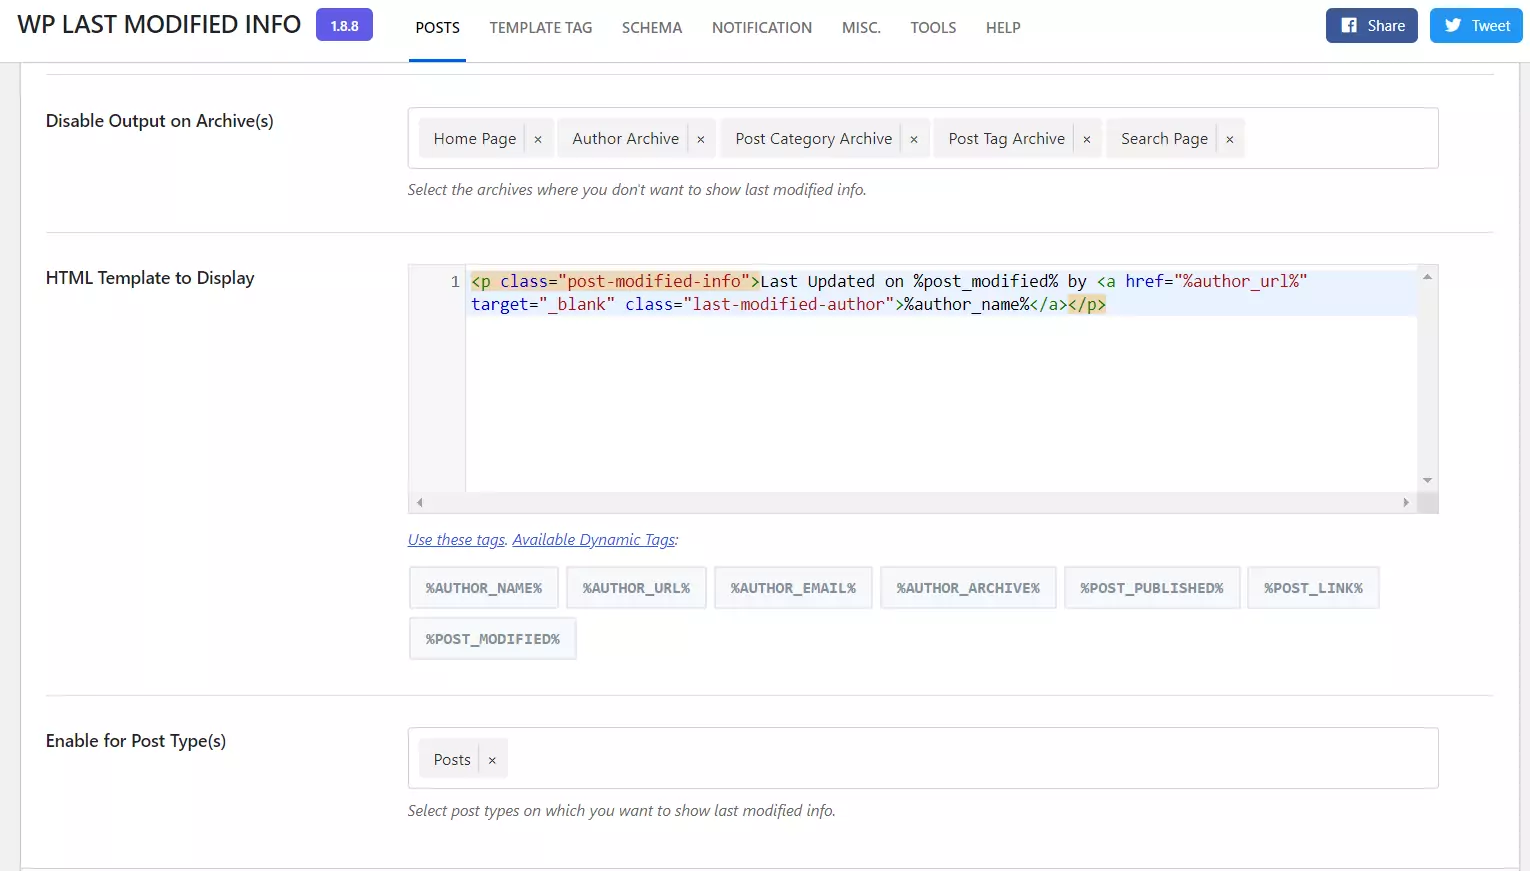
Disable output on Archives: You can select pages here where you don’t want to show the last modified info like homepage.
HTML template to display: You can use this code to display manually.
You can also modify this code using the given tags below this option.
Enable for post types: Posts
You can enable this option to show the last modified info on posts, pages, layouts etc.
3. Template Tag
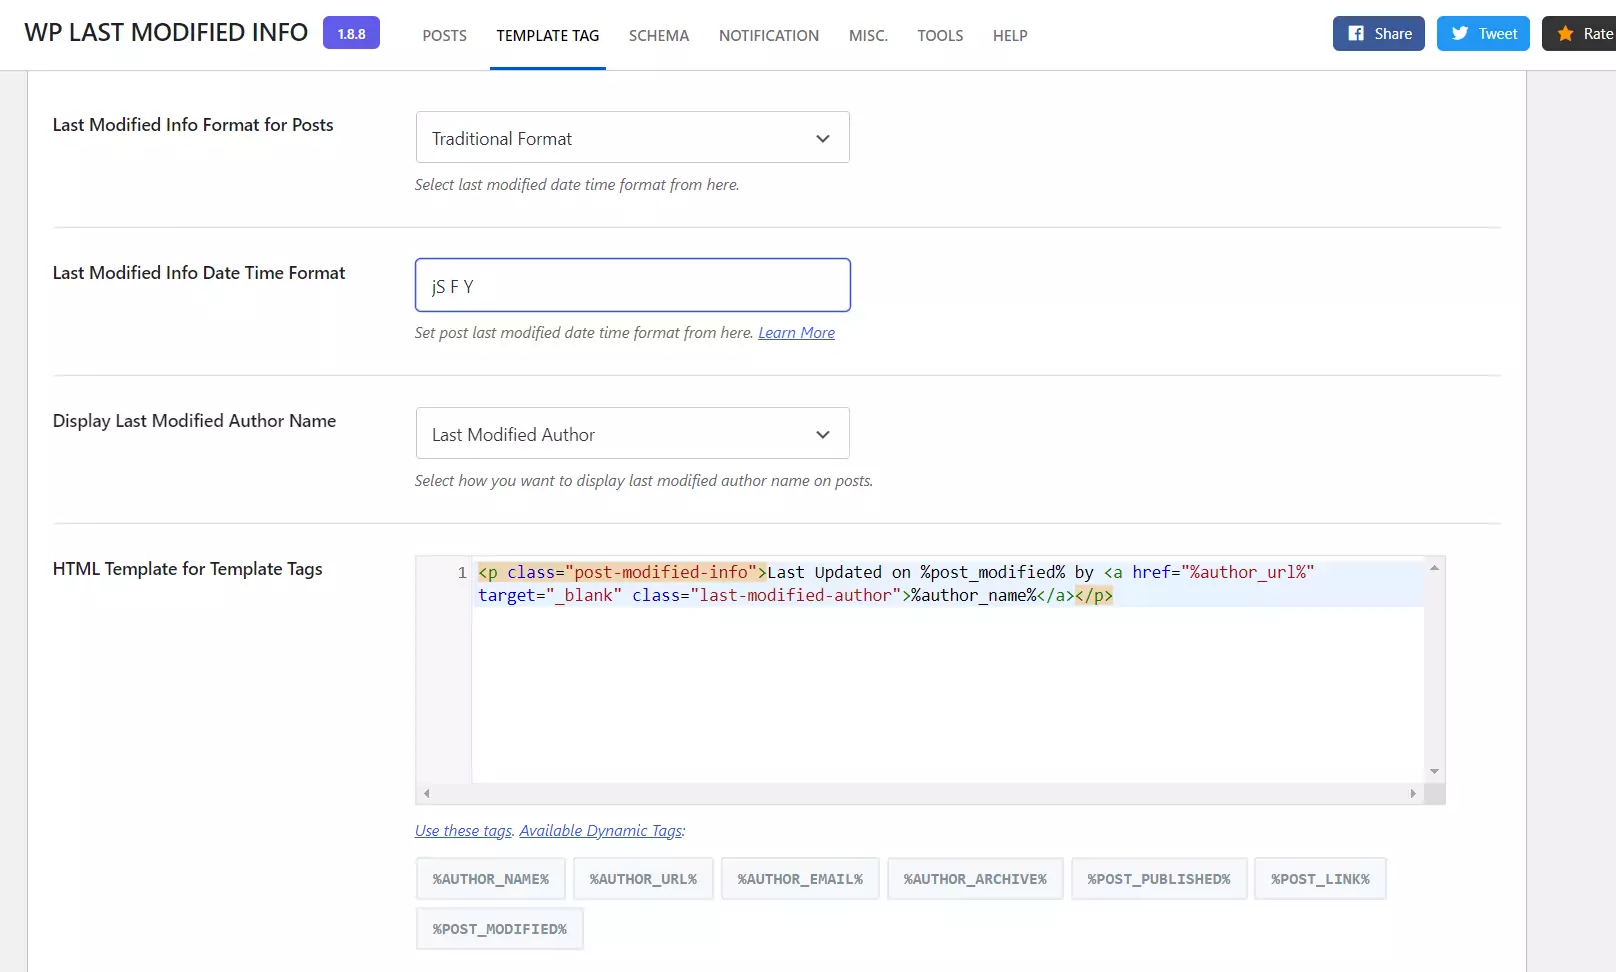
You can use the template tag in your theme template files or Gutenberg Block on your posts to display the last modified info.
Last modified info format for posts: Traditional format
Last modified info date time format: jS F Y
Display last modified author name: Last modified author
HTML template for template tags: Select the default code or modify using the given tags.
4. Schema
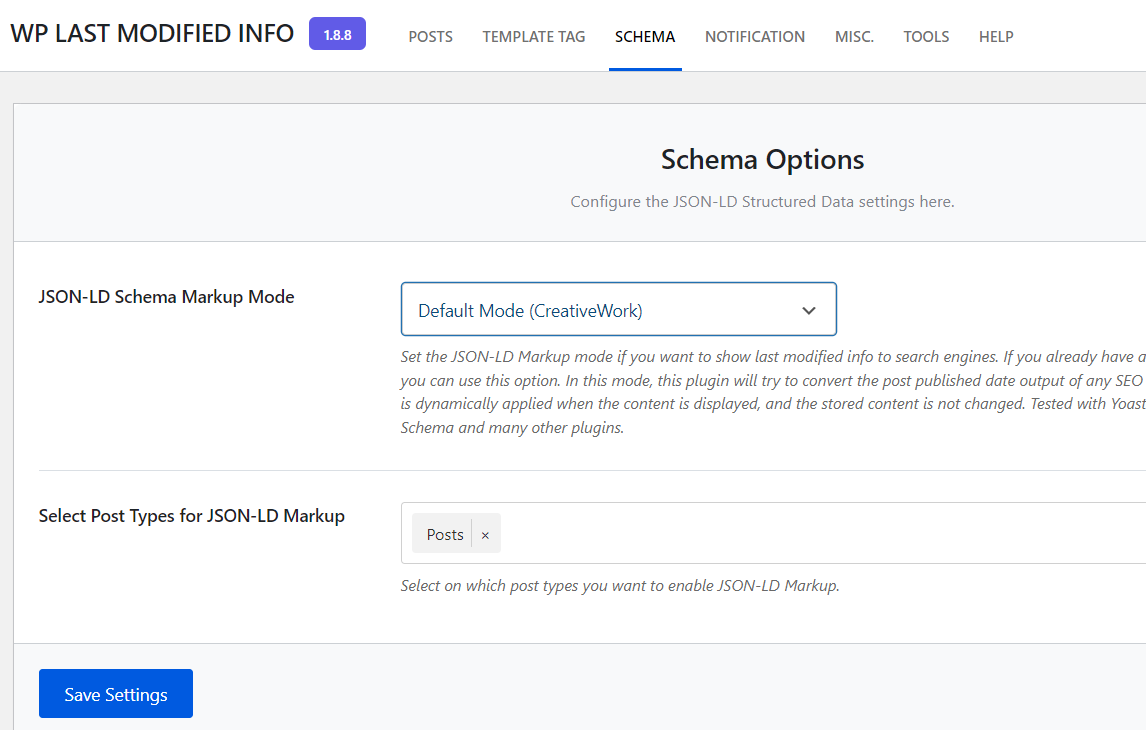
JSON-LD Schema markup mode: Creative mode
Set the JSON-LD Markup mode if you want to show the last modified info to search engines.
If you already have an SEO plugin or a Schema Plugin on your site, then you can use this option.
In this mode, this plugin will try to convert the post published date output of any SEO or Schema plugin to the post modified date.
This is dynamically applied when the content is displayed, and the stored content is not changed.
Tested with Yoast SEO, Rank Math, All in One SEO Pack, SEOPress, Schema and many other plugins.
Select post types for JSON-LD markup: Posts
5. Notification
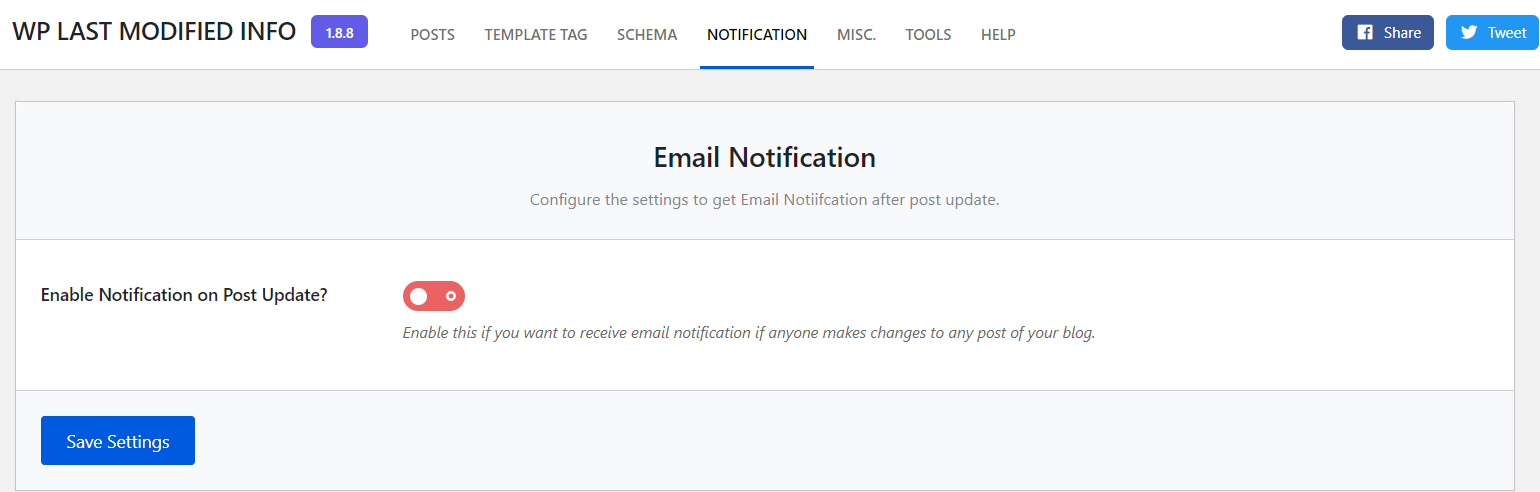
Enable notification on post update:
Enable this if you want to receive an email notification if anyone makes changes to any post on your blog.
Best for multiple author blogs.
6. Misc
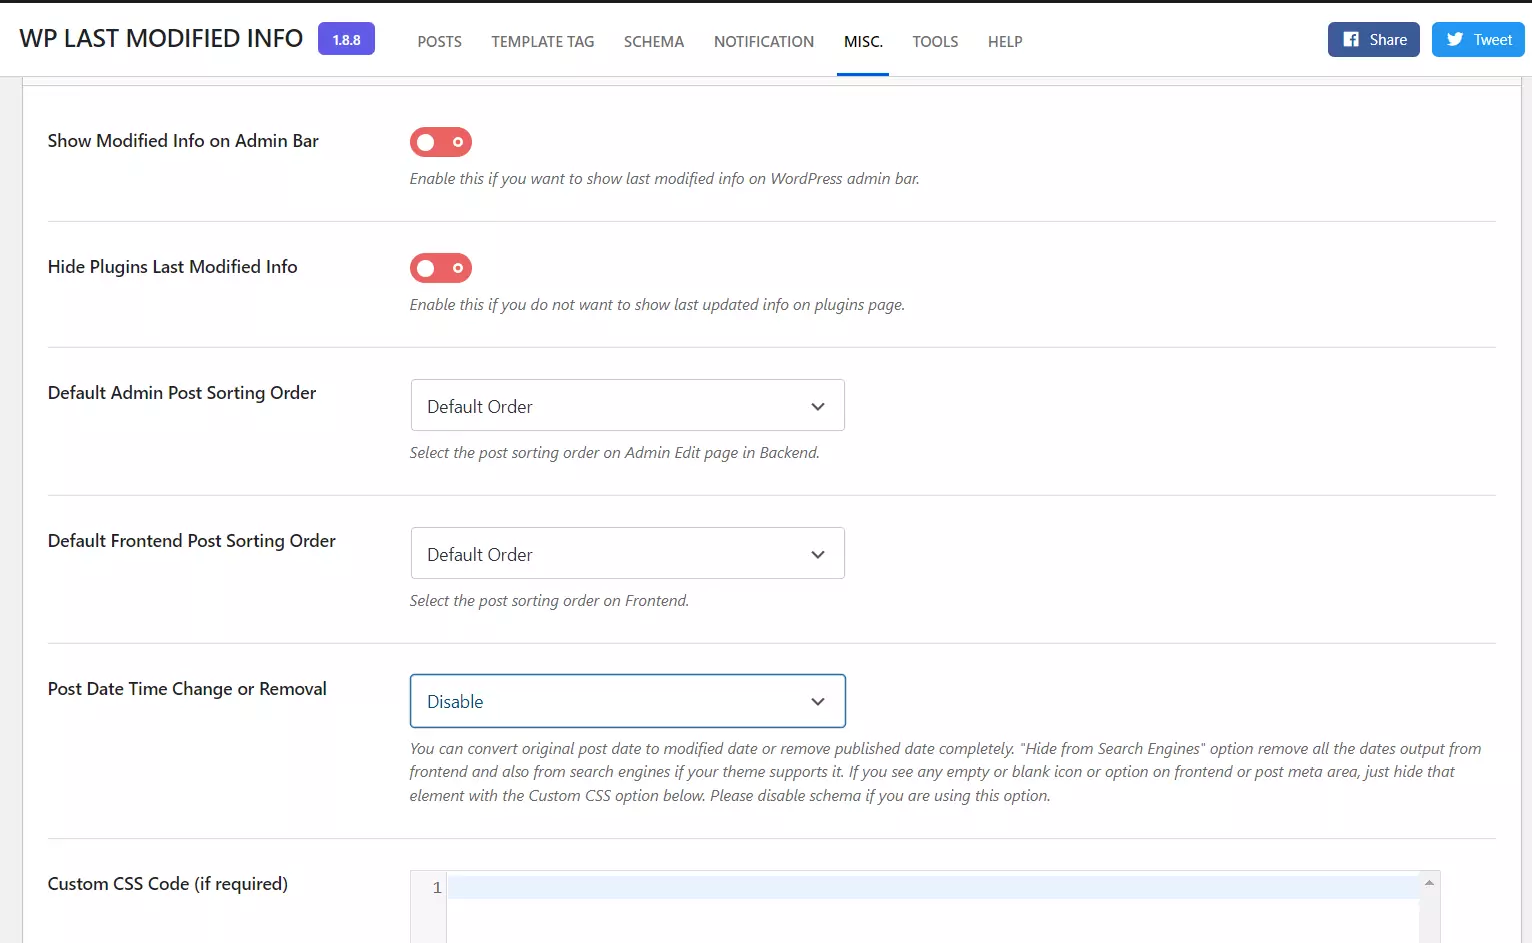
Show modified info on admin bar: Not necessary
Hide plugins last modified info: Not necessary
Default admin post sorting order: Default order
Default frontend post sorting order: Default order
Post date time change or removal: Disable
Custom CSS code: If required or you are good at codes
Delete plugin data if uninstallation: Enabling this will delete all the data of this plugin when you delete it.
7. Tools
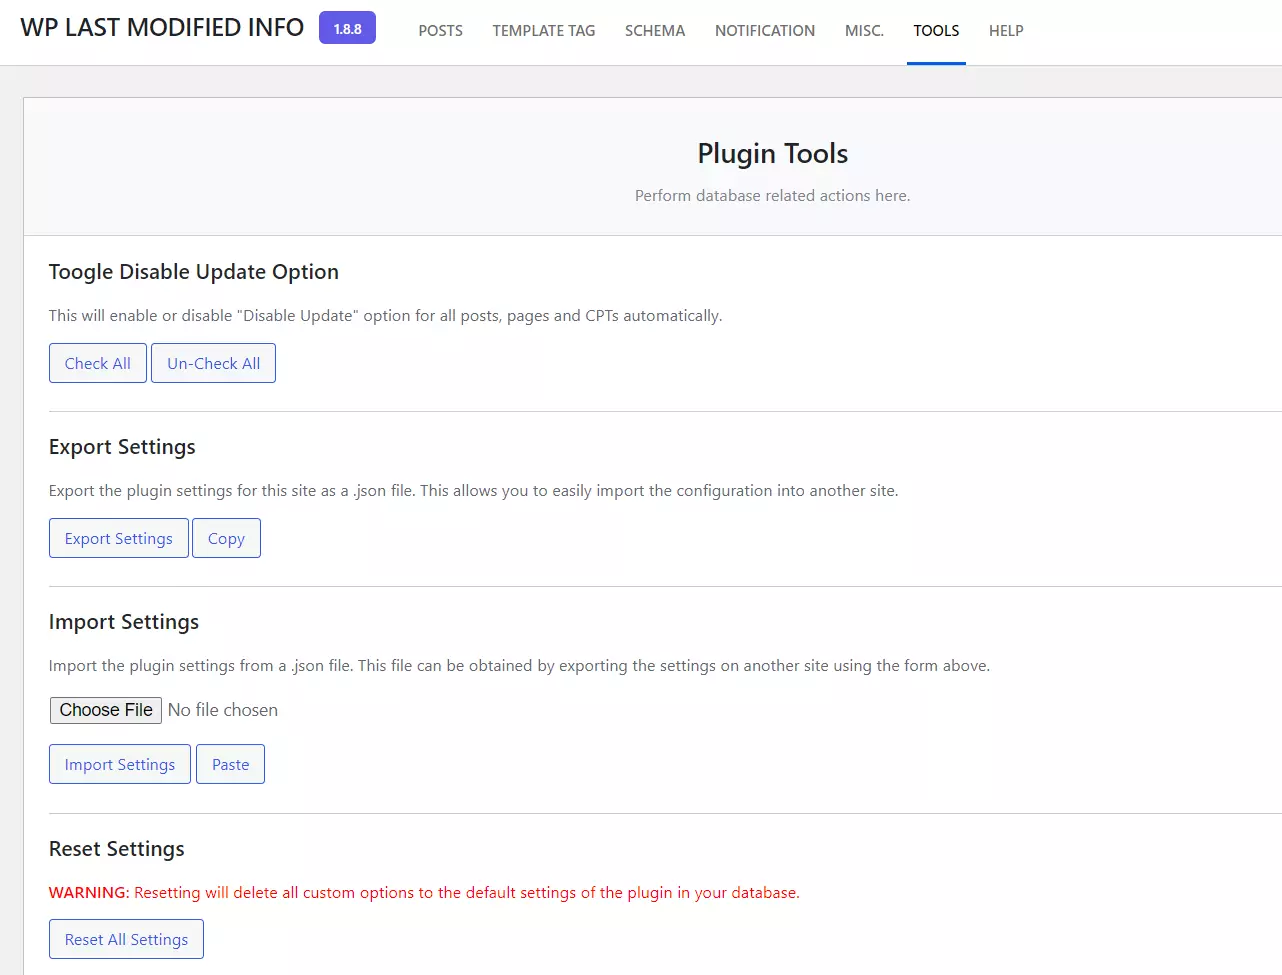
Toggle disable update option: This will enable or disable the “Disable Update” option for all posts and pages.
Not recommended if you don’t know what you are doing.
Export settings: Export the plugin settings for this site as a .json file.
This allows you to easily import the configuration into another site.
Import settings: Import the plugin settings from a .json file.
This file can be obtained by exporting the settings on another site using the form above.
Reset settings: Not recommended.
Resetting will delete all custom options to the default settings of the plugin in your database.
Wrapping Up – How to display last updated date of Blog Posts
Adding the “last updated” date to your blog posts is a good idea.
It helps your readers know when the information was last changed or edited.
This is important because it shows that you care about keeping your content accurate and current.
People like to know that the information they’re reading is up-to-date, especially on the internet where things can change quickly.
Including the last updated date not only builds trust with your readers but can also make search engines more likely to show your content to others.