Maximizing SiteGround’s Potential: The Perfect Optimization Settings
Estimated reading time: 8 minutes
Last updated on May 24th, 2024 at 07:36 am
Speed Optimizer (Previously Siteground and SG Optimizer) is the cache plugin by Siteground Hosting.
Did you know that a one-second delay in page load time can result in a 7% reduction in conversions?
Studies show that 47% of users expect a web page to load in 2 seconds or less.
SiteGround’s caching options store frequently used information, reducing the time it takes to load pages.
This can lead to a 20% improvement in the speed of your website.
The Ultimate Guide to Siteground Optimizer Settings
1. Install & Activate
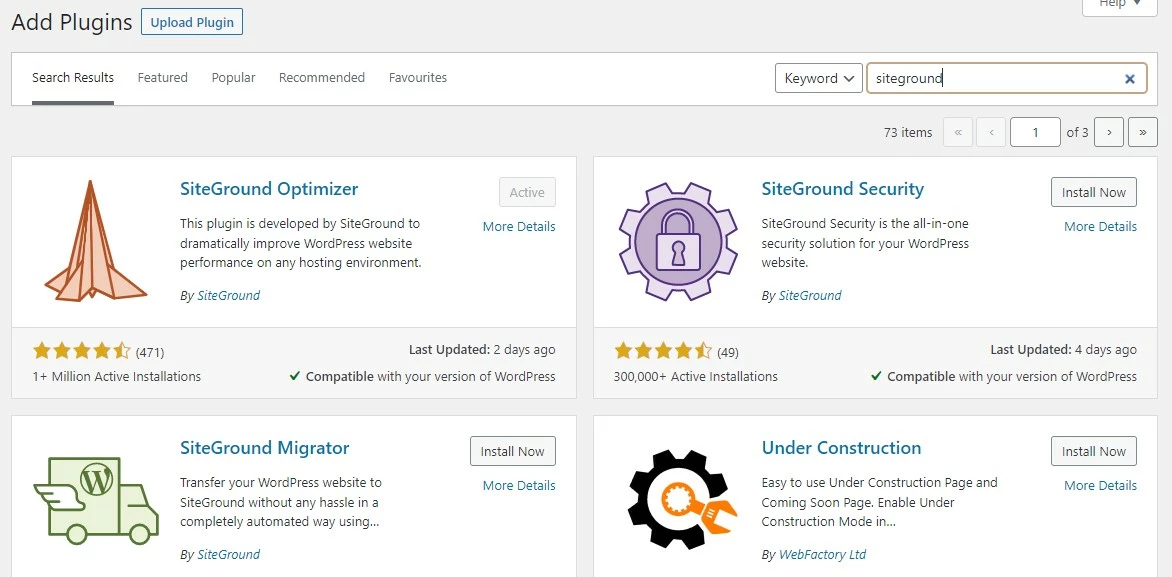
First of all, you need to install and activate the SG Siteground Optimizer plugin.
Go to plugins – Add new – Search Siteground Optimizer – Install – Activate – Done.
2. Dashboard
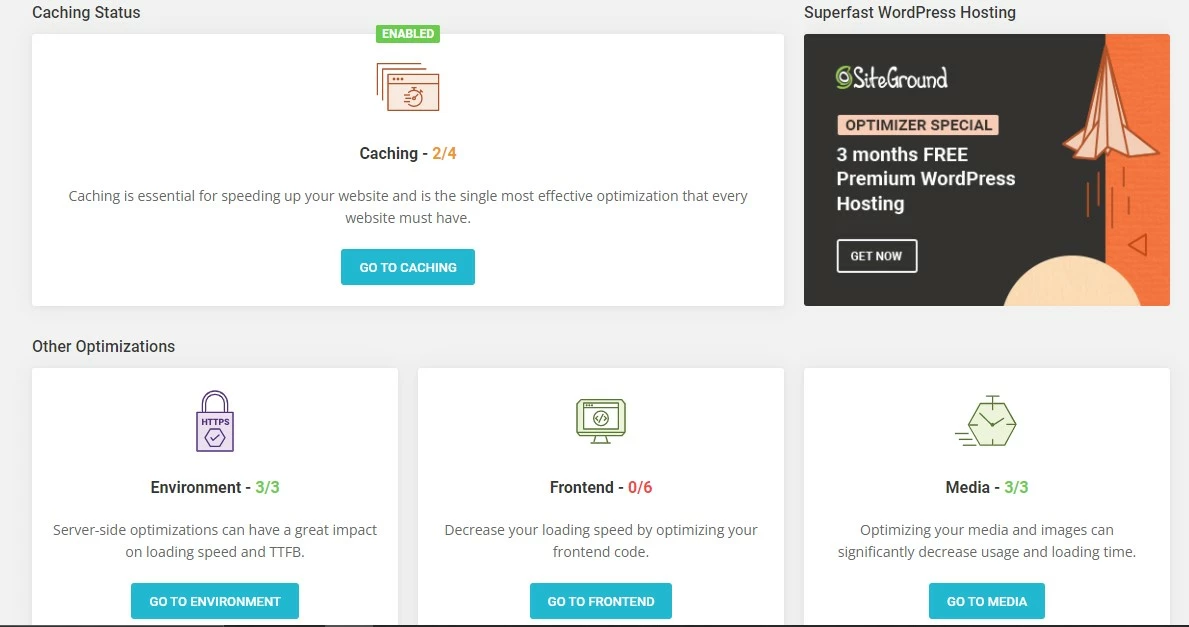
In the dashboard section, you can check your caching status.
You can check which settings are enabled and visit directly to other settings with a single click.
3. Caching Settings
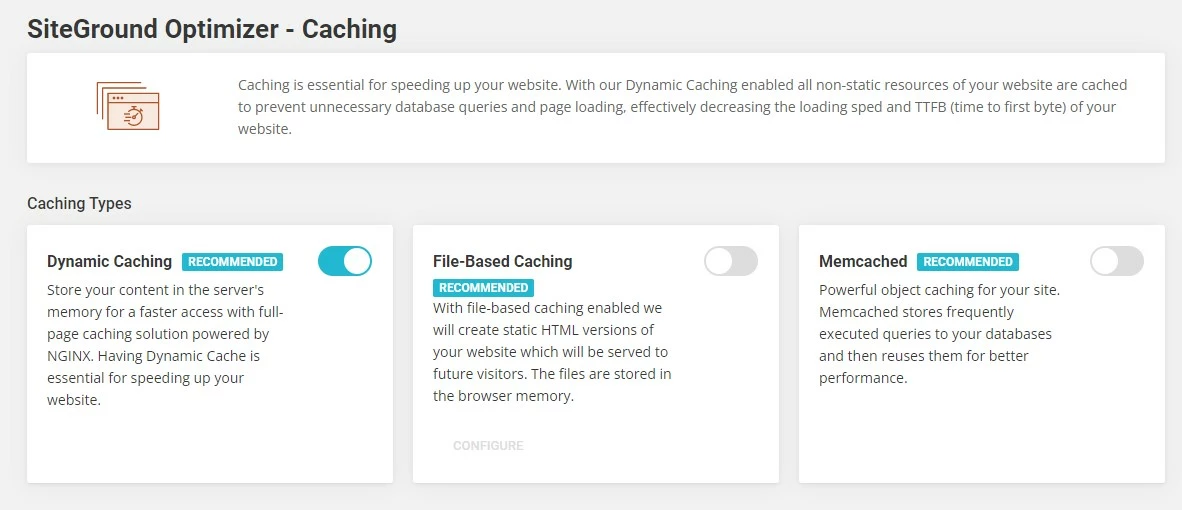
Dynamic caching – Enable
Store your content in the server’s memory for faster access with a full-page caching solution powered by NGINX.
Having a Dynamic Cache is essential for speeding up your website.
File-based Caching – Enable
With file-based caching enabled siteground will create static HTML versions of your website which will be served to future visitors.
The files are stored in the browser’s memory.
Memcached – Enable
Powerful object caching for your site.
Memcached stores frequently executed queries to your databases and then reuses them for better performance.
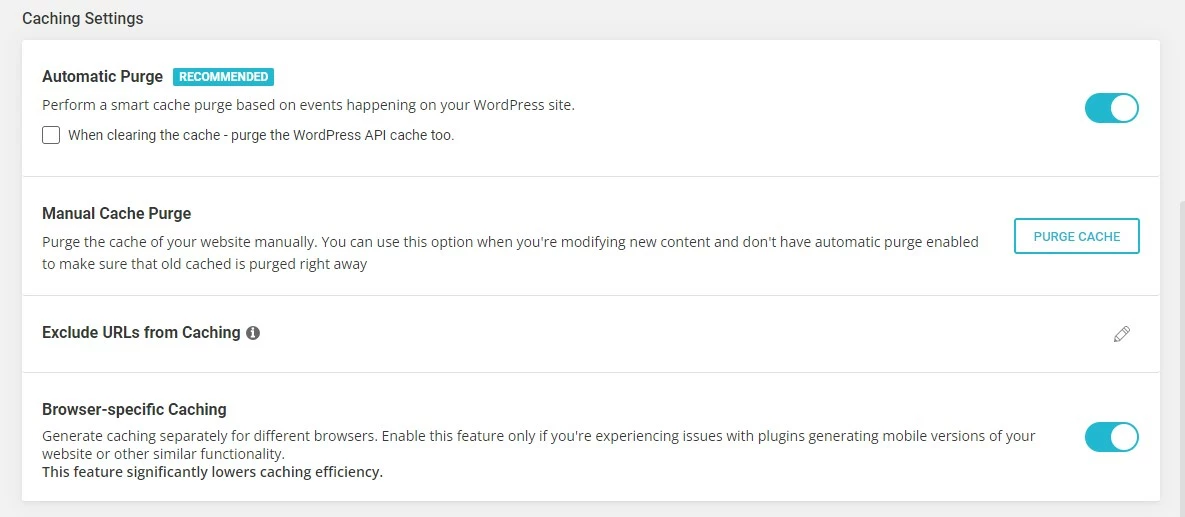
Automatic Purge – Enable
When clearing the cache – purge the WordPress API cache too – Enable
When enabled, the cache will be purged automatically without performing manually.
Manual cache purge – Purge cache
Use this to cache purge manually when the automatic purge is disabled.
You can use this option when you’re modifying new content and don’t have automatic purge enabled to make sure that old cached is purged right away.
Exclude URLs from caching – “Add URLs here by clicking on the edit button”
You can add URLs here that you don’t want to cache like sitemap URLs.
Browser specific caching – Enable
Generate caching separately for different browsers.
Enable this feature only if you’re experiencing issues with plugins generating mobile versions of your website or other similar functionality.
This feature significantly lowers caching efficiency.
Recommended but Cloudflare is best for this.
4. Environment Settings
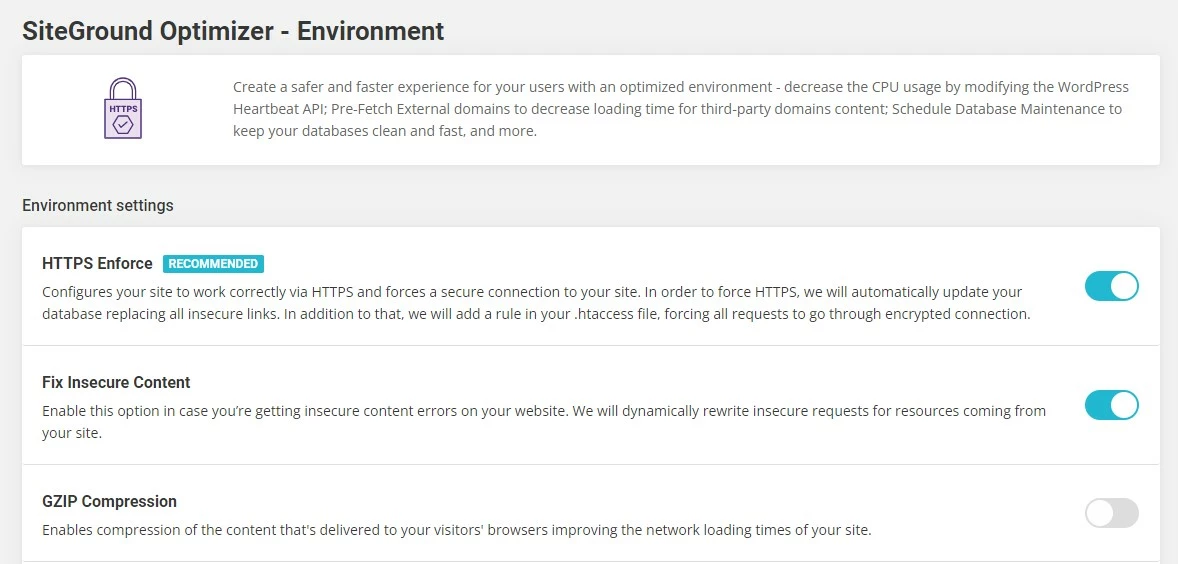
HTTPS enforce – Enable
It is recommended but useful only for Siteground hosting users.
It configures your site to work correctly via HTTPS and forces a secure connection to your site.
In order to force HTTPS, Siteground will automatically update your database replacing all insecure links.
In addition to that, Siteground will add a rule in your .htaccess file, forcing all requests to go through an encrypted connection.
You can enforce https from your hosting CPanel or using Cloudflare.
Fix insecure content – Enable
Enable this option in case you’re getting insecure content errors or mixed content errors on your website.
Siteground will dynamically rewrite insecure requests for resources coming from your site.
Insecure contents are also called mixed contents.
GZIP compression – Enable
This enables compression of the content that’s delivered to your visitors’ browsers improving the network loading times of your site.
It is recommended as this can reduce the size of your files.
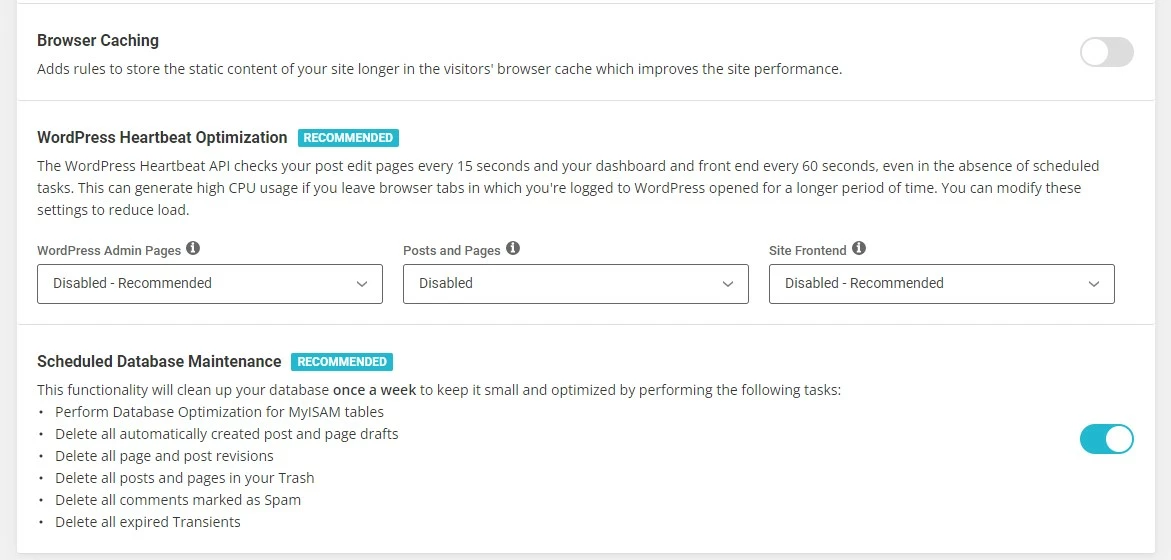
Browser caching – Enable
Cloudflare is better but you can enable this if you are not a Cloudflare user.
Enabling this will add rules to store the static content of your site longer in the visitors’ browser cache which improves the site performance.
WordPress heartbeat Optimization – Disable
Recommended by Siteground but I personally don’t recommend enabling this option.
Heartbeats will increase your server load resulting in increased CPU usage.
The WordPress Heartbeat API checks your post edit pages every 15 seconds and your dashboard and front end every 60 seconds, even in the absence of scheduled tasks.
However, You can modify these settings to reduce load.
Schedule database maintenance – Enable
I always recommend optimizing your database and this option will clean up your database once a week to keep it small and optimized.
Tasks performed by this option,
-Perform Database Optimization for MyISAM tables
-Delete all automatically created post and page drafts
-Delete all page and post revisions
-Delete all posts and pages in your Trash
-Delete all comments marked as Spam
-Delete all expired Transients
However, I recommend using the WP optimize plugin for advanced database optimizations.
5. Frontend Settings
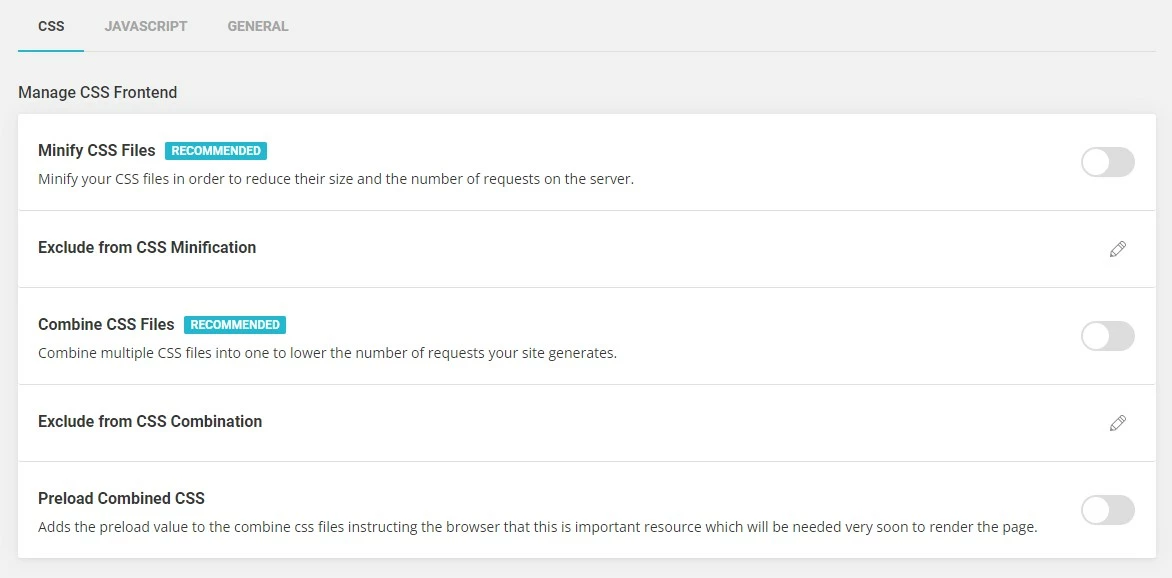
CSS Settings
NOTE: Do check the site after every setting one by one. So that if you can get any conflict, then disable that setting immediately.
Minify CSS Files – Enable
Minify your CSS files in order to reduce their size and the number of requests on the server.
Exclude from CSS Minification – “Add files”
You can add CSS files here to exclude from minification.
Combine CSS Files – Disable
Sometimes, combining CSS files will break your site or some functionality. So enable or disable it accordingly.
Exclude from CSS combination – “Add files”
You can add files here that you don’t want in the CSS combination.
Preload combines CSS – Disable
Helps in increasing page speed, but will break sites in most cases.
Javascript Settings
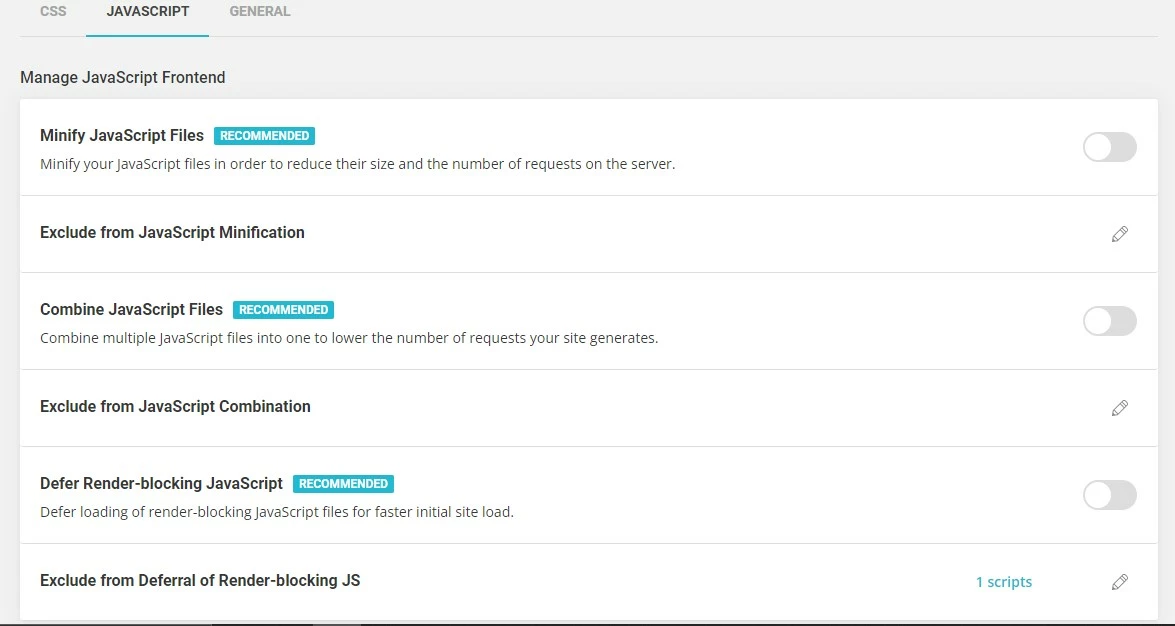
Minify Javascript files – Enable
Minify your JS files in order to reduce their size and the number of requests on the server.
Exclude from javascript minification – “Add files”
You can add JS files here to exclude from minification.
Combine javascript files – Disable
Sometimes, combining JS files will break your site or some functionality. So, enable or disable it accordingly.
Exclude from javascript combination – “Add files”
You can add files here that you don’t want in the JS combination.
Defer render-blocking javascript – Enable
This can remove the render-blocking error in page speed results.
Exclude from the deferral of render-blocking JS – “Add files”
You can add JS files here that you don’t want to add in the render-blocking deferral.
General Settings
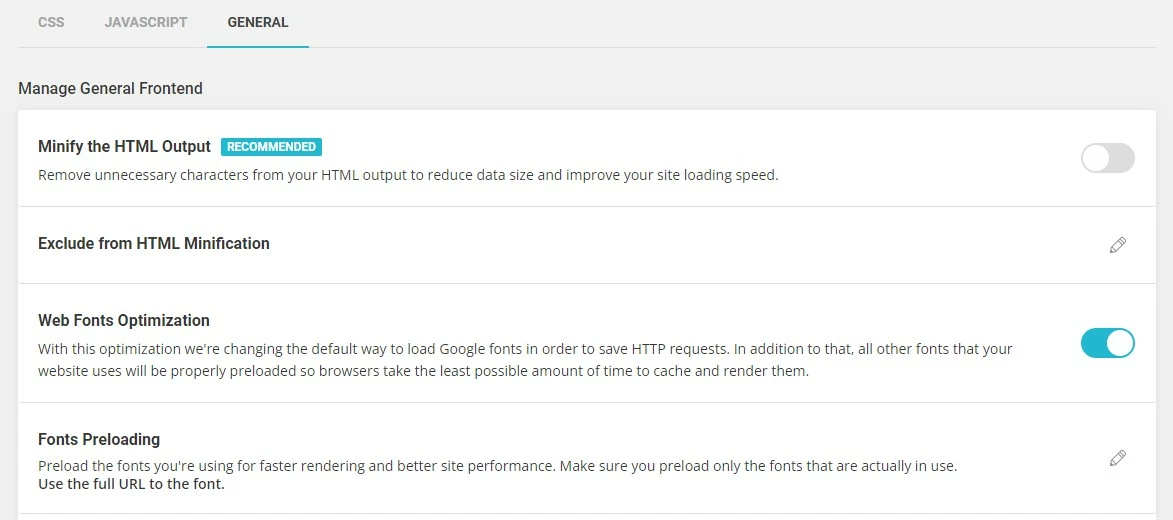
Minify HTML output – Enable
This can remove unnecessary characters from your HTML output to reduce data size and improve your site loading speed.
Exclude from HTML minification – “Add files”
You can add HTML files here that you don’t want for HTML minification.
Web fonts optimization – Enable
Save extra requests by optimizing web fonts. It is recommended.
You can also disable Google fonts by using different optimization plugins like Autoptimize.
Fonts preloading – “Add files”
You can add font files here for preloading. This can help faster rendering and better performance.
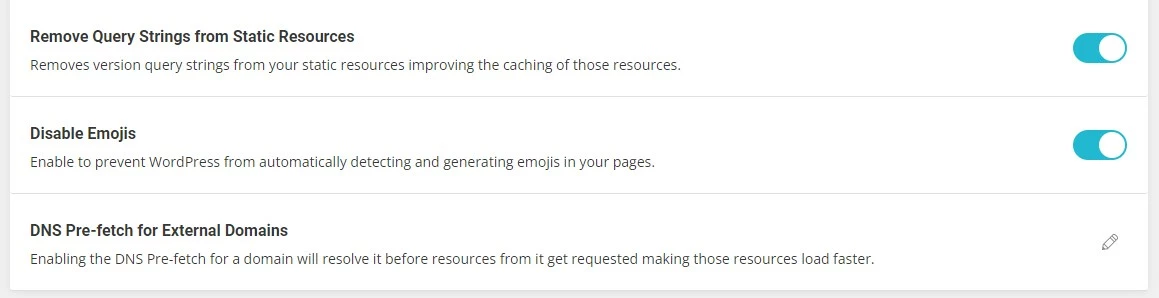
Remove query strings from static resources – Enable
Removes version of query strings from your static resources improving the caching of those resources.
Disable emojis – Enable
Always enable this to prevent WordPress from automatically detecting and generating emojis in your posts or pages.
DNS prefetch for external domains – “add URL”
You can add external URLs here for DNS prefetch for faster loading of resources.
6. Media Settings
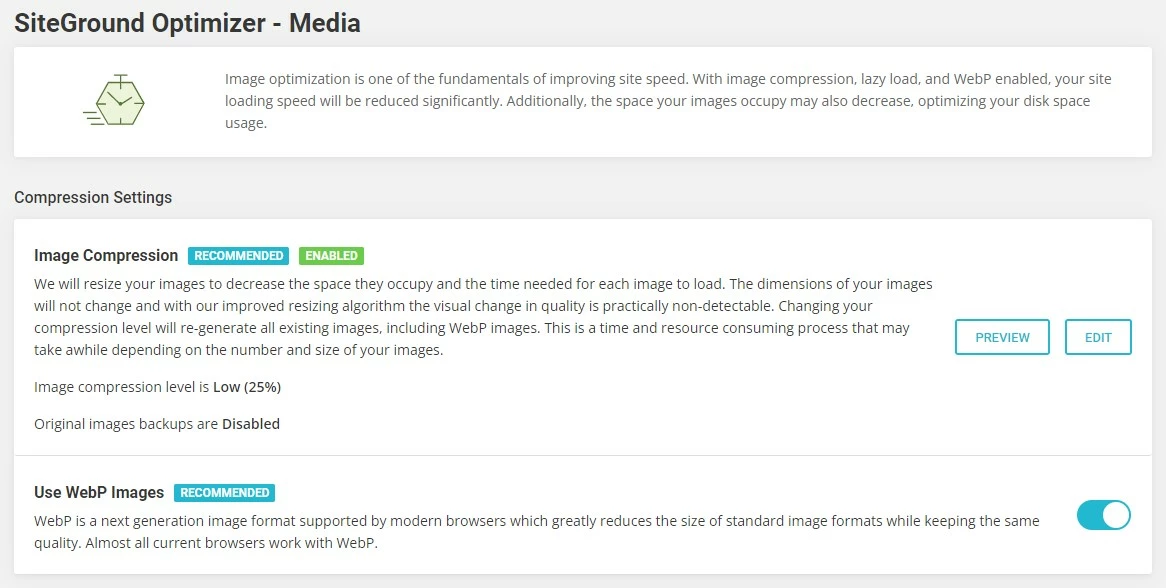
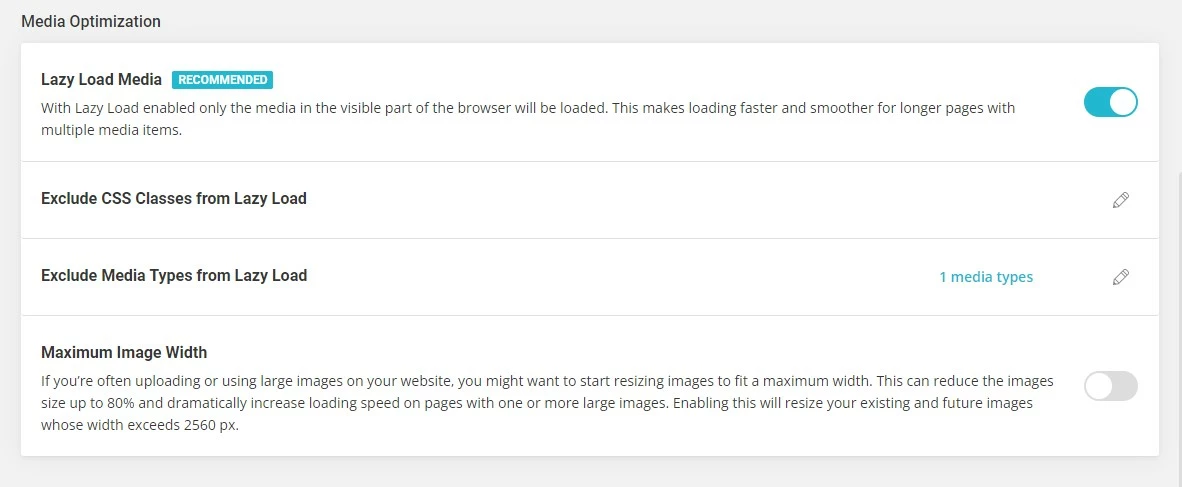
Image Compression – At least 80%
Image compression is used to resize the image sizes. However, it is recommended to backup before applying this setting.
Use WebP Images – Enable
WebP images are next-generation formats and are recommended to use.
Lazy load media – Enable
Lazy loading is important and recommended to everyone.
With lazy loading, images will only be visible and appear when people scroll down.
Exclude CSS classes from Lazy load – “add files”
You can add CSS classes here to prevent and exclude from lazy loading.
Exclude media types from Lazy load – “add files”
You can add media types here to prevent and exclude from lazy loading.
Maximum image width – Enable
Enabling this will optimize, resize, reduce the existing and future images that exceed 2560 px.
7. Speed Test
Here you can check your posts, pages loading speed.
I don’t know why this feature was added by Siteground.
We already have better tools available like GTmetrix and Google Pagespeed insights.
My Suggestion
I do not recommend Siteground Hosting. You can get better hosting providers for the same rate or lower.
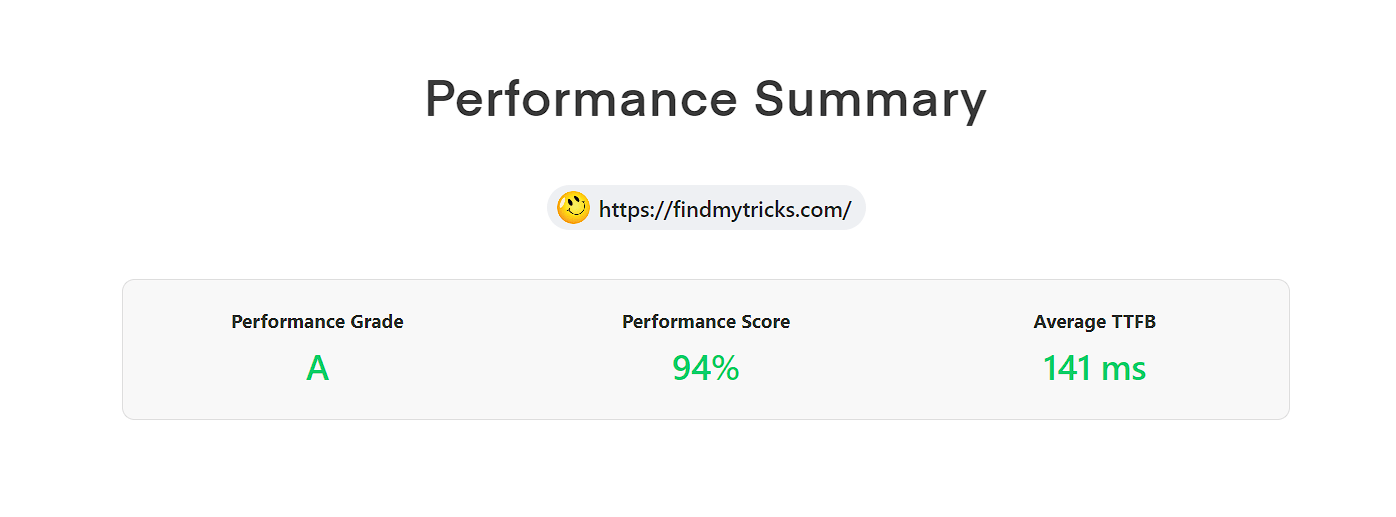
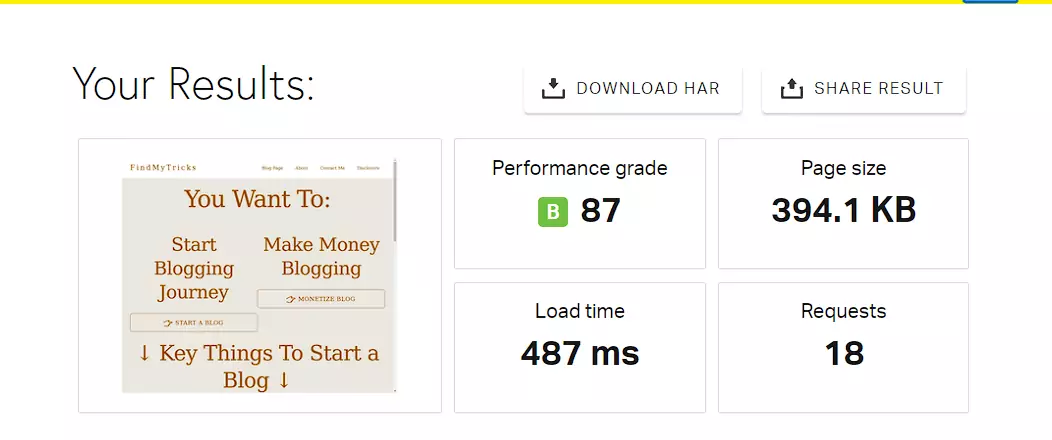
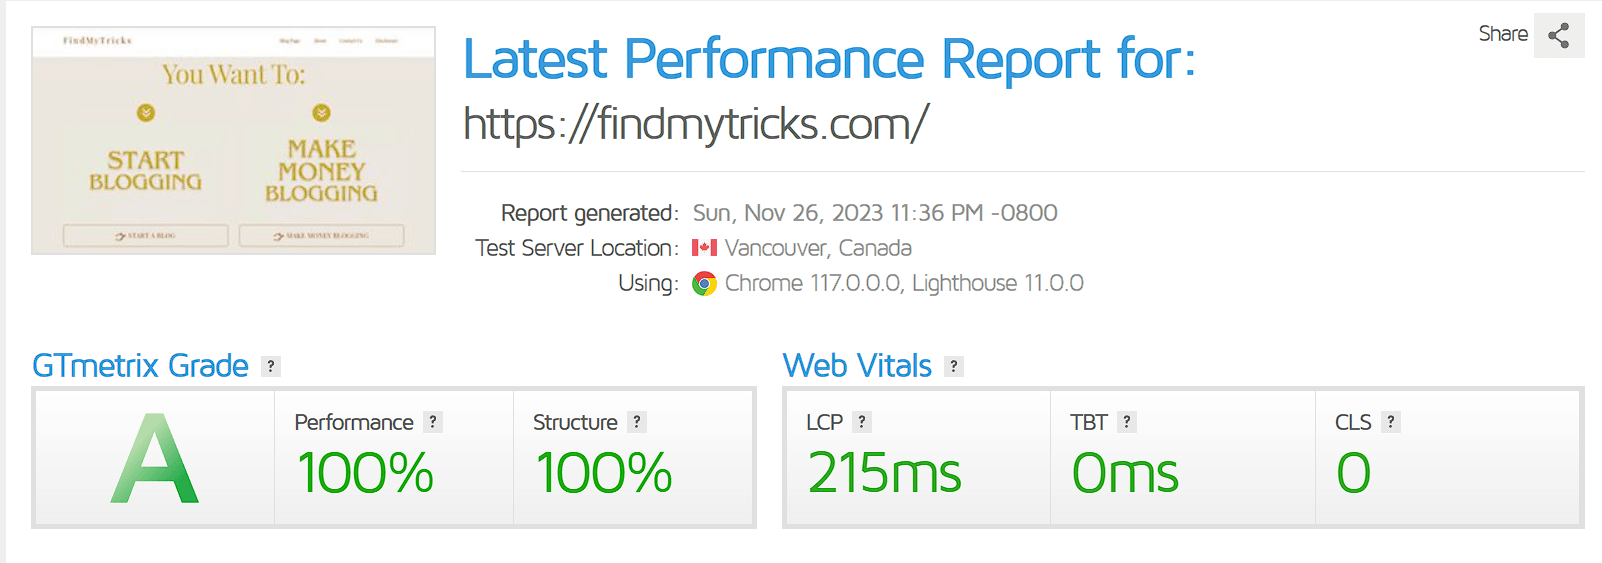
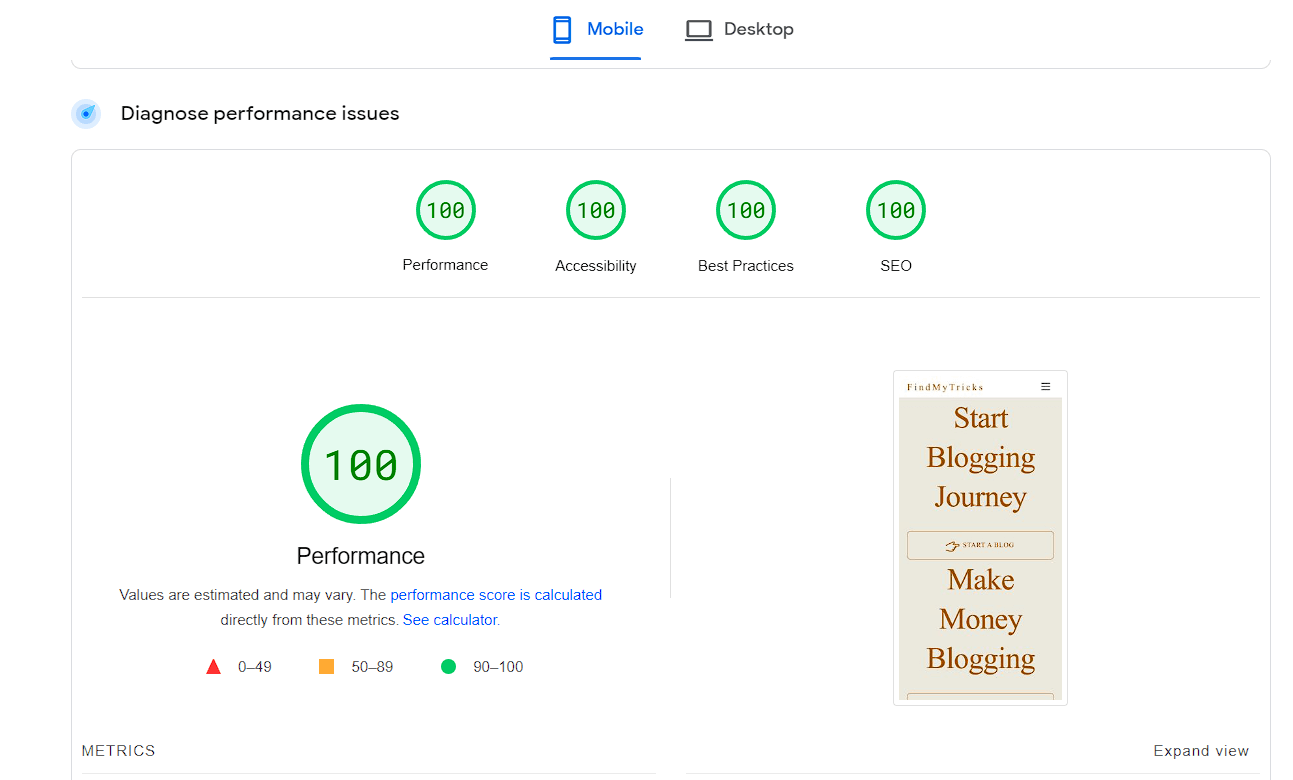
To achieve a 100 score in Gtmetrix, and Google Pagespeed Insights I Use the combination of = Cloudways Hosting + Cloudflare CDN + Super Page Cache Plugin + Themify Ultra Theme
Check my score after this deadly combination.

Wrapping Up
SiteGround Optimizer plugin offers a comprehensive and user-friendly solution to enhance the performance and security of your website hosted on the SiteGround platform.
The plugin’s caching options enable faster page loading times, reducing server response times and improving overall site performance.
Have any issues setting up, comment below.
However, I recommend using my setup for the best results.
Chrles Burns
July 26, 2020 @ 10:03 pm
There’s a new setting called “Combine JavaScript Files” under Front End Optimisation. Do you have any recommendations about this?
I didn’t enable this yet as I suspect you prefer Autoptimize for this too!
Ajmer Singh
July 27, 2020 @ 8:17 am
Yes. Disable this. Combining all the javascript files will conflict sometimes and break your site.
Look, why I recommend Autoptimize is because I test both and Autoptimize gives better result than SG optimizer in case of minification.
But that time SG optimizer comes with only few settings, now they are working hard to make everything inside this plugin only.
So I hope in future we dont need different plugins like Autoptimize.
They already removed one of my plugin after this new update (Database optimization. For which I use WP optimize).
Thank you for your comment, I will update the new option in my article soon.
Pritam
July 19, 2020 @ 3:41 am
Hey Ajmer
Thank you for the wonderful post. I have a question: why should we disable “Combine CSS files”?
Ajmer Singh
July 19, 2020 @ 12:10 pm
Because SG Optimizer is too strict in case of minification & in most of the cases the website will break after combining all the CSS files. That is why I recommend SG Optimizer only for caching. For minification of Java, CSS, HTML use Autoptimize.
Thompson Henneberg
April 1, 2020 @ 5:01 pm
You’re doing a excellent job Man,Keep it up.
King regards,
Thompson Henneberg
Ajmer Singh
September 4, 2022 @ 1:08 pm
Glad you liked it.